
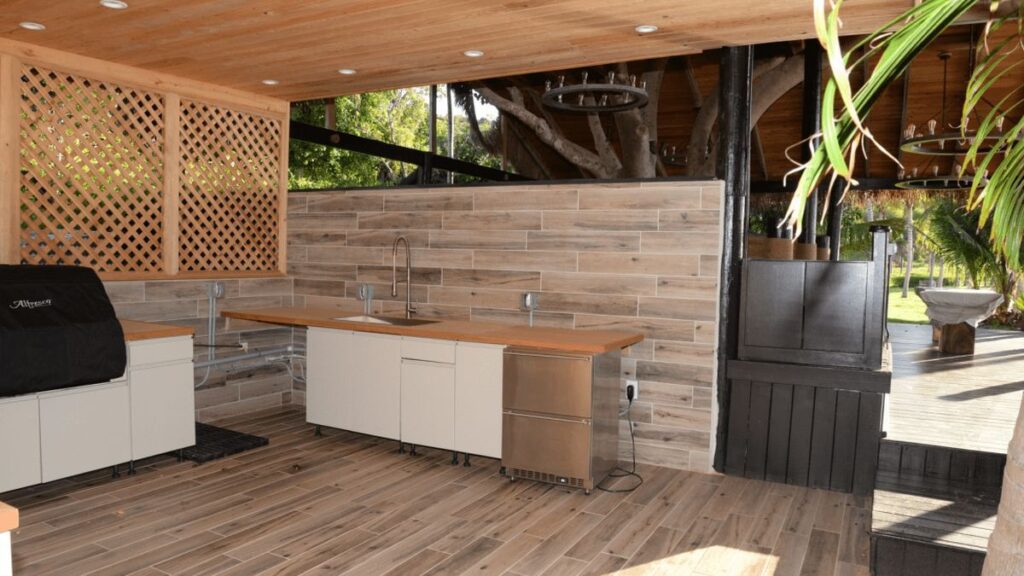
The expensive mistake in an outdoor kitchen is rarely choosing the wrong grill. It is fixing the grill, sink, refrigerator, roof, and serving counter in place before anyone has traced how food, smoke, water, electricity, guests, and rain will move through the space.
A good outdoor kitchen is a small building project, not a row of appliances. Its slab carries weight and controls drainage. Its utility routes determine what can go where. Its clearances protect people and combustible materials. Its countertop and cabinets live through Bay Area sun, salt air, fog, and winter rain. If those systems are solved in the right order, the appliance decisions become straightforward. If they are solved late, every upgrade becomes demolition.
This guide explains the planning sequence we use to pressure-test a project before finishes or equipment turn a flexible sketch into an expensive commitment.
Key Takeaways
- Design the work zones and utility routes before selecting built-in appliances; the rough-in locations are harder to change than the equipment.
- A portable grill on an existing patio is a different project from a fixed island with gas, plumbing, power, drainage, a roof, or structural work.
- Bay Area planning bands can run from roughly $15,000–$30,000 for a focused built-in grill island to $75,000–$150,000 or more for a covered, fully serviced kitchen; site conditions can move those ranges sharply.
- Weather resistance is a system: drainage, ventilation, noncombustible clearances, corrosion-resistant hardware, and service access matter more than a single “outdoor-rated” label.
- Price bids against the same scope, including trenching, permits, utility upgrades, finish allowances, and commissioning—not just cabinets and appliances.
What This Guide Covers
- Start With the Meal Instead of the Appliance List
- Use Work Zones to Make the Layout Earn Its Footprint
- Resolve Utilities Before Concrete and Cabinetry
- Treat Permits as a Design Input Rather Than Paperwork
- Choose Materials as an Exterior Assembly
- Build the Budget Around Scope Before Finishes
- Sequence the Build to Preserve Access and Accountability
- Decide What the Kitchen Should Leave Out
- Plan the Infrastructure Once and Enjoy It for Years
- FAQs
Start With the Meal Instead of the Appliance List
The layout should follow the way the household will actually cook. Someone who grills twice a week and carries prepared food from the indoor kitchen needs landing space, lighting, and a safe path. Someone who wants a second full kitchen needs cold storage, washing, waste, more power, and enough counter to keep raw preparation separate from serving.
Draw a normal meal from start to finish. Food leaves the house or refrigerator, lands beside a prep surface, moves to heat, rests after cooking, and reaches the table. Dirty tools travel to a sink or back indoors. Guests approach without crossing the hot zone. That simple sequence exposes whether a glamorous island is a kitchen or merely an obstacle with a grill in it.
Use Work Zones to Make the Layout Earn Its Footprint
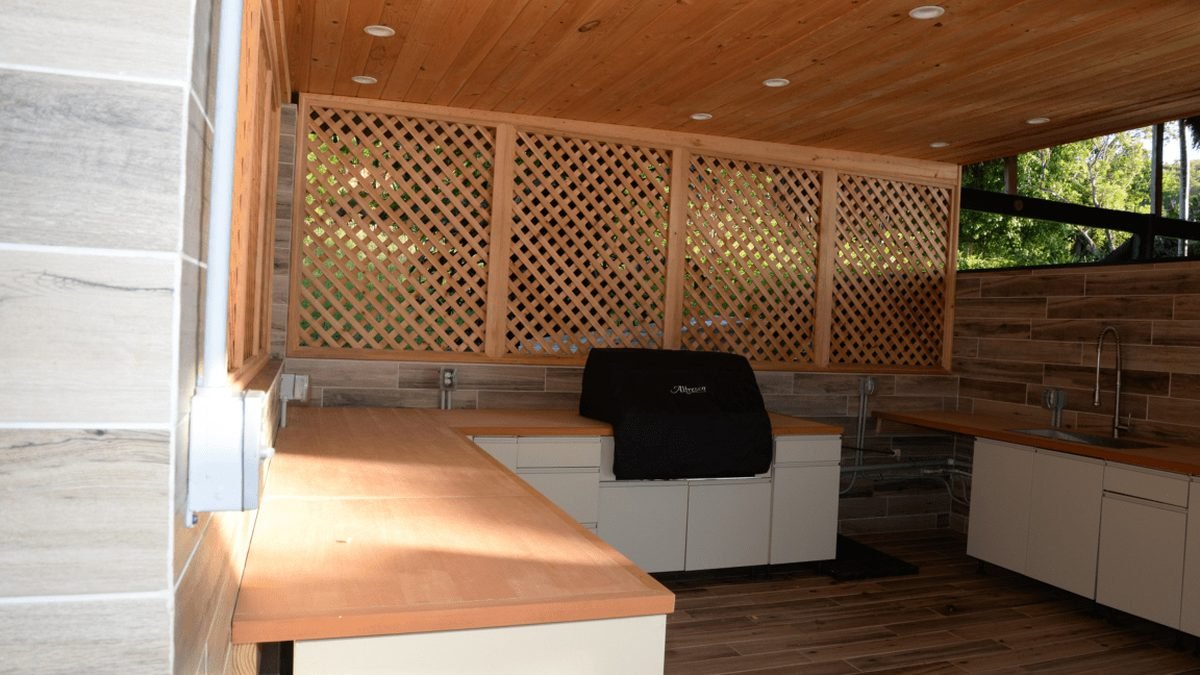
An outdoor kitchen generally needs hot, cold, wet, preparation, and serving zones, but not every project needs a dedicated appliance in each one. The design becomes efficient when adjacent tasks share counter and storage without creating collisions.
1. Keep Heat at the Working Edge
Why This Works
The grill, side burner, pizza oven, or smoker should be reachable by the cook without forcing guests through the same path. Locating heat on an outside edge also gives the design more options for clearances, hooding, and directing smoke away from doors, windows, and neighboring yards.
What to Confirm
Record the actual appliance installation manual before framing the island. Required cutout dimensions, ventilation openings, combustible clearances, gas pressure, electrical supply, and service access vary by model; a generic opening built first can turn a later appliance swap into cabinetry reconstruction.
2. Put Prep Between Storage and Heat
Why This Works
A continuous landing and preparation zone between refrigeration and cooking reduces backtracking with raw food and hot pans. It also creates the most valuable surface in the kitchen: a clear counter that is not occupied by a sink, ice maker, beverage rail, or decorative feature.
What to Confirm
Test the counter with real objects—a cutting board, sheet pan, serving platter, and two dinner plates. If the remaining clear run cannot hold them together, the plan has appliance capacity without enough working capacity, which is where outdoor kitchens often underperform.
3. Give Guests a Separate Route
Why This Works
A serving counter or bar should be accessible without passing behind the person at the grill. Separating guest circulation from cooking protects children, reduces spills, and lets the cook open drawers and appliance doors without asking everyone to move.
What to Confirm
Show every swing and pullout on the plan, including trash, refrigerator, dishwasher, access doors, and stools. The relevant measurement is the clear passage with those items open, not the empty dimension between two cabinet faces.
Resolve Utilities Before Concrete and Cabinetry
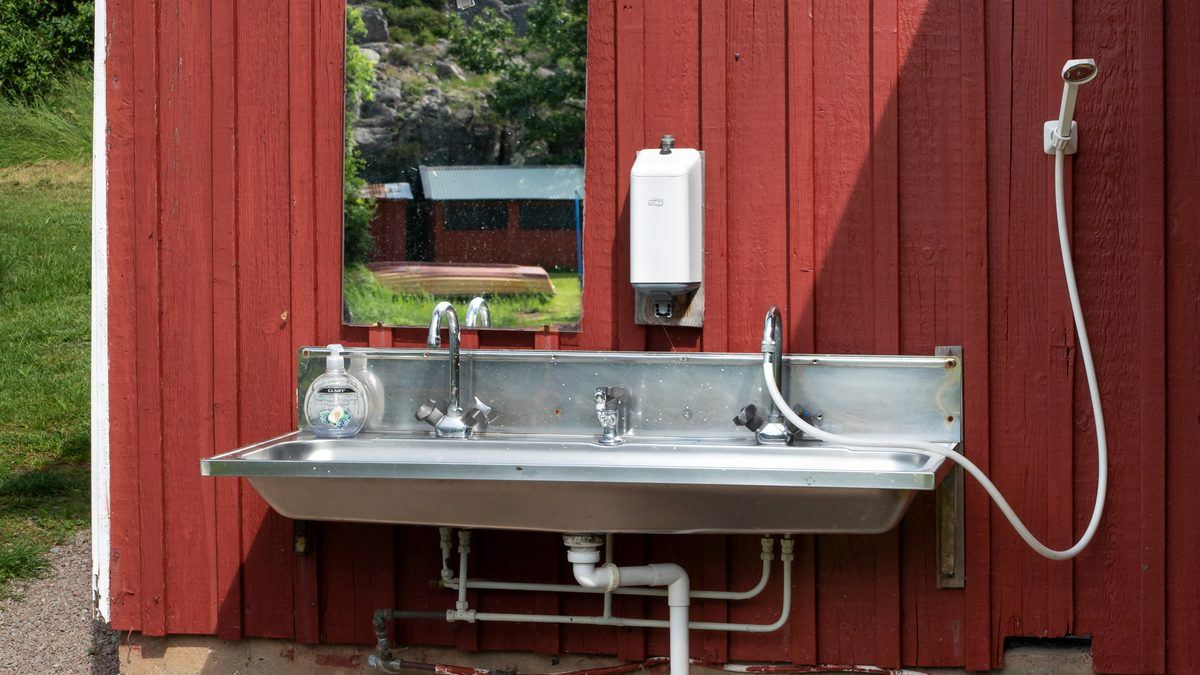
Utility decisions create the project’s hidden geometry. A new gas line needs sizing and a shutoff strategy. Electrical loads may include ignition, refrigeration, task lighting, receptacles, heaters, pumps, or a hood. A sink needs potable supply, an approved drainage path, and access for maintenance. Trenching across a finished patio can cost more than the fixture that required it.
The right sequence is to mark equipment, calculate loads, map the shortest code-compliant routes, and coordinate the trades before slab, masonry, or cabinet framing closes access. California’s current energy requirements are maintained through the Building Energy Efficiency Standards; the applicable requirements for fixed lighting and building systems should be confirmed for the project address and permit scope.
Treat Permits as a Design Input Rather Than Paperwork
A portable grill on an existing patio may require little building review. A fixed kitchen can involve electrical, plumbing, mechanical, gas, structural, fire-clearance, zoning, or encroachment questions. A new roof, retaining wall, deck, or substantial slab can widen the scope again. The exact trigger varies by city and by what already exists at the property.
That is why permit review belongs near the beginning. The San José Permit Center and Oakland Planning and Building Department route projects through their own local processes; other Bay Area jurisdictions do the same. Confirm requirements with the authority having jurisdiction before final pricing because a plan-check correction can change clearances, utility routes, structural details, and schedule.
California also regulates who may perform contracted construction work. Verify the license status and classification of bidders through the Contractors State License Board, and confirm that electrical, plumbing, gas, and structural portions are performed under the proper licensed responsibility.
Choose Materials as an Exterior Assembly
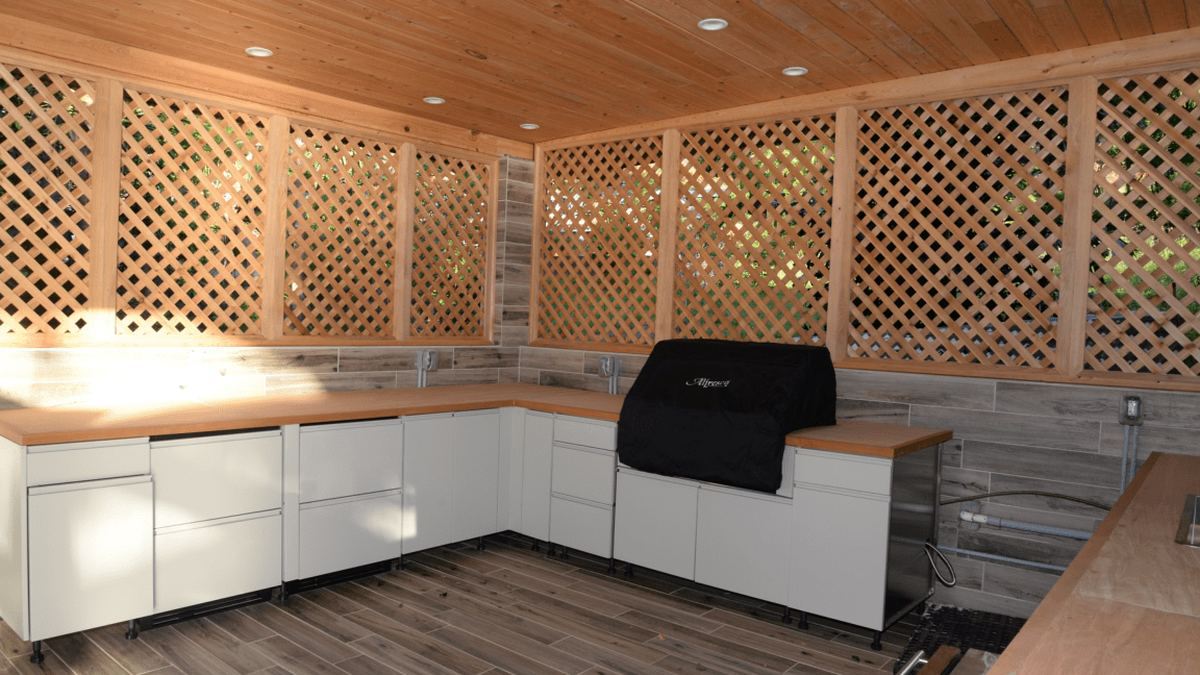
Indoor-kitchen finishes moved outdoors fail in combinations. Water reaches an unsealed edge, heat accelerates movement, fasteners corrode, a rigid surface cracks over a flexible frame, or an enclosed appliance cannot shed heat. The material name alone does not solve the assembly.
For the base, compare masonry or concrete systems with exterior-rated framed assemblies by weight, movement, access, and finish compatibility. For cabinets, look beyond the door face to hinges, fasteners, box construction, ventilation, and drainage. For countertops, ask how the slab handles ultraviolet exposure, thermal cycling, grease, hot cookware, and the support spans around cutouts. For floors, prioritize drainage and wet traction over an indoor showroom finish.
Bay Area microclimates change the emphasis. Coastal exposure makes corrosion resistance more important. Hot inland yards punish dark surfaces and poorly ventilated refrigeration. Fog belts extend damp periods. Hillside sites complicate access, trenching, drainage, and foundations. Material selection should respond to the address, not a generic California mood board.
Build the Budget Around Scope Before Finishes
Outdoor-kitchen prices vary so widely because the label covers fundamentally different projects. The following figures are broad 2026 Bay Area planning bands, not quotes; access, existing utilities, engineering, permit requirements, appliance choices, and finish level can move a project outside them.
Do not compare bids by the bottom line until the inclusions match. One proposal may include trenching, panel capacity work, gas sizing, plumbing, engineering, permits, appliance delivery, finish allowances, weatherproof covers, startup, and inspection closeout. Another may begin at the visible island and exclude everything that makes it function.
Sequence the Build to Preserve Access and Accountability
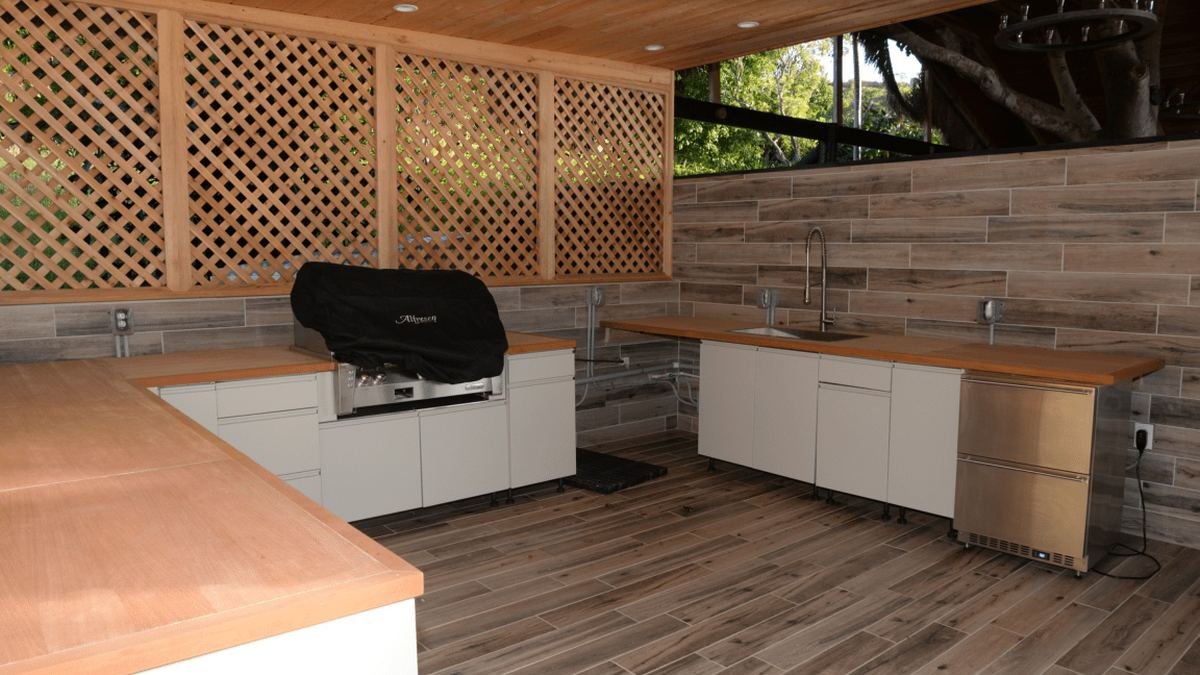
The project should advance from information that is expensive to change toward information that is easy to change. Finish color is reversible. A drain cast into a slab is not.
1. Verify the Site and Existing Capacity
Construction Work in This Phase
Measure the patio, elevations, drainage direction, setbacks, doors, windows, overhead conditions, and access from the street. Licensed trades assess electrical, gas, water, and waste capacity. This stage identifies whether the concept fits the property before drawings acquire detail.
Approval Gate Before Advancing
Stop if the desired kitchen depends on unverified utility capacity or an assumed drain route. A smaller appliance package or a dry kitchen can be a better project than forcing full indoor-kitchen infrastructure across a difficult yard.
2. Lock Equipment and Permit Drawings
Construction Work in This Phase
Select appliance specifications, not merely brands or sizes, and coordinate their cutouts, clearances, ventilation, connections, and access panels. Complete the permit set and incorporate corrections before ordering custom cabinets or cutting stone.
Approval Gate Before Advancing
Every trade should be working from the same approved plan and current equipment schedule. If the gas contractor, electrician, cabinet fabricator, and countertop installer hold different revisions, the homeowner becomes the accidental project coordinator.
3. Complete Rough Work and Inspections
Construction Work in This Phase
Perform demolition, excavation, drainage, foundations, framing, roofing, and utility rough-ins in the approved order. Keep required work visible until inspection. Photograph routes and dimensions before walls, slab patches, or finish panels conceal them.
Approval Gate Before Advancing
Do not authorize countertop templates or permanent enclosure until rough locations are checked against the actual appliances. A half-inch conflict at a valve, receptacle, or access door can prevent installation even when the island looks complete.
4. Install Finishes and Commission Systems
Construction Work in This Phase
Install exterior finishes, cabinets, countertops, fixtures, appliances, lighting, sealants, and covers. Then test drainage, shutoffs, ignition, receptacles, lighting controls, refrigerator ventilation, hood operation where used, and access-panel removal. Record any adjustment or incomplete item before the final walkthrough.
Approval Gate Before Advancing
Closeout is not “the grill turns on.” Collect permit signoffs, product manuals, finish-care instructions, warranty records, shutoff locations, and photographs of concealed utilities so future service does not begin with demolition.
Decide What the Kitchen Should Leave Out
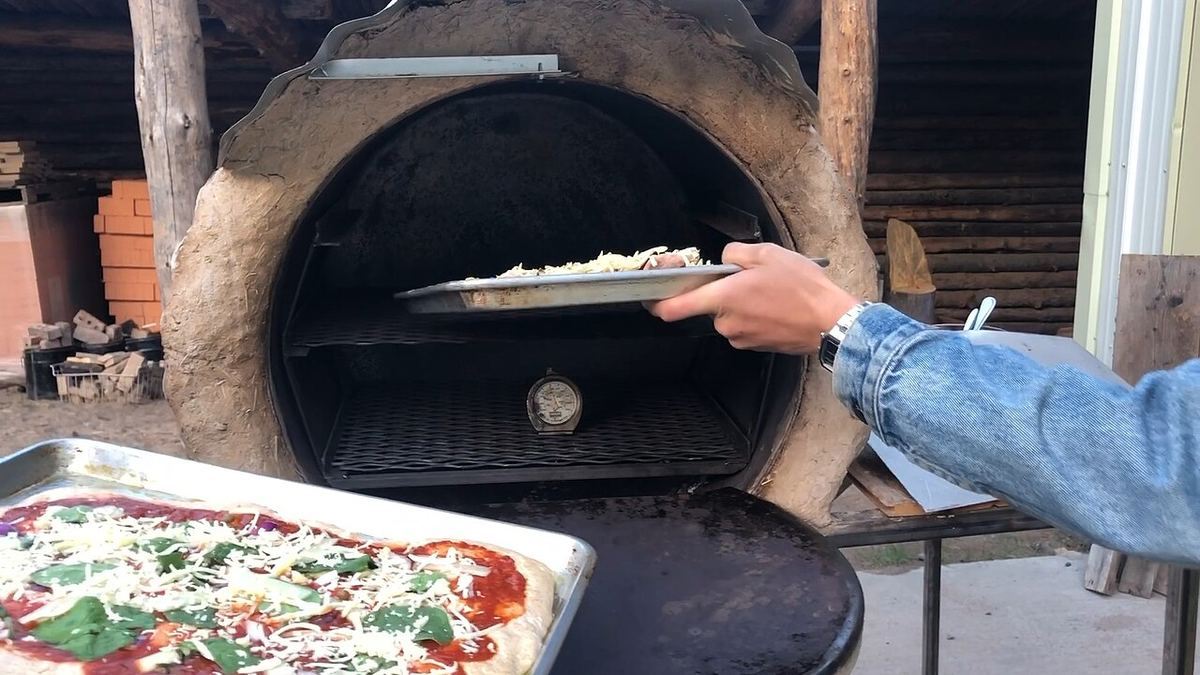
The strongest plan often removes one attractive feature. A sink can be wrong when drainage is difficult and the indoor kitchen is ten steps away. A refrigerator can be wrong when it will be used twice a month in direct afternoon heat. A roof can be wrong when it creates a smoke-management and structural project larger than the kitchen itself.
Spend first on the slab and drainage, safe utilities, counter at the hot zone, task lighting, weather-resistant construction, and a layout that works. Add specialty appliances only when they support a repeated cooking habit. This is the second-order benefit of disciplined planning: the project becomes easier to maintain because every component earned its place.
For broader renovation coordination, see our design-build services and full-house renovation service. The same principle applies indoors and out: one coordinated scope prevents each trade from solving only its own small piece.
Plan the Infrastructure Once and Enjoy It for Years
The best outdoor kitchen feels simple because the hard decisions are hidden: smoke moves away, doors clear each other, the cook has landing space, utilities are serviceable, water drains, materials tolerate the site, and guests never have to cross the hot zone.
Top Tier Building Services Inc. is a Castro Valley general contractor serving the Bay Area under California General Contractor License #1146790. If you want one team to coordinate layout, site work, utilities, permits, finishes, and closeout, request an outdoor-kitchen consultation. Bring the way you cook, the equipment you are considering, and the honest budget; we will help turn those inputs into a buildable scope.
FAQs
Do I need a permit for an outdoor kitchen in California?
Possibly. A portable grill on an existing patio is different from permanent gas, electrical, plumbing, drainage, structural, roof, deck, or retaining-wall work. Requirements vary by city and project scope, so confirm the exact design with the local building department before final pricing or ordering custom components.
How much does an outdoor kitchen cost in the Bay Area?
Broad planning bands are roughly $15,000–$30,000 for a focused built-in grill island, $30,000–$75,000 for a working kitchen with more utilities and storage, and $75,000–$150,000 or more for a covered full-service project. Access, infrastructure, engineering, permits, appliances, and finishes can move the total substantially.
What should I plan first in an outdoor kitchen?
Plan the cooking workflow, guest circulation, heat location, and utility routes first. Then select appliances with actual installation specifications. Cabinets, countertops, and finishes should follow only after clearances, connections, ventilation, access panels, and permit requirements are coordinated.
Is a sink worth adding to an outdoor kitchen?
It is valuable when food preparation and cleanup regularly happen outside and an approved supply and drainage path is practical. When the indoor sink is nearby or drainage is difficult, the trenching, permitting, freeze protection, and maintenance can outweigh the convenience. Decide from use frequency, not a feature checklist.
Which countertop material works best outdoors?
There is no universal winner. Compare ultraviolet stability, heat behavior, staining, wet traction at edges, support around appliance cutouts, sealing needs, and movement across the base. The fabrication and support details are often more important than the material name, especially around hot equipment and long exposed spans.
How long does an outdoor kitchen take to build?
A straightforward island on a ready patio can take several weeks after selections and approvals. A project with design, permits, utility upgrades, structural work, custom fabrication, and inspections can take several months from concept to closeout. The reliable schedule is phase-based and identifies permit, material, and inspection dependencies.