Your front door is more than just an entrance — it’s a statement piece that welcomes guests, reflects your style, and protects your home from the elements. A few strategic DIY upgrades can transform its appearance, boost curb appeal, and improve energy efficiency without requiring a full replacement. In this guide, we’ll walk you through three key projects — painting, hardware installation, and weatherproofing — to give your door a fresh, professional look and help it stand up to wind, rain, and temperature changes year‑round.
Fresh Coat, Fresh Look: Painting Your Front Door
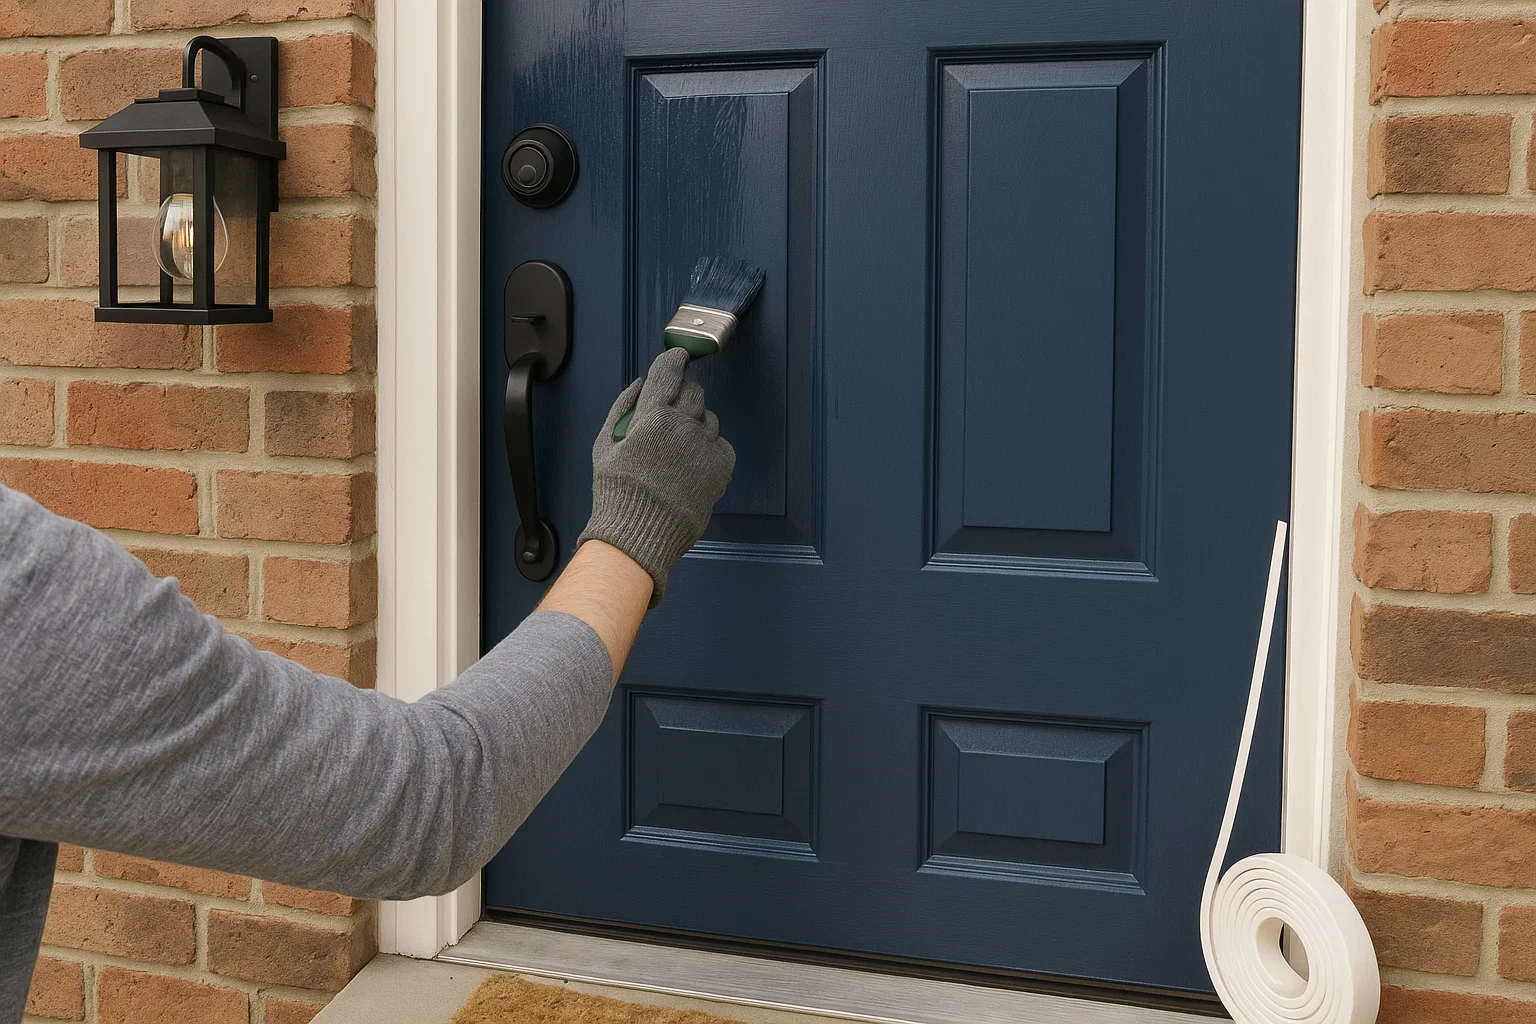
A new paint color can instantly modernize your façade, highlight architectural details, and create a striking first impression. Follow these steps for a smooth, long‑lasting finish:
- Surface Prep Is Everything
Start by removing any existing finish or peeling paint with a putty knife and fine‑grit sandpaper. Wipe the door clean with a mild detergent solution to eliminate dirt and oils. If your door has panels or decorative trim, use a small brush to get into crevices. A clean, dry surface ensures the paint adheres properly and won’t flake. - Choose the Right Paint
For exterior doors, select a paint labeled for exterior use with a semi‑gloss or gloss finish. These finishes resist moisture, wipe clean easily, and highlight details. Opt for a high‑quality, low‑VOC formula to minimize lingering odors. Consider classic neutrals—charcoal gray, navy blue, or crisp white—or go bold with a vibrant red, teal, or mustard to make your entryway pop. - Prime and Paint in Cool, Dry Conditions
Apply a thin layer of exterior primer to seal the wood and block stains. Once it dries (usually 4–6 hours), apply two even coats of your chosen paint, allowing each coat to dry fully per manufacturer instructions. Paint on overcast days or in shaded areas to prevent runs and ensure consistent curing. Lightly sand between coats with very fine sandpaper for an ultra‑smooth finish.
Hardware Upgrades: Style and Security Combined
Swapping out old knobs and locks not only enhances aesthetics but also boosts safety. Here’s how to choose and install new hardware:
- Select Coordinated Finishes
Match your door’s hinges, handle set, deadbolt, and kickplate in the same finish—brushed nickel, oil‑rubbed bronze, matte black, or polished brass—to create a cohesive look. Consider the style of your home: sleek modern pulls suit contemporary facades, while traditional knobs and decorative backplates complement classic or cottage‑style exteriors. - Gather Tools and Mark Precisely
You’ll need a screwdriver, drill, chisels (for mortising), a pencil, and a level. Remove existing hardware and fill old holes with wood filler if necessary. Measure and mark new handle and lock positions carefully, using the template provided by the manufacturer. A level ensures your handle isn’t slightly crooked. - Install with Care
Drill pilot holes to prevent splitting, mortise for latch plates if your new hardware requires deeper recesses, and attach the handle set and deadbolt securely. Test operation several times to ensure smooth latching and locking. Tighten all screws firmly but avoid over‑torquing, which can strip threads or crack wood.
Weatherproofing: Keep the Elements at Bay
A well‑sealed door reduces drafts, prevents water intrusion, and saves on heating and cooling bills. Address these areas:
- Threshold and Sweep
Inspect the bottom of your door for gaps where air or water can enter. Install a door sweep—aluminum or composite with a rubber or nylon seal—along the threshold. Adjustable-fin sweeps let you fine‑tune the seal so the door closes easily while keeping out drafts. - Weatherstripping Around the Frame
Apply adhesive‑backed foam or vinyl weatherstripping to the sides and top of the door frame. Choose a profile that compresses slightly when the door closes, ensuring a snug seal without making the door hard to latch. Remove old stripping first, clean the surface, then press the new seal in place. - Door Bottom Seal and Caulking
For wider gaps, a U‑shaped door bottom seal slides over the edge of the door and brushes against the threshold. In addition, use exterior‑grade silicone caulk around the frame’s exterior—especially at the sill and where trim meets siding—to block water penetration.
Maintenance Tips for Longevity
- Inspect Seasonally: Check paint for chips, hardware for looseness, and seals for wear every spring and fall.
- Lubricate Moving Parts: Apply graphite or silicone lubricant to hinges and locks annually to prevent squeaks and sticking.
- Touch‑Up Paint and Caulk: Keep leftover paint and a small tube of caulk on hand for quick fixes before small issues escalate.
FAQs
Q1: How often should I repaint my front door?
A1: Every 3–5 years, or sooner if you notice fading, cracking, or water damage.
Q2: Can I install a new deadbolt without drilling a second hole?
A2: Some single‑cylinder deadbolts fit into existing handle holes using conversion kits—check the manufacturer’s specs.
Q3: What’s the best time of year to weatherstrip?
A3: Early fall or spring—temperatures between 45°F–75°F allow adhesives to bond properly.
Q4: How do I remove old paint for hardware installation?
A4: Use a heat gun or chemical stripper carefully, then sand smooth before drilling new holes.
Q5: Are low‑VOC paints as durable as conventional paints?
A5: Yes—modern low‑VOC exterior paints offer comparable durability, color retention, and weather resistance.
Conclusion
With just a weekend’s work and a modest budget, you can completely revitalize your front door’s look, security, and performance. Fresh paint sets the tone, coordinated hardware adds both style and safety, and proper weatherproofing keeps your entrance—and your home—dry, draft‑free, and energy‑efficient for years to come.
Ready to upgrade your entryway with professional flair?
Contact Top Tier Building Services today for expert painting, hardware installation, and weatherproofing services in Castro Valley and the Bay Area.
📞 510‑566‑4906 │ ✉️ sales@toptierbuildingservices.com