When a homeowner in the Bay Area decides to upgrade their garage, the visual transformation is usually the primary motivation. However, the true value of a professional upgrade isn’t found in the shine, but in the rigorous Epoxy Garage Flooring Installation Process.
This process is a complex engineering task that balances chemistry, mechanical engineering, and environmental science. In California, where we face specific challenges like high coastal humidity, varied soil expansion, and even seismic considerations for concrete slabs, a ‘kit-in-a-box’ approach simply cannot suffice. To achieve a floor that lasts 20 years or more, installers must follow a meticulous multi-phase workflow that transforms a porous, contaminated concrete slab into a high-performance industrial-grade surface.
This technical guide provides an exhaustive look into the professional-grade installation sequence. We will explore why each step—from diamond grinding to chemical cross-linking—is indispensable for the longevity of your investment.
Phase 1: Advanced Surface Preparation
The single most common reason for floor failure is poor preparation. Many DIY enthusiasts believe that a clean-looking floor is a ready-to-coat floor. This is a dangerous misconception. Concrete naturally contains ‘laitance,’ a weak, friable layer of cement and fine aggregates that rises to the surface during the pouring and curing process. If you apply epoxy to laitance, the epoxy will eventually peel away, taking that weak layer of concrete with it.
Professional installers mitigate this through industrial diamond grinding. Using planetary grinders weighing upwards of 500 pounds, technicians use diamond-infused metal segments to physically shave off the top layer of the concrete. This process serves two vital purposes: it removes all surface contaminants like old oil, tire marks, and sealers, and it creates a Concrete Surface Profile (CSP) of 2 or 3.
This profile is the ‘anchor’ that allows the epoxy to achieve a mechanical bond. Without a proper CSP, the epoxy has nothing to ‘grab’ onto, leading to delamination under the stress of hot tire pickup or heavy traffic.
Phase 2: Environmental Assessment and Moisture Mitigation
In California, particularly in regions like San Francisco or San Jose, moisture vapor transmission (MVT) is a constant threat to resinous flooring. Concrete acts like a sponge, absorbing moisture from the ground. As temperatures rise, this moisture turns into vapor and moves upward through the slab. If an impermeable layer of epoxy is placed over a moist slab without proper mitigation, the vapor pressure will build until it forms blisters or bubbles in the finish.
Before installation begins, professionals conduct calcium chloride tests or use electronic moisture meters to determine the ‘pounds per 1000 square feet’ of moisture emission. If the levels are high, a specialized Moisture Vapor Barrier (MVB) primer is applied. This high-density resin is engineered to withstand hydrostatic pressure, sealing the slab and ensuring the decorative layers above remain unaffected by underground water activity.
Phase 3: Structural Remediation and Joint Integrity
A seamless floor is only as good as the underlying structure. Every concrete slab has ‘control joints’ designed to allow for shrinking and expansion. Ignoring these joints or filling them with standard caulk is a recipe for disaster. Professional installers use high-strength, semi-rigid polyurea or epoxy joint fillers. These materials are designed to bond to the sidewalls of the joint while maintaining enough flexibility to move with the house.
Additionally, any spiderweb cracks or pitting from years of salt or chemical exposure are meticulously ground out and filled with a high-modulus ‘mending’ epoxy. This ensures that when the final layers are applied, the surface is perfectly flat and structurally sound, preventing telegraphing (where cracks show through the new floor) months down the road.
Phase 4: Chemical Bonding – Primer and Base Coats
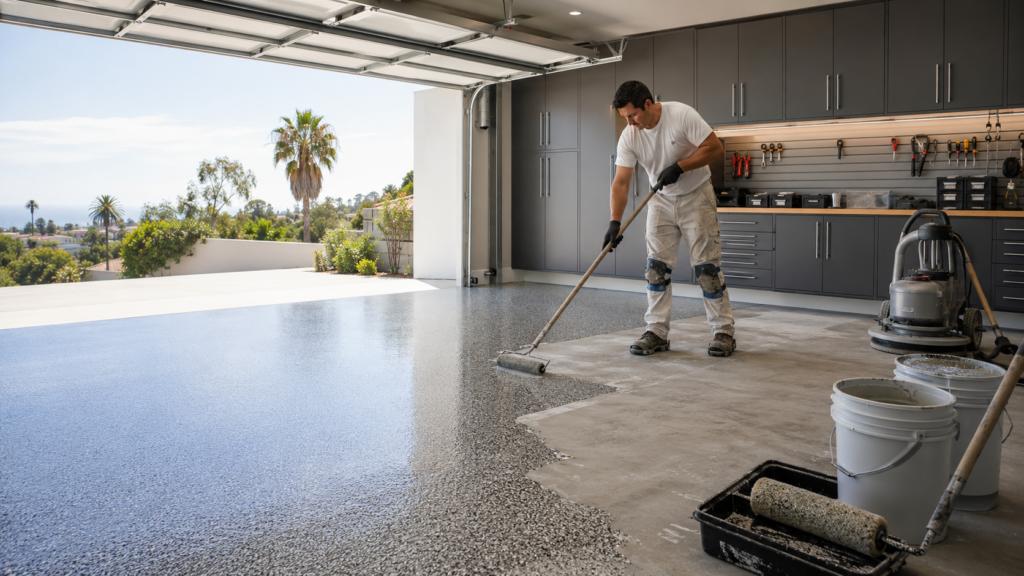
Once the ‘prep work’ is finished, the chemical transformation begins. The first layer is typically a low-viscosity, 100% solids epoxy primer. Because the floor has been diamond-ground, the pores are wide open, allowing this primer to ‘wick’ deep into the concrete. This is the difference between a topical coating and a chemical root system. This primer layer acts as the glue that ties the concrete to the high-build body coat.
The body coat is where the floor gains its thickness and strength. In a flake system, this layer is applied at a heavy mil thickness, and the decorative vinyl chips are broadcast to ‘refusal.’ This means hundreds of pounds of flake are spread over the wet resin until the entire surface is covered. This not only provides the color but adds a significant layer of impact resistance and texture to the floor.
Phase 5: The Topcoat – UV Stability and Chemical Shield
The final phase is arguably the most important for aesthetic longevity: the topcoat. Standard epoxy is notoriously susceptible to UV damage; it will ‘chalk’ and turn an unattractive amber color when exposed to sunlight. In the bright California sun, this can happen in less than a year.
To prevent this, professionals use Polyaspartic or Polyurethane topcoats. These materials are ‘aliphatic,’ meaning they are chemically structured to be UV-stable. Beyond color protection, these topcoats provide the ‘sacrificial’ layer that resists scratches, oil spills, and the intense heat of high-performance tires. A polyaspartic topcoat is what gives the floor its ‘liquid glass’ finish while providing the grip necessary for safety.
Process Comparison: At a Glance
| Installation Metric | DIY Standard | Professional Standard |
| Surface Prep | Acid Wash (Chemical) | Diamond Grinding (Mechanical) |
| Moisture Control | Not Addressed | Moisture Vapor Barrier (MVB) |
| Bond Depth | Topical / Surface Level | Deep Rooted / Interstitial |
| UV Stability | None (Yellows quickly) | Polyaspartic Aliphatic (Stable) |
| Thickness | 3-5 Mils (Thin) | 20-35 Mils (Structural) |
| Repair Work | Patch kits (Visible) | Epoxy Mending (Invisible) |
Maintaining the Standard
Once the multi-day installation process is complete, the maintenance is surprisingly simple, but the first 72 hours are critical. While the floor may feel hard to the touch in 24 hours, the chemical ‘cross-linking’ continues for several days. Driving a vehicle onto the floor too early can cause ‘v-grooves’ in the finish or compromise the bond.
Conclusion
The professional epoxy garage flooring installation process is far more than just a painting project. It is a comprehensive renovation that addresses the health and longevity of your concrete slab. By understanding these steps, Bay Area homeowners can appreciate the massive difference in value between a weekend DIY project and a lifetime flooring solution.
For a full breakdown of how these specialized steps translate into local pricing, be sure to visit our comprehensive Bay Area epoxy garage flooring cost guide.