
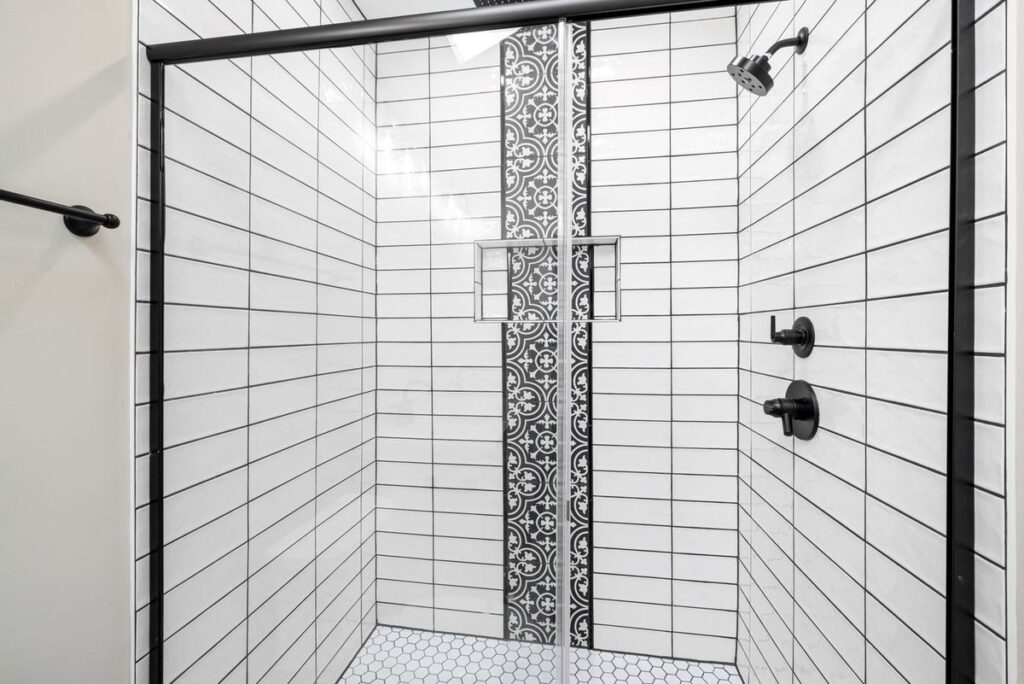
When the grout in your shower goes cracked, crumbling, or stubbornly dark in the corners, the instinct is to dig it out and start over. Often that instinct is right, and knowing how to regrout a shower properly will buy you years of a clean, watertight wall for the cost of an afternoon. But regrouting is only half a technique job. The other half is diagnosis, because grout is not what keeps water out of your walls, and replacing it will not fix a shower that is failing for a reason grout was never responsible for. This guide covers both halves: how to remove the old grout and lay new grout that lasts, and how to read whether your shower actually needs regrouting or something more.
Key Takeaways
- Regrouting replaces failing grout in the joints; it is a different job from grouting brand-new tile and from simply cleaning grout that is only discolored, not damaged.
- You do not have to remove one hundred percent of the old grout, but you must rake out every loose or cracked section and cut the sound grout down to at least two-thirds depth so the new grout has something to bond into.
- Grout is water-resistant, not waterproof. In a properly built shower a hidden membrane or pan does the waterproofing, so fresh grout will never stop a leak that is coming from behind the tile.
- For a shower that stays wet, epoxy grout resists water and mold far better than cement grout and never needs sealing, at the cost of a harder, faster installation and a higher price.
- Loose tiles, a hollow tapping sound, or mold that returns days after every cleaning are signs the problem lives behind the tile, where regrouting cannot reach.
What This Guide Covers
- What Regrouting a Shower Really Fixes and What It Cannot
- How to Tell Tired Grout From a Waterproofing Failure
- How to Remove the Old Grout Without Cracking the Tile
- Do You Have to Remove All the Old Grout to Regrout
- How to Regrout a Shower Floor Without Trapping Water
- Choosing the Best Grout for a Shower Regrout
- How to Cure and Seal a Shower Regrout So It Lasts
- When Regrouting Is the Wrong Call
- Ready to Fix the Shower the Right Way
- FAQs
What Regrouting a Shower Really Fixes and What It Cannot
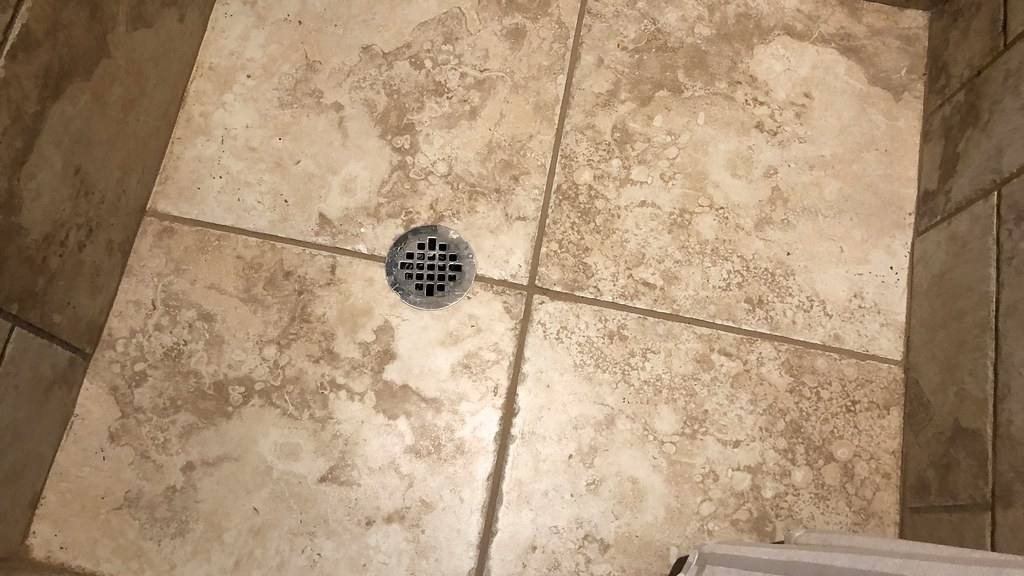
Regrouting means removing the old grout from between your tiles and packing fresh grout back into the joints. It is worth being precise about that, because three different jobs get blurred together in most people’s minds. Cleaning grout restores color to grout that is intact but stained, and if that is all you have, a regrout is wasted effort and money, so try a thorough cleaning first, on the same maintenance-before-replacement logic behind our guide to maintaining natural stone floors. Grouting fresh tile is the finishing step of a new installation, a job whose outcome is decided much earlier by the material itself, which our comparison of porcelain and natural stone in high-moisture showers works through. Regrouting sits between them: the tile stays, the old grout goes.
What regrouting genuinely fixes is a real list: hairline cracks in the joints, grout that has powdered out and left gaps, uneven or patchy old work, and surface staining too deep to clean. What it cannot fix is anything happening behind the tile. Grout fills the seams between tiles and sheds most of the water that hits it, but it is porous and it moves, and a working shower never relied on it to stay dry. That job belongs to the waterproofing layer underneath, and no amount of new grout substitutes for it.
How to Tell Tired Grout From a Waterproofing Failure
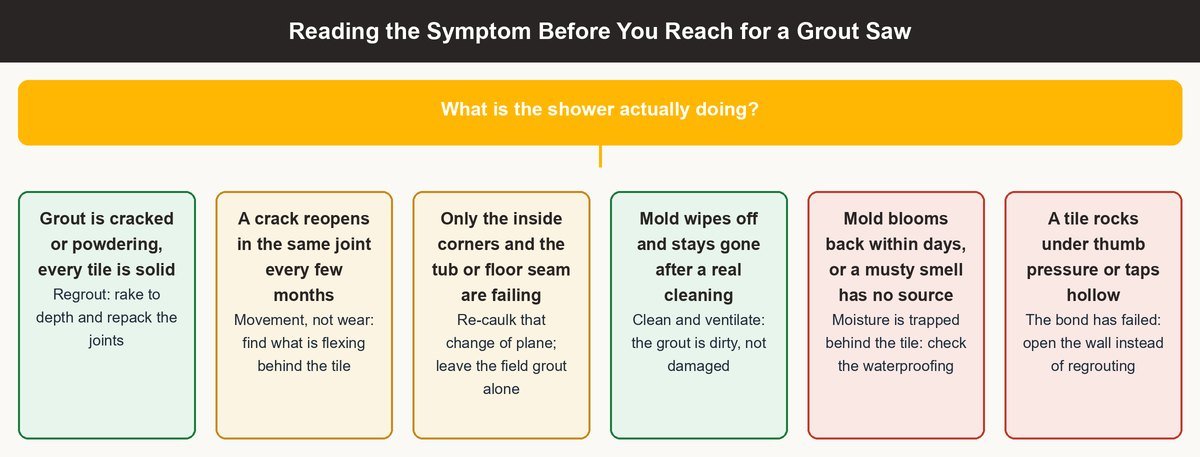
This is the diagnosis step almost every online tutorial skips, and it is the one that saves you from doing a careful regrout on a shower that needed to be opened up. Before you remove a single joint, spend ten minutes reading the whole shower for the signs that the trouble is deeper than the grout.
Loose Tiles and a Hollow Tapping Sound
The Knuckle Tap Test
Tap across the whole field with a knuckle or the wooden handle of a screwdriver. Sound tile bedded in solid thinset gives a sharp, high click; tile over a void or a wet, failing substrate gives a dull, hollow thud that you can hear change as you move across the wall. Mapping those hollow zones tells you where the wall behind the tile has already let go.
Tiles That Shift Under Thumb Pressure
Once a tile rocks or lifts, water has been getting behind it long enough to break the adhesive, and grouting its edges only hides the movement. That tile and its neighbors need to come off so someone can see what the wall is doing underneath.
Grout That Cracks Back in the Same Line
A Crack That Reopens in One Line
Grout wears out evenly and randomly, but a crack that returns to one specific line every few months is being pulled apart by something flexing behind it, usually a poorly supported wall, a missing movement joint, or seasonal shifting. Regrouting that line just gives the movement a fresh joint to break.
Crumbling Only at a Change of Plane
Inside corners and the seam where wall meets floor or tub are supposed to hold flexible sealant, never rigid grout, so if that is the only place failing, you re-caulk rather than regrout the whole shower.
Mold That Returns After Every Cleaning
Surface Mold That Stays Gone
Ordinary shower mold is a housekeeping problem that lives on the grout surface, feeding on soap film and staying gone once you clean and ventilate. If a good cleaning clears it and it does not race back, your grout is merely dirty and may not need replacing at all.
Mold That Returns Within Days
Mold that blooms back within days, or a musty smell with no visible source, is a different problem. When the substrate stays wet, mold has a permanent food source you cannot reach from the surface, and new grout seals that moisture in rather than out. That pattern is your cue to investigate the waterproofing, not to regrout.
How to Remove the Old Grout Without Cracking the Tile
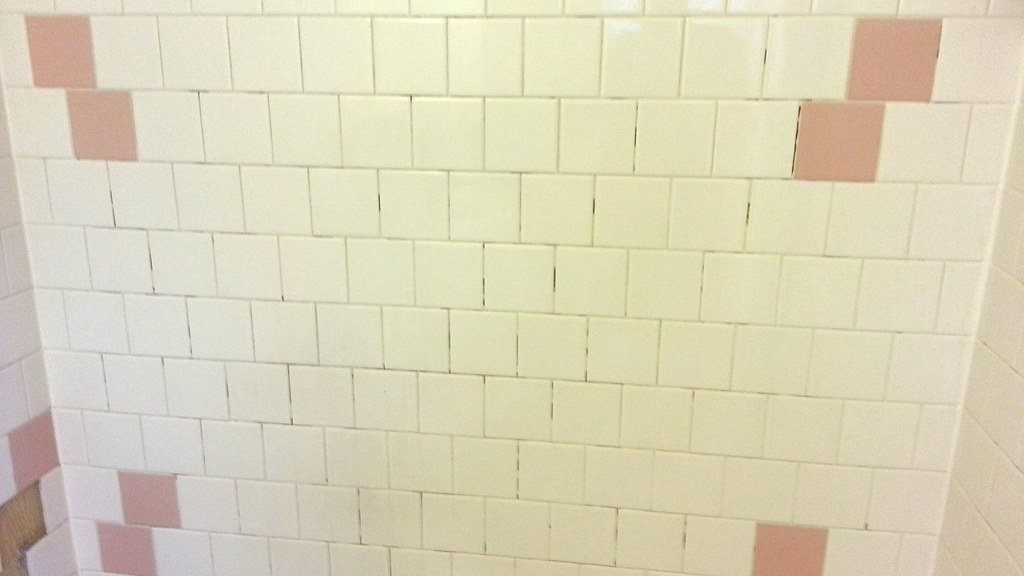
Once you have decided the grout itself is the problem, removal is the part that separates a clean regrout from a shower full of chipped tile edges. The whole task is controlled cutting: you are carving out old grout while keeping the blade off the glaze on either side.
Choosing a Grout Saw or an Oscillating Tool
Where the Manual Grout Saw Wins
It is a carbide-edged blade on a handle that you drag along the joint, and it is the cheapest tool that will do the job, and because it is slow and human-powered it almost never damages tile, which makes it the right first tool for a small shower or a handful of joints. The trade is your hands: a full shower by hand is genuinely tiring work.
Why Pros Reach for an Oscillating Tool
Its tiny back-and-forth motion cuts grout quickly and hugs inside corners a rotary tool cannot reach, but it throws a lot of dust and will skate onto the glaze the instant your angle drifts, so you keep the blade square in the joint and let the tool do the work.
How Deep to Rake the Old Grout Out
Rake to Two-Thirds of Joint Depth
New grout needs a real channel to key into, so aim to leave no more than a shallow, solid base and clear at least two-thirds of the depth, or roughly an eighth of an inch of open joint at a minimum. Skimming a thin layer of new grout over a nearly full joint is the number-one reason regrouts fail within a year.
Every Failing Section Comes Out
Sound grout can stay as a bonding base, but anything failing must be removed entirely down to the substrate, because new grout laid over compromised grout inherits the same weakness. Vacuum the joints clean and let them dry before you mix anything.
Do You Have to Remove All the Old Grout to Regrout
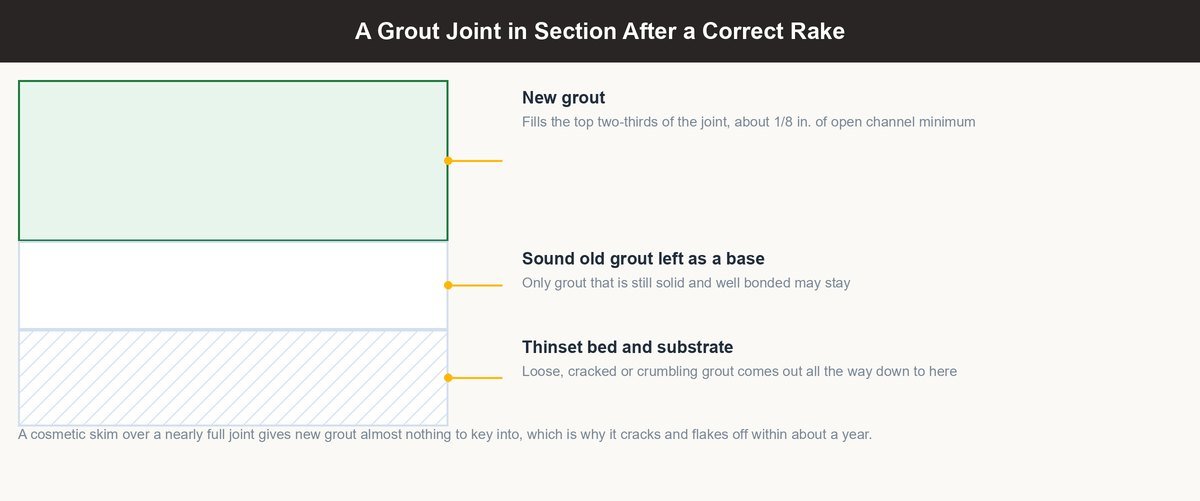
This is the question that drives most of the searching, and the honest answer is more useful than a flat yes or no. You do not have to remove every trace of the old grout, but you cannot get away with removing almost none of it either, and the difference between those two is where showers either last or leak.
When a Partial Regrout Is Genuinely Enough
When a Localized Regrout Is Enough
If only one wall, one band of joints, or the area around the valve has cracked while the rest is sound and well-bonded, you can rake out and replace just the failing zone and blend it into the existing grout. This is common and completely legitimate work.
The Color-Match Catch on Partial Work
Years of use darken and dull grout, so a fresh patch often reads brighter than the surrounding joints even in the same color, which is why a partial regrout on a prominent wall sometimes looks worse than leaving it. On a shower floor or a low-visibility corner, nobody notices.
Why Skimming New Grout Over Old Fails
Grout Bonds to Depth, Not Surface
Troweling a thin coat of new grout across intact old grout gives it almost nothing to grip, so it sits as a brittle skin that cracks, powders, and flakes off the first time the joint flexes or the tile expands with heat. It looks finished for a month and then unravels.
A Skim Coat Traps the Problem
If the old grout was moldy or holding moisture, sealing a new layer over it locks the problem in where you cannot clean it, and you have spent effort making the shower worse. If a joint is worth regrouting at all, it is worth raking to depth first.
How to Regrout a Shower Floor Without Trapping Water
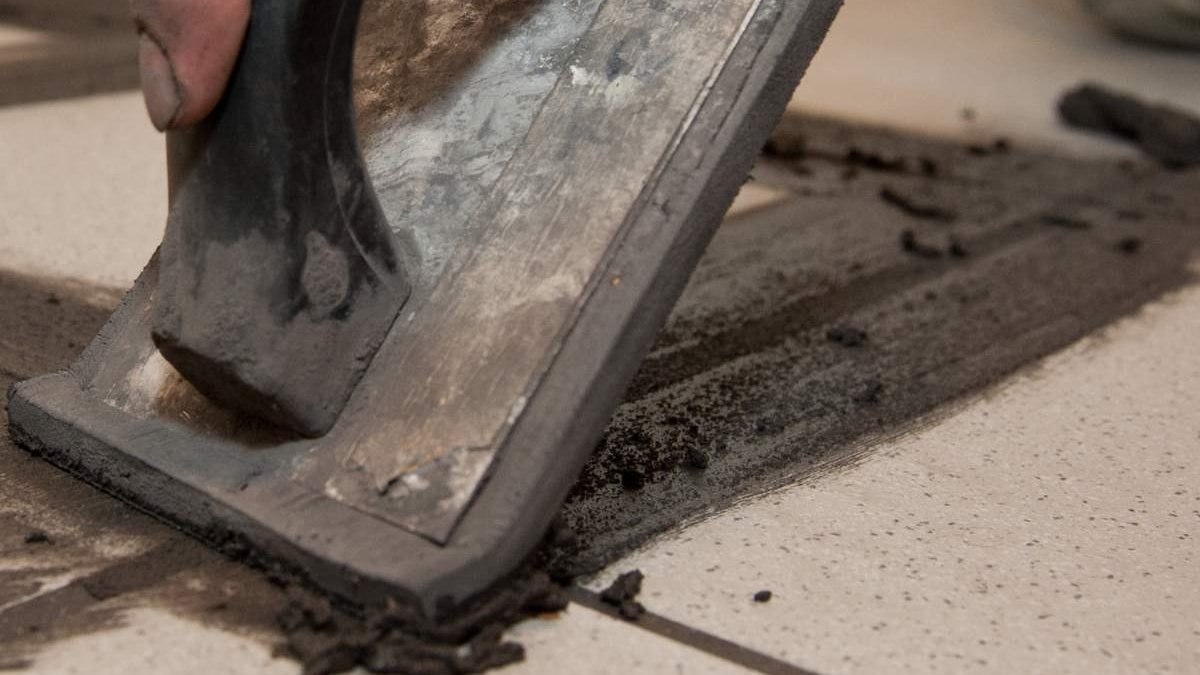
The floor is a different environment from the walls and deserves its own thinking. It carries foot traffic, it holds standing water on its way to the drain, and it sits directly over the pan, which is the part of the shower most likely to fail invisibly. Learning how to regrout a shower floor is really about respecting what is underneath it.
Shower-floor joints are usually wider and, on a mosaic or hex floor, far more numerous than wall joints, so removal takes longer and a sanded or purpose-made floor grout is almost always the right choice for the width. Work the grout diagonally across the joints with a float, pack it fully so no voids remain under the surface, and keep the drain clear as you go. Above all, respect the slope: the floor is pitched a quarter inch per foot toward the drain for a reason, and your job is to refill the joints without leaving high spots or dams that pond water.
The floor is also where the waterproofing question comes back hardest. If the grout on the floor keeps failing, or you see efflorescence, persistent damp, or staining on the ceiling of the room below, the pan liner underneath may be compromised, and regrouting the surface will not touch it. A floor that will not stay grouted is often a floor telling you the assembly below has reached the end of its life.
Choosing the Best Grout for a Shower Regrout
Grout choice matters more in a shower than anywhere else in the house, because this is the one surface that is wet for part of every day. The best grout for a shower regrout depends on the joint width, how much maintenance you are willing to do, and how aggressively that particular shower grows mold.
Cementitious Grout for Most Shower Walls
Sanded Versus Unsanded Is Joint Width
Use unsanded grout for joints under an eighth of an inch and on polished or soft stone tile that sanded grout would scratch, and use sanded grout for anything wider because the sand keeps it from shrinking and cracking in a fat joint. Getting this pairing wrong is a common cause of cracked new grout.
Cement Grout Trades Ease for Sealing
It is cheap, widely available, and slow enough to work at a homeowner’s pace, but it is porous, so it must be sealed after it cures and resealed periodically or it will drink water and stain. If you skip the sealing, you have bought yourself another regrout.
Epoxy Grout Where Water and Mold Keep Winning
Epoxy Grout Needs No Sealer
Made from resin and hardener rather than cement, it resists water, stains, and mold far better than any cement grout, which makes it the strongest choice for a shower that has fought mold for years or a steam shower that stays saturated. In the right shower it is genuinely the last regrout you will do for a very long time.
Epoxy Pays for Speed With Difficulty
Epoxy sets quickly, is sticky and difficult to tool cleanly, and costs several times what cement grout does, so it punishes a slow or first-time installer. This is the grout where paying a pro most often pays for itself.
Matching New Grout to the Existing Color
Match the Aged Grout, Not the Chip
Existing grout has darkened with age and mineral deposits, so a brand-new bag in the original color will usually look brighter than the joints around it. Bring a cleaned sample or a clear photo to the store and expect to go a shade darker to blend a partial regrout.
Cement Grout Dries Lighter Than Wet
The color you see while packing the joint is not the final color; cement grout lightens noticeably as it cures over the following days, which is why matching against a wet joint fools people. When in doubt, grout a small test section and let it fully dry before committing to the whole shower.
How to Cure and Seal a Shower Regrout So It Lasts
The last stage is where patience does the heavy lifting, and where the corners get the treatment the field does not. Once the joints are packed and wiped clean with a barely damp sponge, the grout has to cure before it meets water. For cement grout that means keeping the shower dry for the time on the bag, typically forty-eight to seventy-two hours, and waiting the full cure before you seal it, often around a week. Epoxy grout cures faster, usually ready for use in about a day, and needs no sealer at all.
The corners are their own rule. Inside corners and the seams where the wall meets the floor, the curb, or a tub are changes of plane that flex, and the tile industry standard is to fill them with a flexible sealant rather than rigid grout. The Tile Council of North America keeps its movement-joint guidance in Detail EJ171 of the TCNA Handbook, and its own materials guidance calls for those joints to be filled with a flexible sealant, silicone included where traffic is not a concern, rather than rigid grout. That is why a shower that cracks only in the corners was almost always grouted where it should have been caulked.
When Regrouting Is the Wrong Call
Some showers are past the point where new grout is doing anything but delaying a bigger conversation. If the diagnosis at the top of this guide turned up loose tiles, hollow zones, recurring mold, or evidence of water reaching the framing, the assembly behind the tile has failed and the fix is a controlled tear-out and rebuild of the waterproofing, not a regrout. Older Bay Area homes make this call more often than newer ones, because many were built over mortar-bed pans that have a finite lifespan and because seasonal soil movement works cracks into rigid tile assemblies over decades.
Once the work crosses from surface repair into opening the wall, it usually crosses into remodel territory, where a licensed contractor, proper waterproofing, and sometimes a permit come into play. If your shower is telling you it is more than a grout problem, our bathroom remodeling team can open it up, confirm what is happening behind the tile, and rebuild it to last rather than reseal a failure you cannot see.
Ready to Fix the Shower the Right Way
Whether your shower needs an honest afternoon of regrouting or it is quietly leaking behind the tile, the smart first move is knowing which one you are dealing with before you spend a weekend on the wrong repair. Top Tier Building Services (CSLB #1146790) brings licensed, Bay Area craftsmanship to bathrooms of every size, from a clean regrout to a full waterproofed rebuild. Contact us to walk through your shower and get a clear, honest plan for making it watertight.
FAQs
Do you have to remove all the old grout to regrout a shower?
No, you do not have to remove every trace, but you cannot leave it mostly intact either. Rake out all the loose, cracked, or crumbling grout completely, and cut the sound grout down to at least two-thirds of the joint depth so the new grout has a real channel to bond into. Skimming fresh grout over a nearly full joint is the most common reason a regrout fails within a year.
How do you remove old grout from a shower?
Use a manual grout saw for a few joints or tight corners, or an oscillating multi-tool with a flat grout blade for a whole shower. Keep the blade square in the joint and off the tile glaze, rake each joint down to at least two-thirds depth, and vacuum the joints clean before you regrout. Wear an N95 mask and run a vacuum, because cutting cement grout releases silica dust.
What is the best grout for a shower regrout?
For most shower walls, a quality cementitious grout works well as long as you seal it and reseal it periodically. For a shower that stays wet or has fought mold for years, epoxy grout is the best choice because it resists water and mold and never needs sealing, though it is harder to install and costs more. Match sanded grout to joints an eighth of an inch and wider, and unsanded to narrower joints.
Can you regrout a shower without removing all the old grout?
Yes, for a localized failure. If only one area has cracked while the rest is sound and well-bonded, you can rake out and replace just that zone and blend it in. The limitation is color, since a fresh patch often looks brighter than aged grout around it. What you cannot do is trowel a thin skim of new grout over intact old grout across the whole shower, because it will not bond and will flake off.
How long does grout need to cure before you can shower?
Cement grout typically needs forty-eight to seventy-two hours dry before it meets water, and around a full week before you seal it, though you should always follow the timing on the bag. Epoxy grout cures faster and is usually ready to use in about a day, and it needs no sealer. Using the shower too soon washes uncured grout out of the joints and undoes the work.
Will regrouting a shower stop a leak?
Only if the leak is coming through failed surface grout, which is rare. Grout is water-resistant, not waterproof; the real waterproofing is a hidden membrane behind the wall and a pan liner under the floor. If water is reaching your framing, the subfloor, or the ceiling below, the waterproofing has failed and regrouting the surface will not stop it. That situation calls for opening the shower up, not resealing it.