Whether you’re recording podcasts, practicing an instrument, or working on noisy power tools, sound can travel far beyond your workspace—disrupting family members, neighbors, or evening relaxation. Effective soundproofing transforms your home studio or garage workshop into a focused, low-disturbance environment. With the right materials, layout tweaks, and installation techniques, you can contain noise where it belongs and improve audio quality or workshop comfort. In this guide, we’ll explore practical strategies that fit a range of budgets and skill levels, ensuring your creative or mechanical projects stay on track without driving everyone else crazy.
Evaluate Your Space and Identify Noise Paths
Before adding panels or barriers, take time to listen and observe. Stand inside the room at different times—play your loudest track or run your tools—and note where the sound seems to leak. Doors with gaps, uninsulated walls adjoining living areas, and single-pane windows often reveal themselves as primary culprits. Ceilings, floors, and any shared walls or vents also deserve attention. A careful walkthrough helps you prioritize areas that will yield the biggest reduction in sound transmission once addressed.
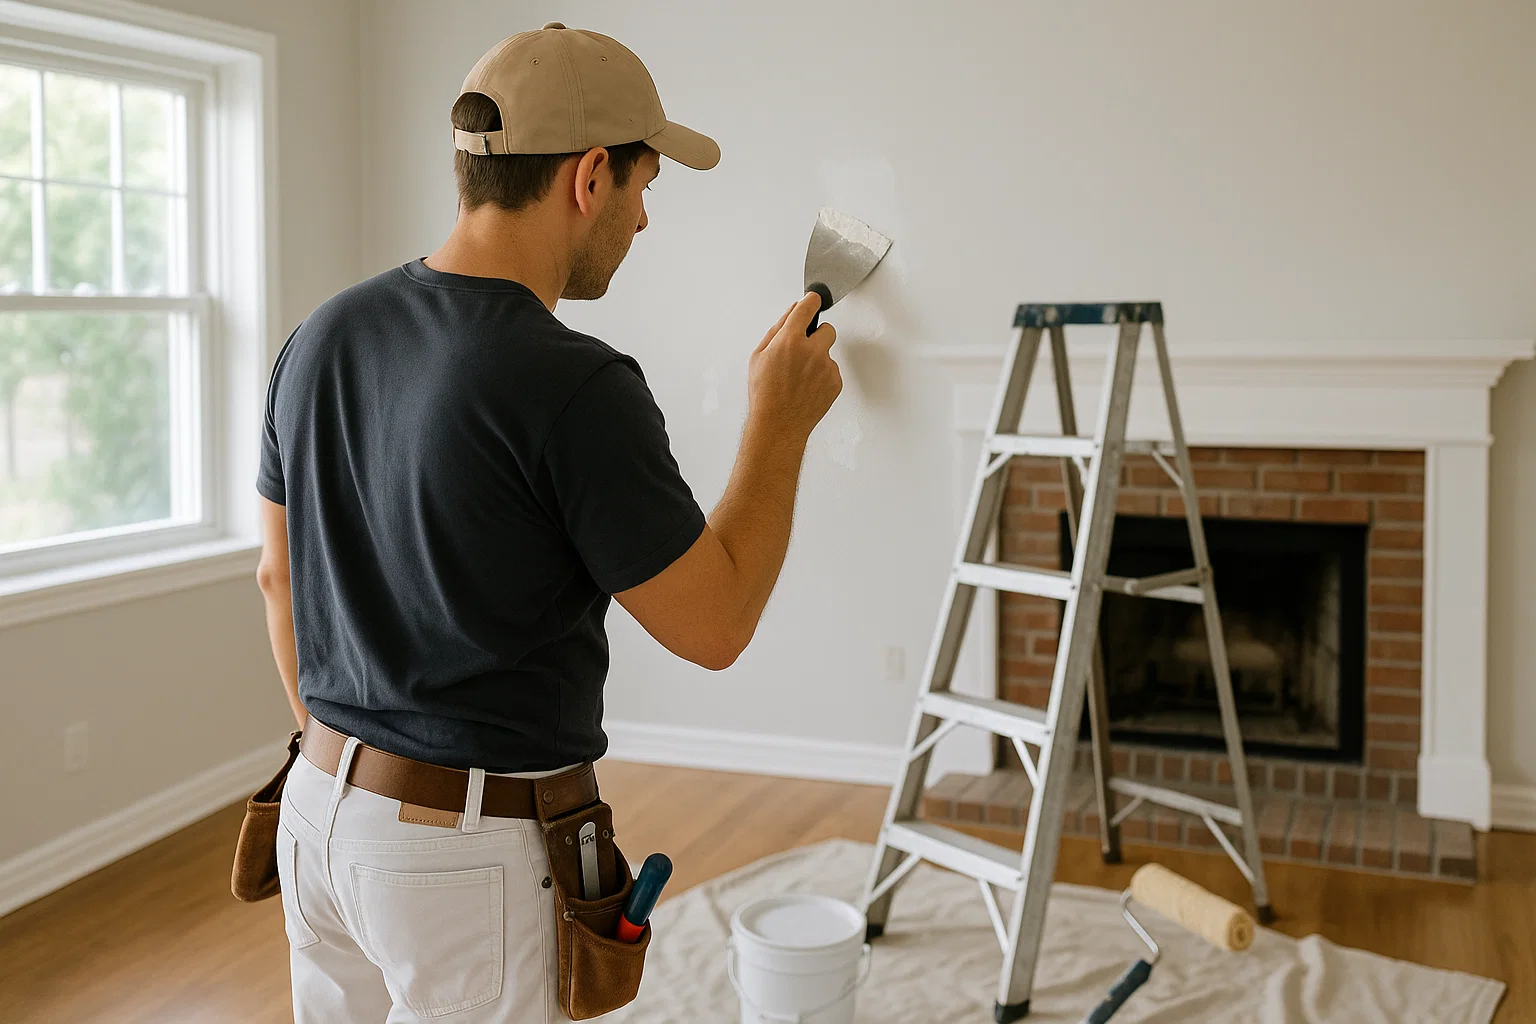
Seal Gaps and Cracks for Immediate Reduction
Even the best insulation and panels can be undermined by tiny openings. Begin by tightening door bottoms with adjustable sweeps or installing automatic drop seals that close when the door shuts. Apply weatherstripping around door jambs and window frames to block air—and thus sound—leaks. Fill cracks in walls or around electrical outlets with acoustic sealant rather than ordinary caulk; it remains flexible and maintains the sound barrier over time. These straightforward steps cut rattles and airborne noise, giving a quick improvement before you tackle larger treatments.
Add Mass with Specialized Materials
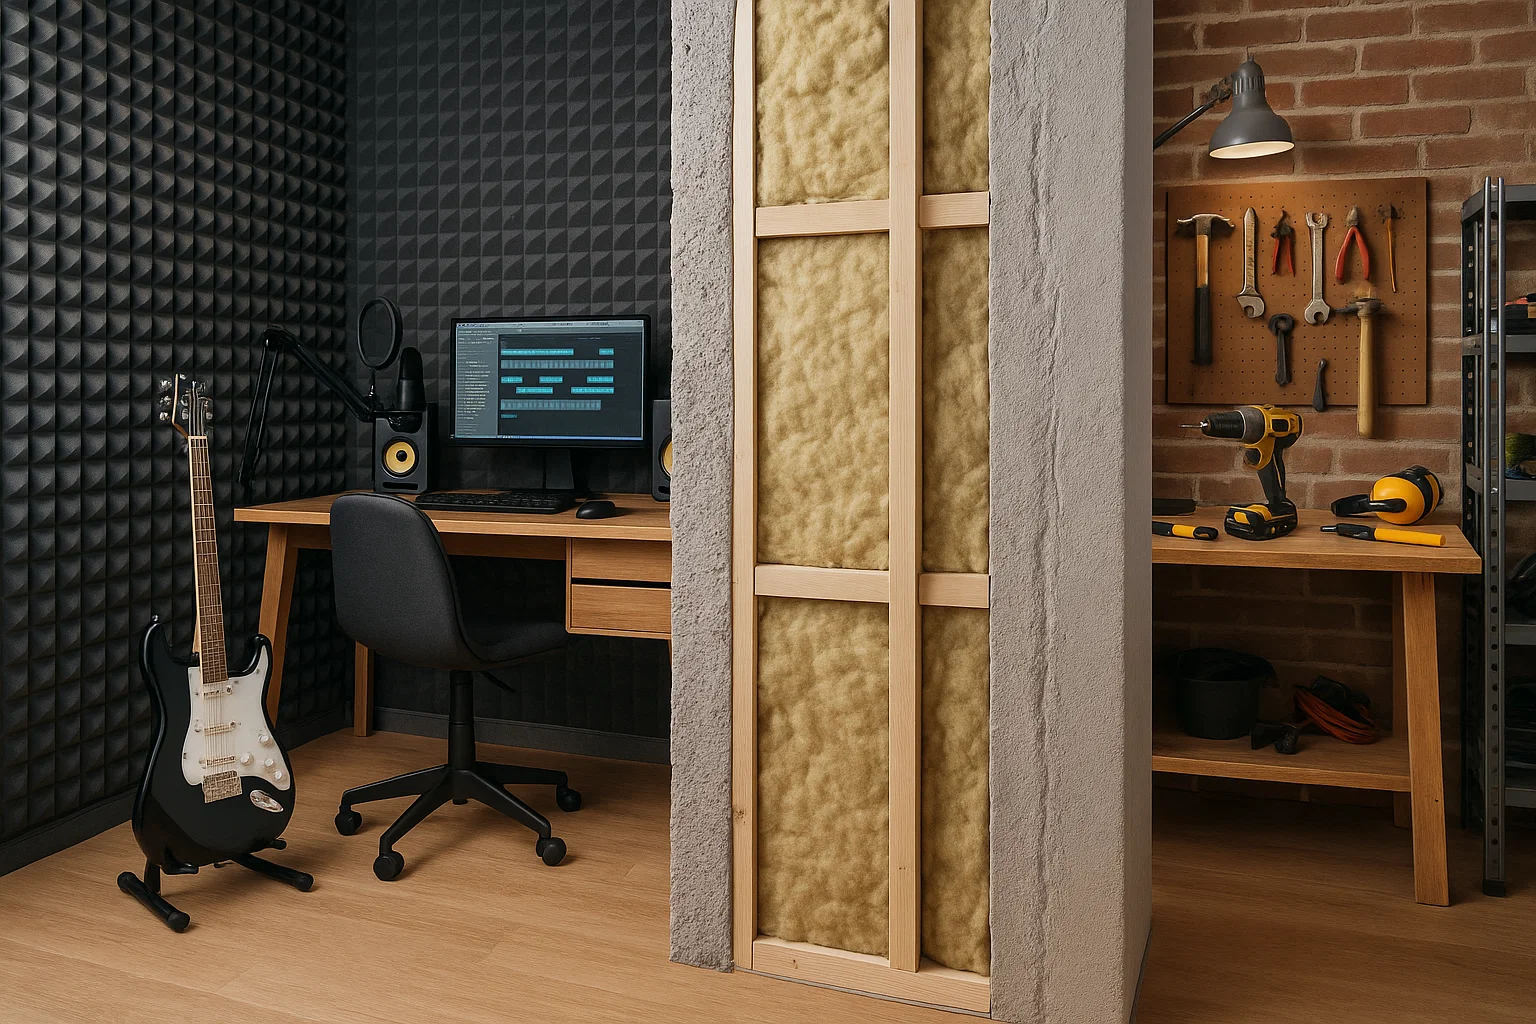
Soundproofing relies on mass to block waves, so consider adding an extra drywall layer using sound-damping drywall or standard gypsum board with a layer of viscoelastic damping compound between boards. This “mass-loaded” construction dramatically impedes sound transmission. For ceilings, resilient channels decouple drywall from joists, creating a gap that reduces vibration transfer. While these upgrades are more involved, they pay off with a solid reduction in both airborne sounds—like music or conversations—and impact noise from footsteps or dropped tools.
Absorb Echoes with Acoustic Treatments
Once you’ve blocked outside noise, refine the room’s internal acoustics. Install thick acoustic panels or foam wedges on walls to absorb mid and high frequencies, taming harsh reflections that muddy sound recordings or amplify tool noise. For especially reflective surfaces, add bass traps in corners—triangular panels that soak up low-frequency buildup. A thick rug on the floor or heavy curtains over windows absorb footfalls and airborne echoes, making your workspace more comfortable to occupy and improving audio clarity during recordings or calls.
Decouple and Isolate Vibrations
Power tools and heavy equipment introduce structure-born noise, rattling floors and walls. Placing isolating pads—rubber or cork-based mats—beneath machinery prevents vibrations from traveling into the structure. For studio gear, floating platforms built on neoprene isolators lift monitors or turntables off shelves, cutting low-frequency rumble. If your workshop sits above living areas, consider building a secondary floor on rubber pads for a professional level of isolation.
Consider Window and Duct Solutions
Windows notoriously leak sound. Retrofit single-pane windows with thick acoustic curtains or custom-fit acrylic panels that clamp onto the frame. For ultimate performance, upgrade to double- or triple-paned glass with laminated acoustic interlayers, though this is a larger investment. HVAC and dryer vents can channel noise throughout the home—install duct liners, bend ducts with acoustic flex tubing, or add sound baffles to disrupt the path. These measures keep your workspace contained, even when machinery or air handlers run.
Maintain Comfort and Ventilation
Soundproofing can make a room feel stuffy without airflow. Integrate quiet ductless minisplit units or install low-noise inline fans to circulate fresh air without compromising sound isolation. Ensure vents and any electrical conduits are sealed around the edges with acoustic putty or grommets. Balanced ventilation preserves air quality for long sessions in a studio or workshop while maintaining your hard-earned sound barrier.
Conclusion
Creating a quiet, professional-quality workspace at home requires a combination of sealing, mass-loading, absorption, and vibration isolation. By identifying noise paths, sealing gaps, adding mass to walls and ceilings, treating echoes, and decoupling equipment, you’ll transform your garage or studio into a controlled environment where creativity and productivity flourish—without disturbing the rest of your household or neighborhood.
For expert installation of soundproofing materials and custom solutions tailored to your space, reach out to Top Tier Building Services. We’ll help you design, source, and install effective treatments so you can focus on your craft—quietly.
📞 510-566-4906 │ ✉️ sales@toptierbuildingservices.com