
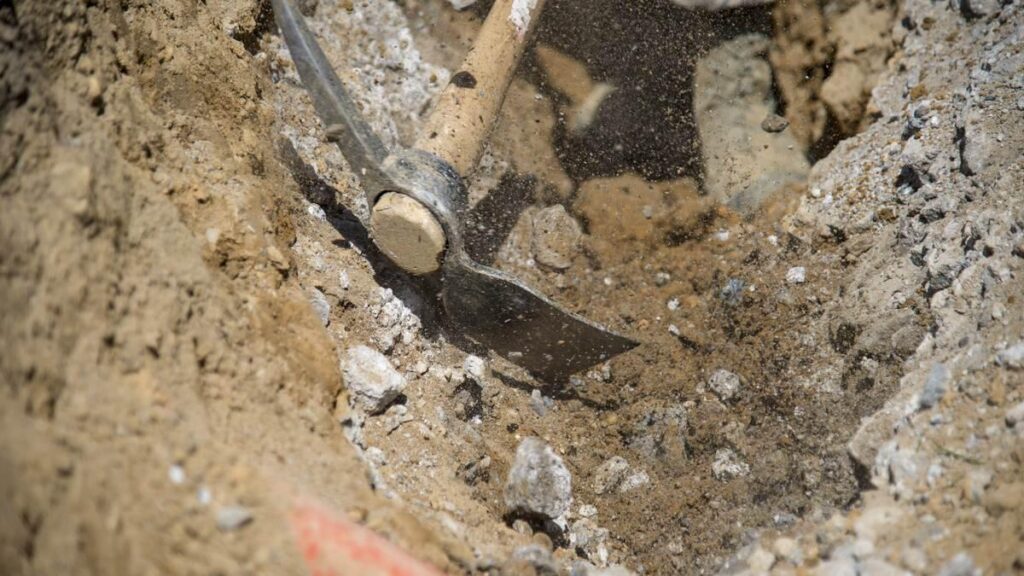
Here is the short version of how to install a french drain. Dig a trench that drops at least one inch for every ten feet. Line it with non-woven fabric. Bed a four-inch perforated pipe in washed rock. Fold the fabric closed over the top. Then give the water a real exit. A determined homeowner can do that in a weekend or two. But the digging is not why so many drains stop working in a few years. The failures come from backfill choices — the rock, the fabric, and the slope you can no longer see once the sod goes back down. This guide covers the install the way a contractor would plan it.
Key Takeaways
- Build in at least a 1 percent fall. That is one inch of drop per ten feet of pipe. Prove it with a string line, not your eye.
- Non-woven fabric decides whether the drain lasts decades or silts shut. Woven weed barrier is not a substitute.
- Use washed, angular rock about 3/4 to 1.5 inches. Pea gravel and dusty rock are the most common backfill mistakes.
- Every drain needs a real outlet — daylight, a dry well, or a sump. A pipe that just ends in the soil stores water instead of moving it.
- Shallow yard drains are fair DIY work. Foundation, basement, and hillside drains belong with a licensed pro.
What This Guide Covers
Why Most French Drains Quit Early
A french drain is not really a pipe. It is a filter, and filters clog. The design is old and proven — it is named for Henry French, who spread the idea in an 1859 book on farm drainage. So when a drain quits after three or four rainy seasons, the concept is not the problem. The usual causes are simple. Soil fines creep into bare rock. Round pea gravel packs tight. A flat pipe lets silt settle inside it. Or the outlet was never a real outlet.
The second problem is worse than the first. A clogged drain holds water right where you gathered it. Picture a trench along a foundation that no longer moves water. It becomes a soaked ribbon of ground pressed against the house in every storm. That is why the parts you cannot see deserve more care than the digging.
The Slope, Fabric, and Rock Spec That Lasts

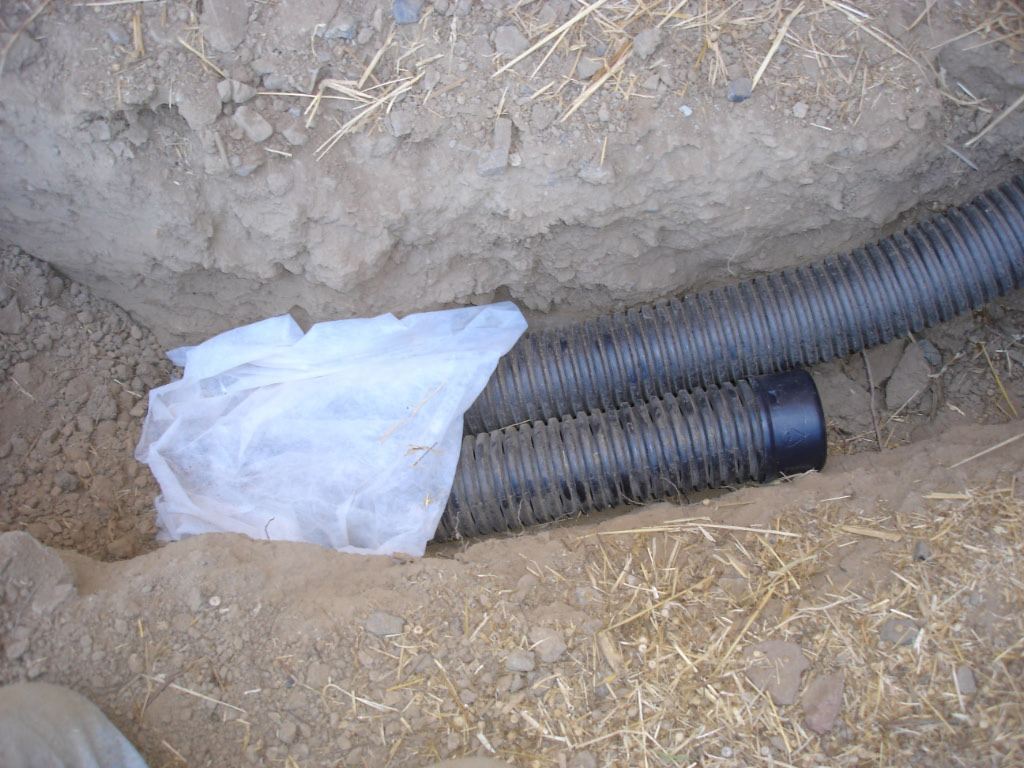
Three specs decide how long the drain lives. First, fall. The trench floor should drop at least 1 percent over the whole run — one inch every ten feet. That leaves margin for small dips. Second, fabric. Use non-woven geotextile, the felt-like kind, about four ounces per square yard. It lines the trench and later folds over the rock like a burrito. Water passes through it; silt and clay do not. Third, rock. Use washed, angular stone about 3/4 to 1.5 inches. Angular rock locks in place and keeps big open voids. Washed rock brings no clogging dust into the trench.
Rigid PVC pipe costs more than the flexible black kind. But it holds its grade and can be jetted clean. It never sags into low spots that trap silt. If budget forces the flexible pipe, use the heavier dual-wall type.
How to Install a French Drain Step by Step
The order of work is simple. The checks inside each step are what matter.
1. Map the Route and Set the Outlet
Find the Exit Before the Entrance
Decide where the water leaves before you plan where it enters. Walk the yard mid-rain and pick a spot truly lower than the end of the trench floor. Good exits: a daylight opening, a dry well in fast-draining soil, or a low bed built to soak up water.
Prove the Fall With a String Line
Drive stakes at both ends and pull a string tight and level. Measure down to the ground at each stake, and the difference is your fall. You need one inch per ten feet — or a trench that gets deeper as it goes.
2. Dig and Grade the Trench
Width and Depth That Actually Work
A yard drain wants 9 to 12 inches of width and 18 to 24 inches of depth. A drain guarding a foundation must reach near footing depth, and that is excavator work. Pile the spoils on a tarp so cleanup stays easy.
Grade the Trench Floor, Not the Lawn
Water follows the bottom of the trench, so the floor must fall toward the outlet the whole way. Check it against the string every few feet. One low spot becomes a pocket that collects silt and shortens the drain’s life.
3. Line the Trench and Lay the Pipe
Fabric First, With Room to Spare
Roll the fabric into the trench with a foot of extra width up each side. Overlap any seams by 12 inches. This liner is the drain’s only defense against the soil around it — avoid tears, and skip woven weed barrier, which seals over with silt.
Bed the Pipe With Holes Facing Down
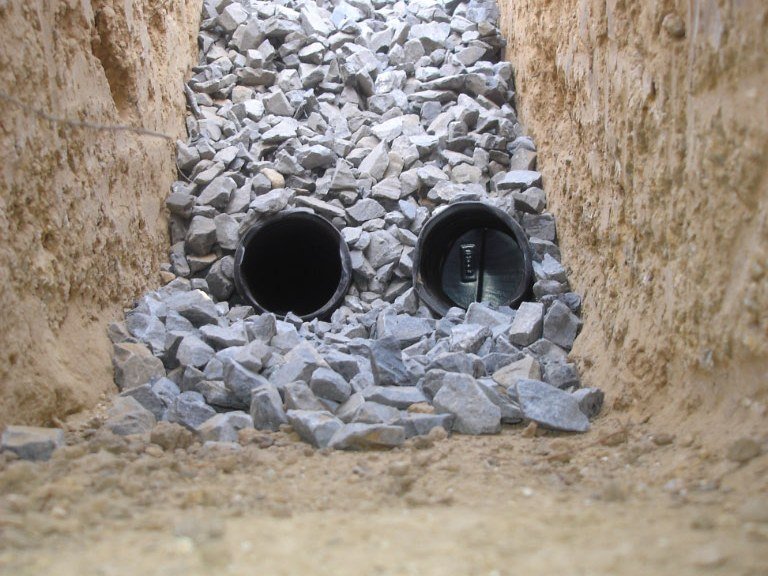
Spread two inches of washed rock on the fabric. Lay the pipe with the holes facing down, because groundwater rises from below. Set the grade with a level and couple the joints. Run a hose test before any backfill.
4. Backfill With Rock and Close the Wrap
Rock to Within Three Inches of Grade
Fill over the pipe with the same washed rock. Stop about three inches below the finished surface, and shovel gently at first so nothing shifts. That deep rock column is your storage space in a hard Bay Area winter storm.
Fold the Wrap and Cap the Trench
Fold the draped fabric over the rock so the stone is fully enclosed. Cap with topsoil and sod, or with gravel for a dry-creek look. Mark the outlet and keep it clear — a buried or crushed outlet stops the whole system.
Matching the Drain to the Problem Spot
The same trench gets used differently depending on where the water shows up. Here are the five common placements.
1. Soggy Spots in an Open Yard
A Shallow Curtain Drain Usually Wins
For a lawn that squishes for days after rain, run an 18-inch-deep drain across the uphill side of the wet zone. It catches the water before it arrives. Pair it with light regrading; our guide to modern landscaping ideas shows how to fold a drain line into a planting plan.
Send the Water Somewhere Legal
You generally cannot dump collected water onto a neighbor’s lot. Many cities also restrict ties into the sewer. A rain garden is often the cleanest landing spot — the EPA’s green infrastructure resources explain how these soak-in beds work and why cities encourage them.
2. Water Standing Around the House
Keep Roof Water Out of It
Downspouts should run through their own solid pipe to their own exit. Roof water dumped into a french drain floods it in the exact storms you built it for. The drain’s job is ground water — keep the two systems separate.
Foundation Depth Changes the Job
A drain guarding a slab or crawl space belongs near footing depth. That means deep digging beside a structure, plus waterproofing choices along the way. This is where most Bay Area homeowners hand the shovel to a licensed contractor, and it is the right instinct.
3. A Basement That Takes On Water
Interior Drains Are a Different Animal
An interior french drain is a channel cut into the slab edge, feeding a sump basin and pump. It works well, but it is a construction project — concrete saws, hauling, and a permit talk, not a landscaping weekend. Get more than one bid.
Fix the Outside Before Cutting Concrete
Many wet basements are really grading and gutter problems. Extend the downspouts, and fix the slope of the first ten feet of soil so it falls away from the house. Cutting the slab is the right last resort, not the first quote to accept.
4. Runoff Cutting Across a Hillside
Intercept the Water Above the Damage
On slopes — think Oakland or Berkeley hills lots — the drain runs across the hill, uphill of what you protect. It catches water and walks it sideways to a safe outlet. Hillside trenching can trigger grading permits, so ask your city’s building department first.
Retaining Walls Need Their Own Drainage
If a wall is part of the plan, its drainage gets designed with the wall, not added later. Trapped water is the main reason walls lean. Our breakdown of retaining wall cost shows how drainage drives the budget once a wall passes four feet.
5. Clay Soil That Barely Percolates
Why Clay Soil Raises the Stakes
Much of the East Bay sits on adobe clay. It soaks up water slowly and swells when wet. In clay, a flat trench acts like a bathtub, and clay fines are the exact particles that invade bare rock. Fabric and true fall become the whole ballgame.
Skip the Dry Well in Clay
A dry well only works where the soil drinks faster than storms pour, and heavy clay cannot. Daylight the pipe downslope instead, or route it to an approved discharge point. And expect digging through sticky adobe to take twice the effort you budgeted.
What It Costs and When to Bring In a Pro
For a DIY yard drain, materials commonly land between $10 and $25 per linear foot, with rock the biggest line item. Published figures for pro-installed exterior drains sit around $25 to $60 per linear foot for shallow runs. Bay Area labor tends to push quotes toward the top of those ranges, and past them. Foundation-depth drains and interior basement systems are bid as whole projects. In Alameda and Santa Clara County, they commonly reach the low five figures. Treat all of these as planning ranges — depth, access, soil, and disposal fees move real quotes a lot.
Bring in a pro when the trench runs deep along a foundation, when a slope above a structure is involved, or when a basement needs an interior system. Do the same when the discharge ties into a street gutter or storm line. Many cities, San Jose and Oakland included, require permits for that connection.
When the Drain Is Part of a Bigger Project
Drainage problems rarely travel alone. The soggy yard is getting new concrete next spring. The hillside fix sits beside a planned wall. Or the whole backyard is part of a larger renovation. Order matters here — trenching after the new patio is poured means paying for work twice.
Top Tier Building Services is a licensed Bay Area general contractor (CSLB #1146790) for the building side of those projects — concrete, design-build, full house renovation, and project management. If your drainage fix is the first domino in a bigger outdoor plan, reach out through our contact page and we will help you put the steps in the right order.
FAQs
How deep should a french drain be?
For yard drainage, 18 to 24 inches deep and 9 to 12 inches wide covers most cases. A drain protecting a foundation should reach near footing depth. That is usually several feet down and is best left to a contractor.
Does a french drain need an outlet?
Yes, always. The pipe must end somewhere that accepts water: a daylight opening on lower ground, a dry well in soil that drains, a rain garden, or a sump. Without a real outlet, the drain stores water until it backs up into the problem area.
Do the holes in the pipe face up or down?
Down. Groundwater rises from below, so holes-down lets the pipe collect at the lowest level in the trench. It also empties the rock bed between storms. That keeps more storage open for the next one.
What is the best rock for a french drain?
Washed, angular stone about 3/4 to 1.5 inches across. Angular rock locks together and keeps big open voids, and washing removes the dust that clogs systems. Round pea gravel packs tight and shifts — it is the most common material mistake.
Can I install a french drain myself?
A shallow yard drain is a realistic DIY job. Trenching, fabric, rock, and pipe take effort more than skill. Foundation drains, hillside work above structures, and interior basement systems belong with a licensed contractor. Mistakes there carry structural consequences.
How long does a french drain last?
Built to spec — washed rock, fabric wrap, real slope, protected outlet — 20 to 30 years or more is fair. Skip the fabric in silty or clay soil and the same trench can silt shut within a few rainy seasons.