
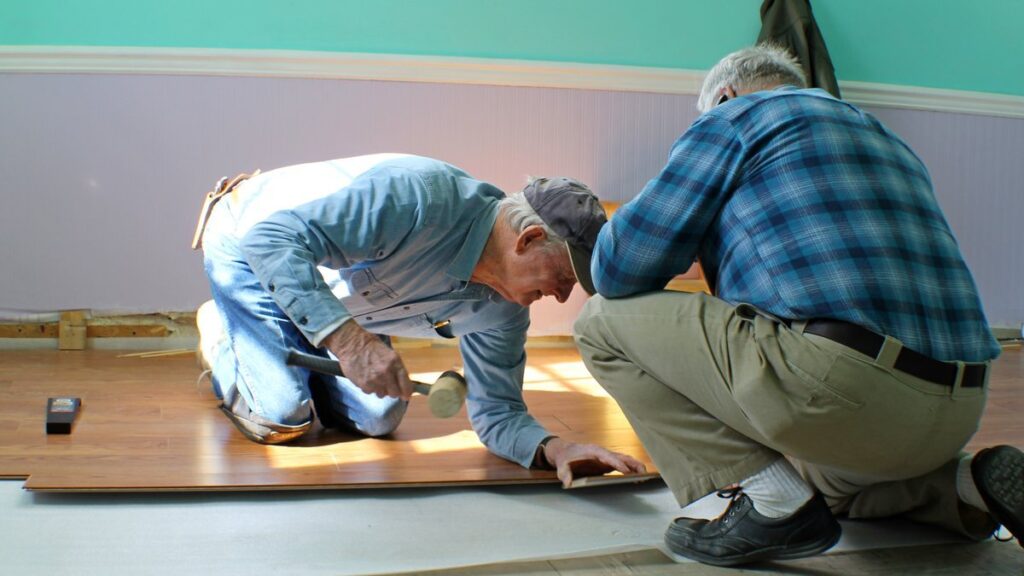
Laminate has a reputation as the friendliest floor a homeowner can install. Click the planks together, work across the room, done by Sunday. That reputation is mostly earned — until six months later, when a ridge rises where two planks meet. Installers call it peaking. And here’s the uncomfortable truth: it was locked in before the first plank ever clicked.
Peaking is rarely a bad product or clumsy hands. It’s physics. Laminate rides on a core of pressed wood fiber, which grows and shrinks as indoor humidity changes. The floor floats — nothing anchors it down — so it must be free to move. Take that freedom away, even at one wall, and the floor pushes against itself until the seams fold upward.
So this guide on how to install laminate flooring is built around the three choices that keep seams flat: let the planks acclimate, leave a real expansion gap, and start on a flat subfloor. We’ll walk the install step by step, cover concrete, plywood, and stairs, and be honest about when to call a pro.
Key Takeaways
- Peaked seams come from a floor that can’t move. Leave a 1/4- to 3/8-inch expansion gap at every wall, pipe, and doorway — and never let trim or caulk close it.
- Acclimate the planks at least 48 hours, laid flat in the room they’ll live in, with the heat or AC at normal settings.
- The subfloor must be flat to about 3/16 inch over 10 feet. Voids let click joints flex and work loose — that’s where gaps and peaks begin.
- Concrete always needs a moisture barrier. Skipping underlayment only works over wood, and only when the planks have a pad attached.
- Professional installation in the Bay Area runs roughly $4–$8 per square foot in labor, more for leveling or stairs.
What This Guide Covers
- Why Laminate Seams Peak Months After Installation
- Acclimation and Expansion Gaps Are the Whole Game
- Check Subfloor Flatness Before the First Plank Clicks
- The Installation Steps That Keep Seams Tight
- Installing Laminate on Concrete, Plywood, and Stairs
- When DIY Works and When to Call a Pro
- Get Your Laminate Floor Installed Flat the First Time
- FAQs
Why Laminate Seams Peak Months After Installation
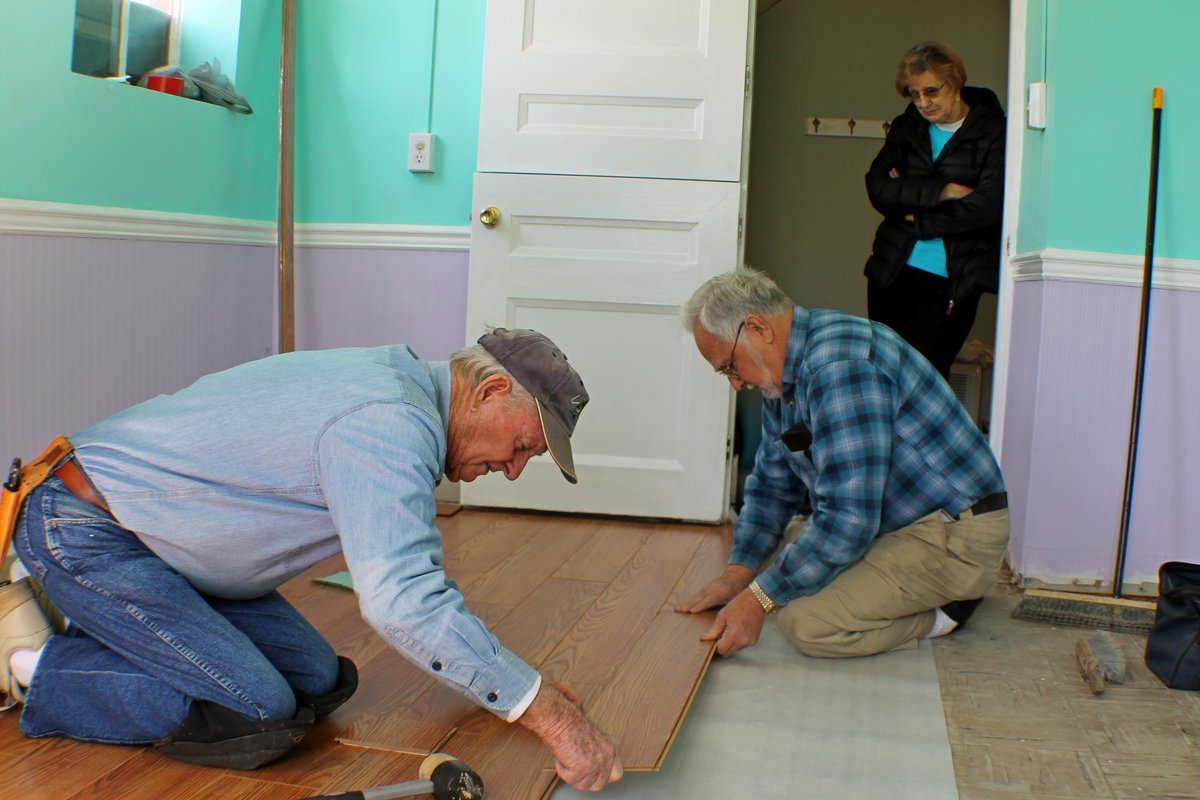
Each plank is mostly high-density fiberboard — wood fiber and resin pressed hard. Wood fiber drinks moisture from humid air and gives it back in dry air. So every plank grows a little, then shrinks back. A floor of planks locked together moves as one big raft, and across a 15-foot room that raft can grow a quarter inch in a damp winter.
Now picture the raft with nowhere to go. If the planks sit tight to the drywall, or the baseboard was nailed down through the flooring, the expanding floor hits a hard stop. The pressure releases at the weakest point — the seam — so the joint compresses and lifts into a peak. Let the pressure keep building and whole planks lift off the subfloor, which installers call buckling. In dry months the same physics runs backward and pulls seams apart into gaps.
The Bay Area makes this cycle real. Coastal fog keeps homes in Alameda and along the Peninsula damp much of the year, while Concord and Livermore swing from wet winters to bone-dry summers. The EPA recommends keeping indoor humidity between 30 and 50 percent, and a floor in that band moves the least. But no thermostat removes the swing — every rule in this guide exists to let the floor move without fighting you.
Acclimation and Expansion Gaps Are the Whole Game
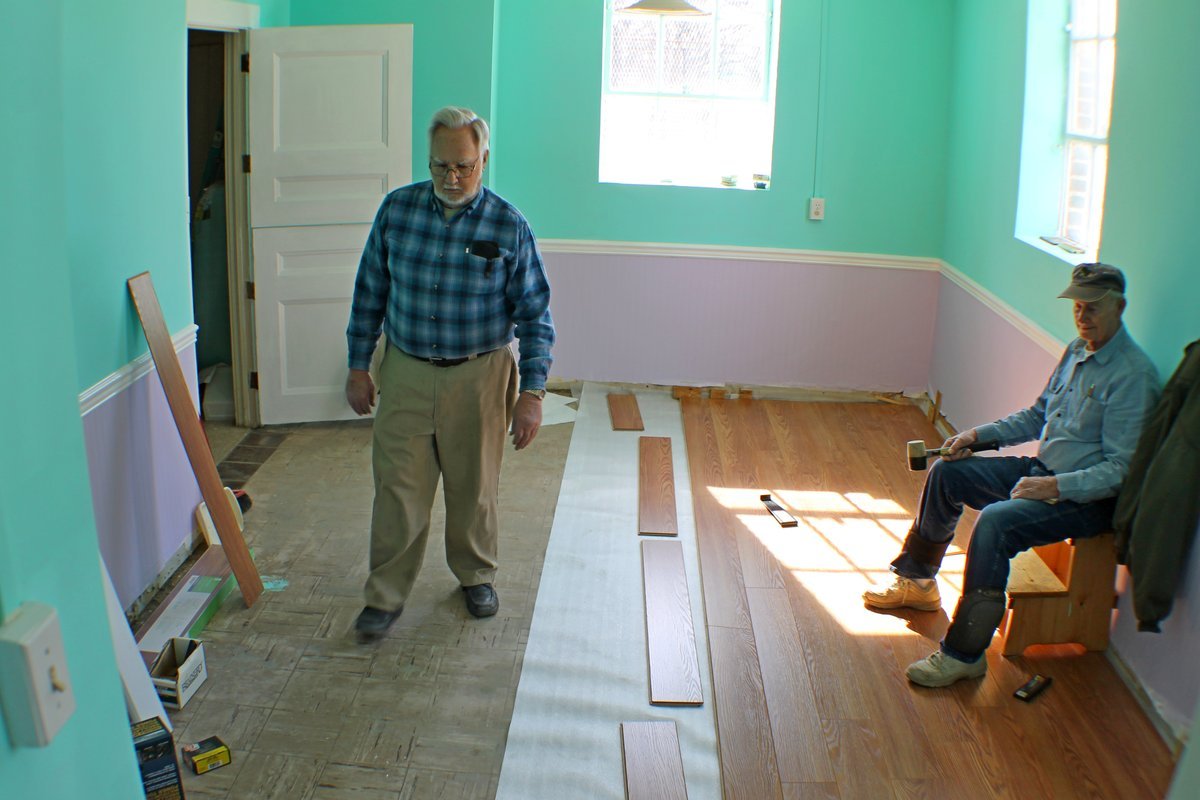
Planks arrive cold from a truck and dry from a warehouse. Install them right away and they’ll do their expanding after they’re locked together. Acclimation just means letting the planks match the room first. Lay the unopened boxes flat in the install room for at least 48 hours — 72 in fog-belt neighborhoods — with the heat or AC at everyday settings. A cold garage doesn’t count; it isn’t the climate the floor will live in.
The expansion gap is the second half of the same promise. Leave 1/4 to 3/8 inch of open space between the flooring and everything fixed: walls, door jambs, pipes, cabinets, stair nosings. Check your product’s spec — the North American Laminate Flooring Association certifies products whose instructions spell out exact gap and acclimation rules, and the manufacturer’s number always wins. Baseboard hides the gap later, so the finished floor still looks tight to the wall.
What actually ruins floors is the gap that gets closed afterward. Baseboard nailed down through the planks. Caulk “sealing” the edge. A transition strip screwed through the floor. A kitchen island or a 300-pound wardrobe pins a floating floor the same way — the floor expands away from the pinned spot and peaks on the far side. Fasten trim to the wall, never the floor, and keep cabinets off floating laminate.
Check Subfloor Flatness Before the First Plank Clicks
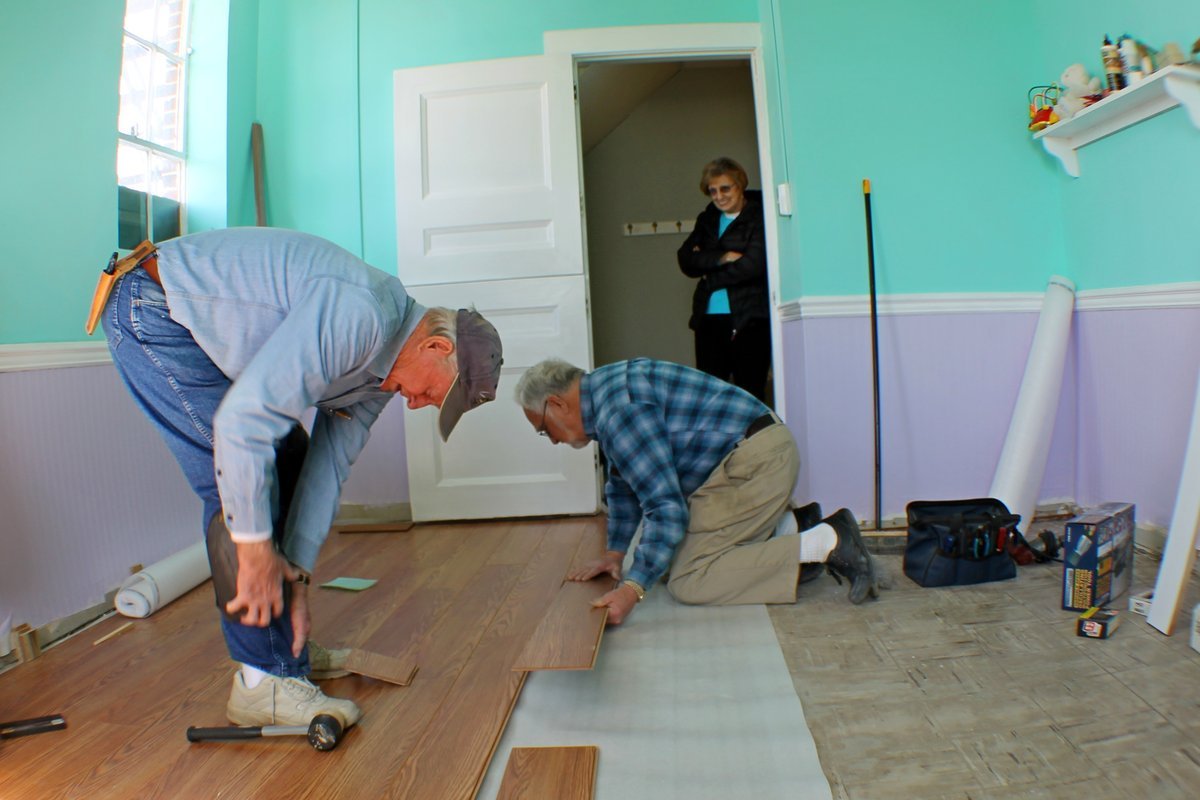
Flatness is the least glamorous step and the most skipped. The common spec is about 3/16 inch of variation over 10 feet; some brands say 1/8 inch over 6 feet. Check with a long straightedge and a flashlight behind it, and circle every dip that lets light through.
Here’s why seams care. Laminate bridges small dips, but every footstep over a void flexes the planks down. That flex works the click joints like bending a paperclip — thousands of tiny cycles that chew up the locking lip. A joint that’s lost its bite gaps in dry weather and peaks in damp weather. Fix movement now too: a loose panel becomes a chorus of creaks under a floating floor, and our guide to fixing squeaky floors shows why that repair is easier before new flooring goes down.
Fill dips with cement-based leveling compound; sand or grind high spots. On wood subfloors, screw loose panels to the joists first. Bay Area homes add wrinkles of their own: older Oakland and Berkeley houses often have plank subfloors with a century of humps, and South Bay slab ranches can hide dished concrete under old carpet. Budget honestly — a badly out-of-flat room can absorb $2–$5 per square foot in prep before one plank clicks.
The Installation Steps That Keep Seams Tight
With a flat subfloor and acclimated planks, the assembly is honest work — a saw, a tapping block, and patience. Each step below protects either the gap or the joints.
1. Plan the Layout on Paper First
Why the Last Row Decides Everything
Measure the room’s width and divide by the plank width before opening a box. If the math leaves a final row skinnier than about 2 inches, rip the first row narrower to balance both edges — a sliver row is fragile and nearly impossible to click. Run planks parallel to the longest wall or the main light to hide the seams.
2. Roll Underlayment One Row at a Time
Why You Never Paper the Whole Room
Foam underlayment cushions the planks, quiets footsteps, and evens out small texture below. Roll out one course, floor over it, then roll the next — walking on bare foam tears and bunches it, and a wrinkle acts exactly like a hump in the subfloor. Tape seams edge to edge, never overlapped, so the thickness stays constant.
3. Set the First Rows Dead Straight
Why Row One Is the Foundation
Every later row inherits the first row’s line, so set it with spacers against the wall and check it with a string. Walls are never as straight as they look; if the wall bows, scribe and trim the first row to keep the edge true. Lock each end joint fully before the next plank — a half-clicked joint telegraphs an open seam down the whole row.
4. Stagger Joints and Tap Planks Home
Why the Brick Pattern Is Structural
Keep end joints in neighboring rows offset by at least 8 to 12 inches — lined-up joints create a weak hinge across the floor. Start each new row with the cut end from the last one, which keeps waste low and the stagger natural. Seat stubborn seams with a tapping block, never a bare hammer, which crushes the locking lip you’re counting on for fifteen years.
5. Guard the Gap Through the Last Row
Why the Finish Line Ruins Floors
The last row usually needs a lengthwise rip cut and a pull bar to lever it snug — exactly where tired installers press the floor tight to the wall. Keep spacers in until every plank is down, then cover the edge with baseboard nailed to the wall only. Fasten transition moldings to the subfloor, never through a plank.
Installing Laminate on Concrete, Plywood, and Stairs
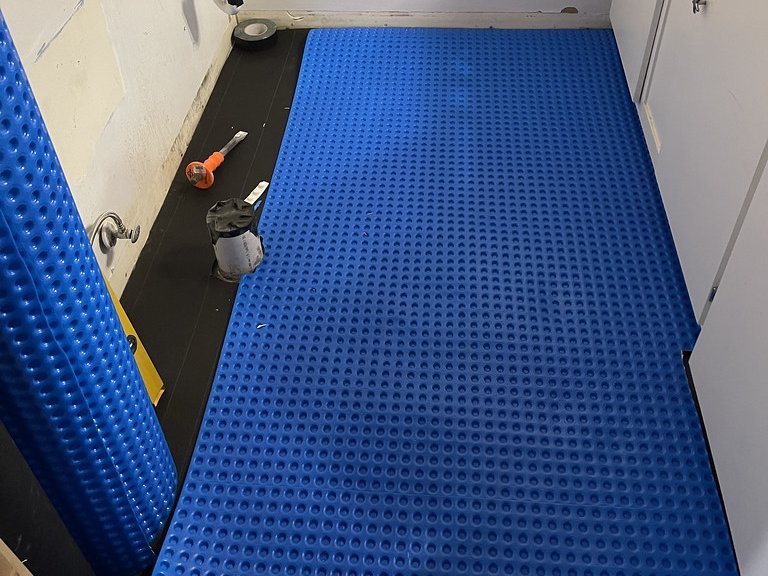
Where the planks go matters as much as how they click. Each base carries its own rule, and concrete carries the strictest one.
Concrete first, because that’s where many Bay Area jobs live — slab ranches, condos, garage conversions. Concrete wicks ground moisture upward all year, and moisture is the one enemy a fiberboard core cannot survive. Tape a 2-foot square of plastic sheeting to the slab and check it after 24 hours; condensation underneath means the slab is still breathing hard. New slabs need 30 to 60 days of curing first. Then lay a vapor barrier — 6-mil poly sheeting with taped seams, or an underlayment with a built-in moisture film — before any padding or planks. In basements and damp-prone rooms, installers step up to dimpled membranes that create an air gap between slab and floor.
Plywood and OSB are the easy case. No vapor barrier over a normal vented crawl space — trapping moisture inside wood framing does more harm than good. The prep is mechanical instead: screw down loose panels, sink proud nail heads, sweep clean, and fix flatness as above. Going without underlayment is possible only here, and only when the planks ship with a pad attached. Bare planks on bare wood are loud, and the joints wear against every ridge below.
Stairs break every rule above, on purpose. Stair planks are glued and nailed down — a floating tread is a sliding tread, and a sliding tread is a fall. No underlayment, no expansion spacers, and every step gets a stair-nosing profile fastened at the front edge. It’s slow, unforgiving trim carpentry, which is why stairs are priced per step and often hired out.
When DIY Works and When to Call a Pro
Here’s the honest split. A dry, flat, rectangular room is a genuinely good beginner project — realistic at a weekend per room, because click-lock systems were designed for exactly that. A mistake costs you a plank, not a floor.
The subfloor is what should change your mind. A slab that fails a moisture test, a room more than about 1/4 inch out of flat, a staircase, or a layout full of angles moves the job from patience into judgment. That’s where a crew that levels floors weekly earns its cost — often by refusing to install over problems that would surface a year later as peaks and gaps.
Treat these as planning ranges, not quotes — every honest flooring number starts with someone looking at your actual subfloor. Weigh the material choice too: damp-prone rooms often argue for luxury vinyl plank over laminate — our vinyl plank vs laminate comparison settles that question room by room, and our flooring installation service page walks through both options.
Get Your Laminate Floor Installed Flat the First Time
A laminate floor that stays flat is the product of three quiet decisions — planks that acclimated, a gap that never got pinched, and a subfloor that was flat before the first click. None of it is hard. All of it is easy to skip on a Saturday, and the floor keeps the receipts for years.
If your project involves a suspect slab, a wavy subfloor, or a staircase — or you’d rather have it done in a day — Top Tier Building Services installs luxury vinyl plank and laminate across the East Bay, South Bay, and Peninsula from our Castro Valley headquarters, with subfloor preparation and leveling handled as part of the job. We’re a licensed general contractor (CSLB #1146790 — verify any license at the Contractors State License Board), and we’ll tell you plainly whether your floor is a DIY weekend or a prep problem worth professional hands. Reach out for an honest assessment before the first box gets opened.
FAQs
Can you install laminate flooring without underlayment?
Only when the planks have a pad pre-attached, and only over a wood subfloor. The pad controls sound and evens out small texture, so bare planks on bare wood are noisy and wear their joints faster. On concrete you can never skip the layer — a moisture barrier on a slab is non-negotiable.
How long should laminate acclimate before installation?
At least 48 hours, and 72 is safer in humid coastal areas. Lay the boxes flat in the room where the floor will be installed, with heating or cooling at normal settings. A garage or storage unit doesn’t count — the point is matching the planks to the actual room’s temperature and moisture.
Can you install laminate flooring on stairs?
Yes, but not as a floating floor. Stair planks are glued and nailed down, finished with a stair-nosing profile at each tread’s front edge, and installed without underlayment or spacers. It’s slow precision work with safety stakes, which is why stairs are priced per step and often left to pros.
Do I need a moisture barrier on a concrete subfloor?
Always. Concrete wicks ground moisture upward all year, and laminate’s wood-fiber core swells when it absorbs it. Use 6-mil poly sheeting with taped seams or an underlayment with a built-in moisture film. Test first — condensation under a taped plastic square after 24 hours means the slab needs attention before flooring.
Is laminate flooring hard to install for beginners?
A flat, dry, rectangular room is one of the friendliest projects in home improvement. Click-lock systems were designed for it, and a careful beginner can finish a room in a weekend. The difficulty lives in the exceptions — out-of-flat subfloors, damp slabs, stairs, and rooms full of angles.
Do I need a permit to replace flooring in the Bay Area?
Generally no. Swapping floor coverings is cosmetic work in most Bay Area cities and doesn’t trigger a permit. Two caveats: structural subfloor or framing repairs found along the way usually do require one, and condo HOAs often require sound-rated underlayment beneath hard flooring in upstairs units.