
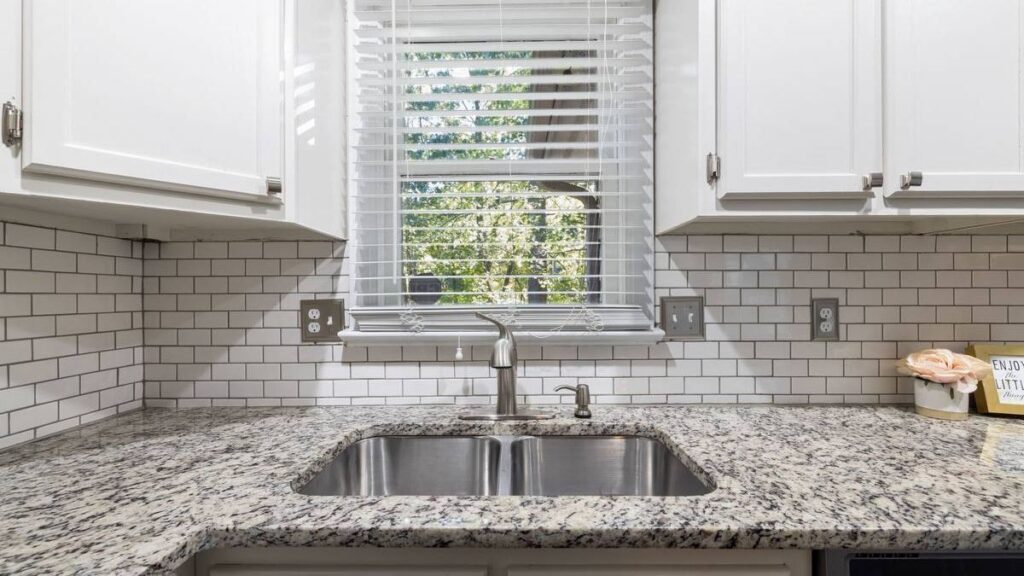
A backsplash is the one tiling job most homeowners feel confident tackling themselves, and they are usually right to. It sits at eye level, it is only a few square feet, and unlike a shower it never has to hold back standing water, so a small mistake will not rot your framing. But that same visibility is exactly why an amateur backsplash reads as amateur the moment someone walks into the kitchen. The tile itself is rarely the problem. What separates a clean backsplash from a sloppy one is a handful of decisions made before the first tile ever touches the wall, and a few finishing details that most guides skip entirely. This is the guide to getting those decisions right.
Key Takeaways
- Your starting point is dictated by the countertop, not the wall, because a level line off an unlevel counter will telegraph every crooked cut across the whole run.
- Turn the power off at the breaker before you touch an outlet, add box extenders so the receptacle sits flush with the finished tile, and cut the tile around the box rather than fighting to butt tile against it.
- Score-and-snap handles most straight cuts in field tile; a wet saw earns its rental fee for mosaics, glass, natural stone, and any L-shaped notch around an outlet.
- The seam where the countertop meets the backsplash gets flexible caulk, never grout, because those two surfaces move independently and rigid grout will crack.
- Most of the “pro” look comes from planning the layout dry, keeping your spacing consistent, and finishing the exposed edges deliberately instead of leaving a raw tile edge showing.
What This Guide Covers
- Why the Countertop Sets the Rules for the Whole Job
- How to Plan Your Layout Before Any Adhesive Goes Up
- How to Tile a Backsplash Around Outlets Safely
- How to Cut Backsplash Tile Without Wrecking the Edge
- How to Set Tile With Consistent Spacing
- Why the Counter-to-Backsplash Joint Gets Caulk, Not Grout
- How to Grout and Finish the Edges Cleanly
- When a Backsplash Is Worth Handing to a Pro
- Ready to Upgrade Your Kitchen the Right Way
- FAQs
Why the Countertop Sets the Rules for the Whole Job
Before you open a bag of thinset, understand the single fact that governs a backsplash: your reference line comes off the countertop, and countertops are almost never perfectly level. A stone or laminate top can dip a sixteenth or an eighth of an inch across a run without anyone noticing, until you set a row of tile on it. If you start tiling tight to that surface and simply follow it, the top of your run drifts, your cuts against the upper cabinets go wedge-shaped, and the eye catches it instantly.
The fix is to treat the counter as the floor of your layout and check it with a level first. Where it dips, you plan to hide the gap in the bottom grout joint and the caulk line, not in the tile. Professionals dry-lay a full run on the counter, mark where cuts land at outlets and cabinet edges, and only then commit adhesive. Ten minutes of planning here is the difference between a backsplash that looks installed and one that looks glued on.
How to Plan Your Layout Before Any Adhesive Goes Up
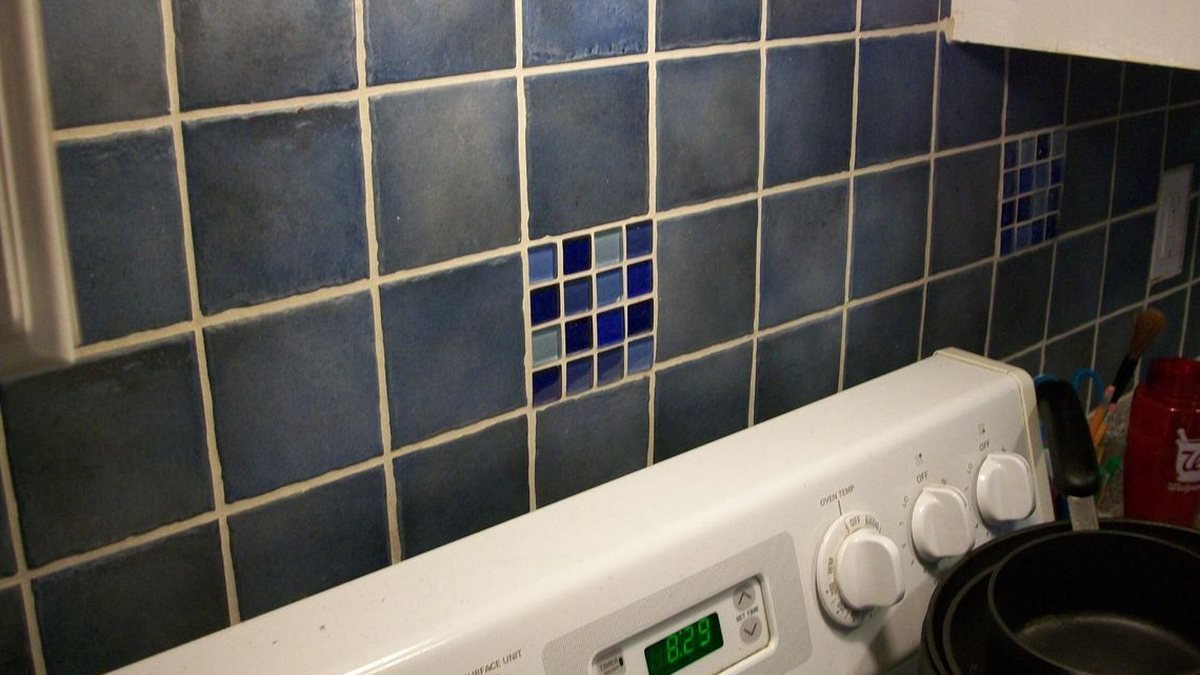
The layout stage is where the whole job is won or lost, and it happens entirely dry. Getting it right takes patience, not skill.
Find the Visual Center and Balance the Cuts
Locate the Focal Point
Most kitchens have one wall that draws the eye first, usually the run behind the range or the sink. Center your tile pattern on that feature so the full tiles land in the middle and any cut tiles land symmetrically at the far ends, which reads as intentional rather than accidental. A run that starts full on the left and ends with a sliver on the right looks like a mistake even when the tiling is perfect.
Dry-lay the First Course
Lay a full horizontal run of tile on the countertop with your spacers in place before you mix anything. This shows you exactly where cuts will fall, whether an outlet lands in an awkward spot, and how the pattern meets the cabinets. If a cut tile is going to end up under an inch wide, shift the whole layout half a tile so both ends get a reasonable, matching piece instead.
Establish a Level Reference Line
Snap or Draw a Level Line
Because the counter is your unreliable baseline, measure up from its highest point by one tile height and draw a level line across the wall with a level or laser. You tile to that line, not to the counter, so the top of your run stays straight even where the counter dips beneath it. The small triangular gap this creates at the bottom disappears under the caulk joint later.
Account for the Bottom Gap Honestly
Where the counter drops away from your level line, you will have a tapered space at the base of the first row. This is normal and expected. A standard-width grout line plus the flexible caulk bead absorbs a sixteenth to an eighth of an inch of variation invisibly, which is precisely why you plan the dip into the bottom joint instead of trying to trim tapered tiles to chase it.
How to Tile a Backsplash Around Outlets Safely
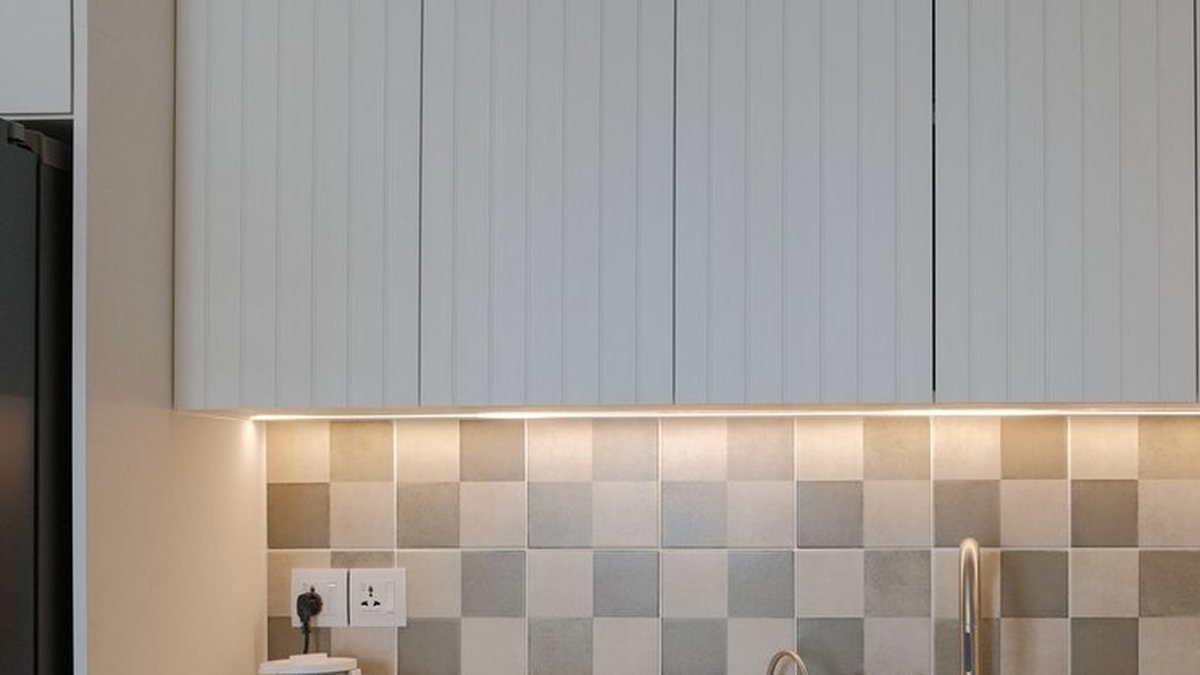
Outlets are where most backsplash projects go wrong, and where the only real safety risk lives. Handle this part deliberately.
Kill the Power and Pull the Cover
Turn Off the Breaker First
Before you loosen a single screw, switch off the circuit at the breaker panel and confirm the outlet is dead with a non-contact voltage tester, not just by flipping the switch. Working live around a wet thinset and a metal trowel is a genuine shock and arc risk, and it is entirely avoidable. This is the one non-negotiable safety step in the whole job.
Remove the Cover and Loosen the Receptacle
Take off the faceplate and unscrew the receptacle from the electrical box so it can pull forward. You are not disconnecting the wires; you are giving yourself the slack to bring the outlet out to the new finished surface once the tile adds its thickness to the wall.
Add a Box Extender So the Outlet Sits Flush
Install a Box Extender
Tile plus thinset adds roughly a quarter to a half inch of depth to the wall, which leaves the receptacle recessed behind the new surface. A plastic or metal box extender slides into the existing box and brings the outlet forward flush with the finished tile, so the cover plate sits flat instead of floating on long screws. Skipping this is a code and safety issue, not just a looks issue.
Cut the Tile to Frame the Box, Not Butt Against It
Rather than fighting to fit tile tight around a recessed outlet, cut your tiles so they frame the box opening cleanly, leaving the small gap the cover plate will hide. An L-shaped or U-shaped notch cut on a wet saw looks far cleaner than several butted slivers, and the plate covers a multitude of small imperfections at the edge.
There is a code reason this matters, not just an aesthetic one.
How to Cut Backsplash Tile Without Wrecking the Edge

Cutting is where beginners get intimidated, but the right tool for each tile type makes it straightforward. The choice comes down to the tile material and the shape of the cut.
Match the Cutting Method to the Tile
Score-and-snap for Straight Cuts in Ceramic
A manual score-and-snap cutter handles most straight cuts in standard ceramic and porcelain field tile quickly and with no water mess. You score the glaze once with firm pressure and snap the tile over the cutter’s rail. It is fast, cheap, and perfect for the full-width edge cuts along cabinets, but it only does straight lines and struggles with hard porcelain and glass.
Wet Saw for Mosaics, Glass, Stone, and Notches
A wet saw with a diamond blade is worth the modest rental cost the moment you are cutting glass, natural stone, dense porcelain, or any L-shaped notch around an outlet. The water cools the blade and keeps glass and stone from chipping, and the guided cut gives you the clean straight edges and precise notches that score-and-snap cannot. For a mosaic-sheet backsplash, a wet saw is essentially mandatory.
Handle the Small and Awkward Cuts
Nip Curves and Tight Spots
For small round cutouts, tight corners, or nibbling a tile to fit an odd space, tile nippers bite off small pieces at a time. The resulting edge is rough, so only use nippers where the cut will be hidden behind a cover plate, a cabinet, or a caulk line rather than left exposed.
Keep Cut Edges Out of Sight
The golden rule of backsplash cutting is that every cut edge should end up against a cabinet, the counter, a corner, or under a cover plate, never floating in the open field. Plan your layout so the factory-finished tile edges are the ones on display and the rougher cut edges are tucked away where no one looks.
Cutting is also the only part of a backsplash with a real health hazard attached to it.
How to Set Tile With Consistent Spacing
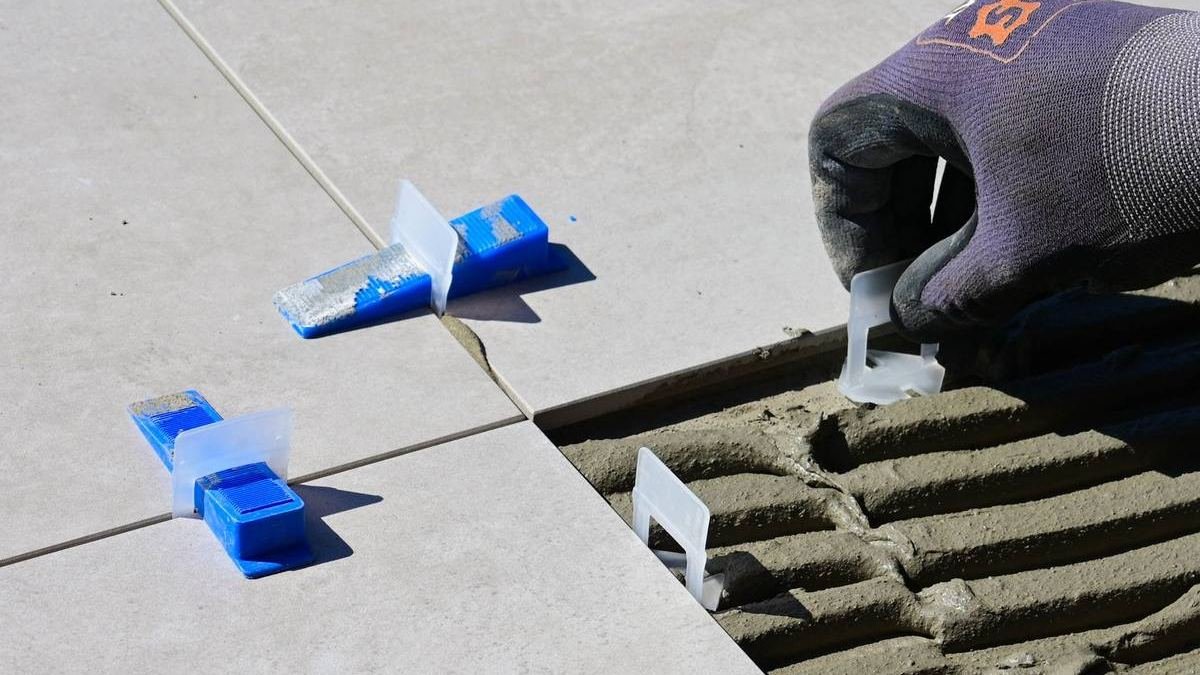
Consistent grout lines are one of the loudest signals of a professional job, and they come from spacing discipline, not talent.
Spread Thinset and Set the Tile
Comb the Thinset With a Notched Trowel
Spread thinset mortar on the wall with the flat side of a notched trowel, then comb it out with the notched edge held at a consistent angle. Those ridges collapse evenly when you press the tile in, giving you full, uniform adhesive contact behind every tile. Only spread as much as you can tile before it skins over, usually a few square feet at a time.
Press and Set to Your Line
Set each tile with a slight twisting press so it beds into the thinset, working up from your level reference line. Check your run with a level every few tiles rather than trusting your eye, because small drifts compound quickly across a wall and are far easier to correct one tile early than one row late.
Understand When You Do and Do Not Need Spacers
Why Some Mosaic Sheets Self-space
Mesh-backed mosaic sheets and many modern subway tiles have built-in lugs or a fixed mesh spacing, so the tiles hold their own gap without separate spacers. That is the honest answer to whether you can tile a backsplash without spacers: with a self-spacing sheet or a lugged tile, yes, the spacing is built in and you simply keep the sheets aligned to each other.
When You Still Need Spacers
Plain field tile with no lugs, such as most standard squares and rectangles, needs plastic spacers to hold a consistent joint, and skipping them almost always produces wandering, uneven grout lines. Choose a spacer size that suits the look you want, set them at every joint, and pull them before the thinset fully cures so they do not get grouted in.
One more planning note applies no matter which spacing route you take.
Why the Counter-to-Backsplash Joint Gets Caulk, Not Grout
This is the single most common finishing mistake, and it is the reason so many DIY backsplashes develop a cracked line along the bottom within a year.
Two Surfaces That Move Independently
Do You Grout Between the Countertop and Backsplash
No. Grout is rigid and brittle by design. The countertop and the wall are two separate structures that expand, contract, and flex at different rates, and a rigid grout joint between them has nowhere to go, so it cracks. This is not a matter of opinion or preference; it is basic material behavior that every tile-industry standard accounts for.
Use Flexible Caulk Instead
Fill that bottom seam, and any inside corner where two tiled walls meet, with a flexible sanded caulk color-matched to your grout. It moves with the natural expansion of the surfaces, stays watertight against splashes, and keeps a clean, consistent line where rigid grout would fail. A matched caulk reads as grout to the eye while behaving like the flexible joint the seam actually needs. The installation handbook published by the Tile Council of North America treats a movement joint at a change of plane like this one as a required detail, not an optional one.
How to Grout and Finish the Edges Cleanly
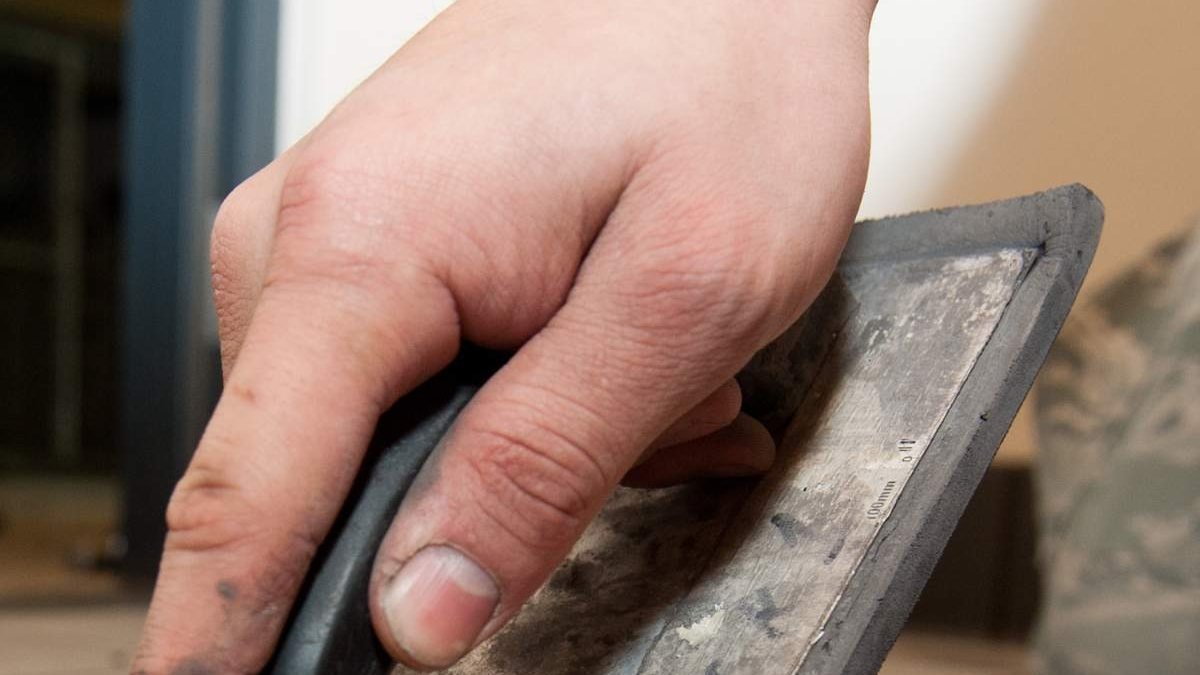
The last stage is where a good tile job becomes a great one, and the exposed edge is the detail everyone forgets.
Grout the Field
Wait, Then Grout in Sections
Let the thinset cure per the manufacturer’s timing, usually overnight, before you grout so tiles do not shift. Work grout diagonally across the joints with a rubber float to pack them full, then wipe the excess with a barely damp sponge, rinsing often. Two light passes beat one aggressive one, and diagonal wiping keeps you from digging grout back out of the lines.
Haze Off and Seal If Needed
After the grout firms up, a dry microfiber cloth buffs off the light haze that forms on the tile faces. If you used natural stone or a cement-based grout in a busy kitchen, plan to seal it once it fully cures so it resists staining from the inevitable cooking splatter.
Finish the Exposed Edges
Deal With the Outside Edge Deliberately
Where your tile ends in open space, such as the edge of a run beside a window or where the backsplash stops short of an upper cabinet, a raw cut tile edge looks unfinished. Finish it with a metal or PVC edge trim profile, bullnose tile with a rounded finished edge, or a mitered corner. Choosing and installing that edge detail on purpose is one of the clearest signals that separates a considered installation from a rushed one.
Caulk the Perimeter and Reinstall Covers
Run your color-matched caulk along the counter seam and any inside corners, tool it smooth with a wet finger, and let it cure. Finally, reinstall the outlet covers over your flush, box-extended receptacles, and the job reads finished from every angle.
When a Backsplash Is Worth Handing to a Pro
A straight run of ceramic subway tile over a sound wall is a genuinely doable weekend project for a careful homeowner, and there is no shame in tackling it. But some situations tip the math toward hiring out. Intricate patterns like herringbone or a full-height tile wall multiply the cuts and the chances to drift. Natural stone, large-format slabs, and glass are unforgiving of small errors and expensive to waste. And if your outlets need rewiring, your wall is out of plane, or the backsplash is part of a larger kitchen remodel where the countertop and cabinets are also changing, coordinating the trades usually saves money over doing it piecemeal.
For Bay Area homeowners weighing a backsplash as one piece of a bigger kitchen or design-build project, the tiling is often the easy part; the value of a contractor is in sequencing it correctly with the counters, electrical, and cabinets so nothing has to be redone. If you are still choosing tile, our guide to choosing flooring and tile materials that last walks through how porcelain, ceramic, and natural stone behave over time, our step-by-step guide to grouting tile goes deeper on mixing, packing, and haze removal than a backsplash section can, and our Bay Area design-build guide covers how a backsplash fits into a larger remodel.
Ready to Upgrade Your Kitchen the Right Way
Whether you want a hand with a tricky tile pattern or the backsplash is one piece of a design-build, condo remodel, or full house renovation, Top Tier Building Services Inc. (CSLB License #1146790) brings licensed, bonded, and insured Bay Area craftsmanship to the tile and finish details that decide how a kitchen reads. Contact us to talk through your project and get a clear, honest plan.
FAQs
How far up should you tile a backsplash?
The standard backsplash height is the space between the countertop and the bottom of the upper cabinets, which is typically 18 inches. Behind a range or in a design where you want more impact, homeowners often run the tile full height to the underside of the hood or all the way to the ceiling. There is no code requirement; it is a design choice, so decide based on the look you want and let that dictate how much tile you buy.
How do you tile a backsplash around outlets?
Turn off the circuit at the breaker and confirm the outlet is dead with a voltage tester, remove the faceplate, and unscrew the receptacle so it can pull forward. Install a box extender to bring the outlet flush with the new tile thickness, cut your tiles to frame the box opening cleanly, set them, and then reinstall the receptacle and cover plate over the finished tile. The cover plate hides the cut edges.
How do you cut backsplash tile?
For straight cuts in standard ceramic, a manual score-and-snap cutter is fast and clean. For glass, natural stone, dense porcelain, mosaic sheets, or any L-shaped notch around an outlet, use a wet saw with a diamond blade, which cools the material and prevents chipping. Tile nippers handle small curved or awkward cuts, but only where the rough edge will be hidden.
Can you tile a backsplash without spacers?
Yes, if you use mesh-backed mosaic sheets or lugged tiles that have their spacing built in, because those hold a consistent gap on their own. Plain field tile with no lugs still needs plastic spacers to keep the grout lines even; skipping them on plain tile almost always produces uneven, wandering joints.
Do you grout between the countertop and backsplash?
No. That seam should be filled with flexible caulk, color-matched to your grout, not with grout itself. The countertop and the wall move independently, and rigid grout in that joint will crack. Flexible caulk moves with the surfaces, stays watertight, and keeps a clean line.
How long does it take to tile a backsplash?
A standard-height run of straightforward ceramic subway tile is realistically a two-day project for a homeowner: one day to lay out, cut, and set the tile, then a wait for the thinset to cure overnight, and a second session to grout, caulk, and finish. Intricate patterns, glass, or stone add cutting time and push it longer.