
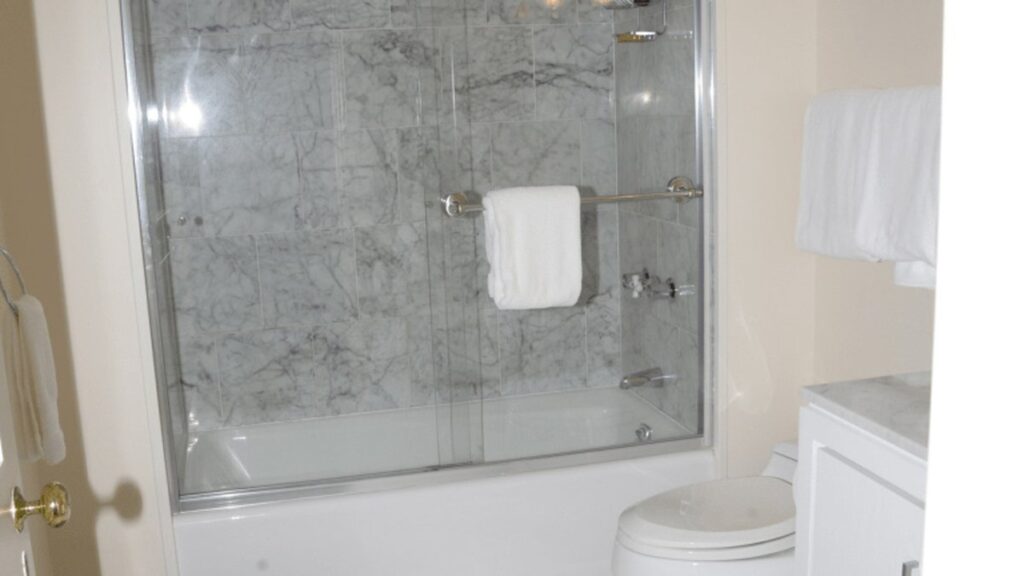
Most shower-tiling guides start in the wrong place. They open with tile choices and end with grout, and the whole thing looks great on day one. Then eighteen months later a dark stain creeps across the ceiling below, or the grout on the bottom row starts spitting out crumbs, and a homeowner learns the expensive way that a shower is a waterproofing project wearing a tile costume. The tile is the part you see. The part that decides whether your shower lasts twenty years or rots the framing behind it is the layer nobody photographs. This guide walks the real process our crews use across Bay Area bathrooms, in the order that actually matters, so the shower you build looks right and stays dry.
Key Takeaways
- Waterproofing comes first, not tile. A tiled wall over an unsealed substrate will leak into the framing even if the surface looks flawless.
- Pick one waterproofing system and follow it completely: cement board plus a liquid or sheet membrane, or a bonded foam system like Schluter-Kerdi. Mixing methods is where failures start.
- Where you start tiling is a layout decision, not a habit. Dry-lay, snap plumb and level lines off a ledger board, and land full tiles where the eye goes.
- Thinset coverage is a structural spec, not a suggestion. Wet areas want roughly 95% coverage behind every tile, achieved with the right notched trowel and back-buttering.
- The shower floor and pan are a separate build with their own slope and drain rules. This guide covers the walls and the overall shower; treat the pan as its own project.
- Movement joints at every inside corner and change of plane are what keep grout from cracking as the house shifts. Caulk there, never grout.
What This Guide Covers
- Why Waterproofing Is the Real Job, Not the Tile
- The Order of Operations That Prevents Leaks
- Choosing Your Waterproofing System
- Where to Start Tiling a Shower Wall
- Building the Shower Niche the Right Way
- Thinset Coverage and Movement Joints
- Where the Shower Floor and Pan Fit In
- What This Costs and When to Call a Pro
- Build a Shower That Lasts, Not Just One That Looks Good
- FAQs
Why Waterproofing Is the Real Job, Not the Tile
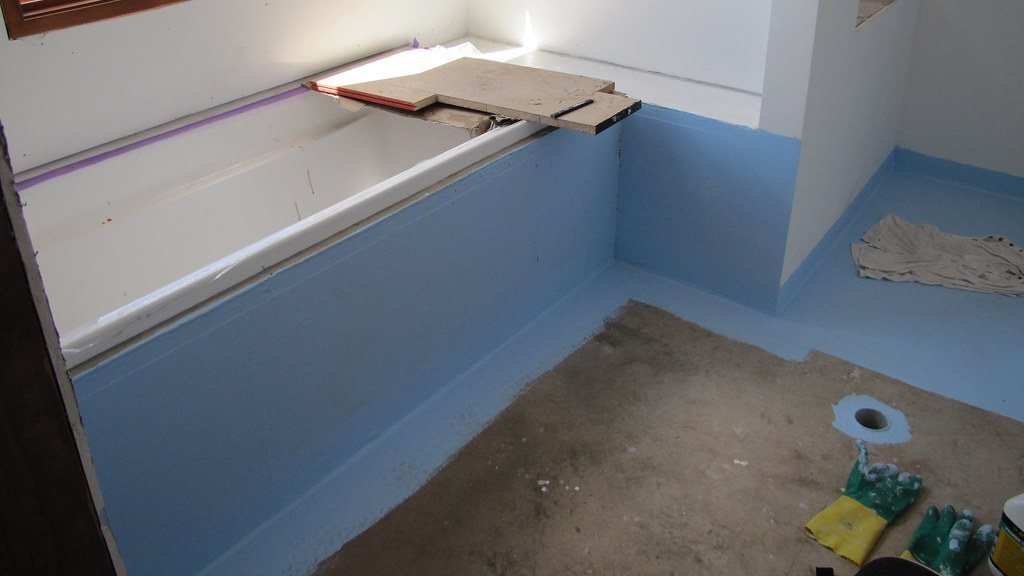
Here is the mental model that changes everything: tile and grout are not waterproof. Grout is a cement product, and cement is porous. Water passes through grout lines continuously during every shower, soaks into the setting bed, and reaches whatever is behind the tile. In a correctly built shower, that moisture hits a continuous waterproof membrane, has nowhere to go, and evaporates back out between showers. In a badly built shower, it soaks into drywall, green board, or unsealed cement board, wicks into the studs, and feeds mold in the dark for months before anyone sees a symptom.
That is why the sequence is non-negotiable. The membrane is the shower. The tile is a durable, cleanable, beautiful finish bonded to the outside of the shower. When a shower fails, it is almost never the tile that failed; it is the water management behind it. Understanding that reframes every decision below, because now you are not decorating a wall, you are building a waterproof box and then facing it.
The Order of Operations That Prevents Leaks
A shower has to be built from the inside out, and each layer only works if the one under it is correct. The table below is the layer stack our crews follow, what each layer does, and the specific failure it prevents when you get it right. Read it as a checklist, not a menu; skipping a row is how the two-year leak happens.
Notice that tile does not appear until row five. By the time a tile touches a wall in a properly sequenced shower, the waterproofing is already done and tested. If your plan has you buying tile before you have decided on a waterproofing system, you are planning the project backward.
Choosing Your Waterproofing System
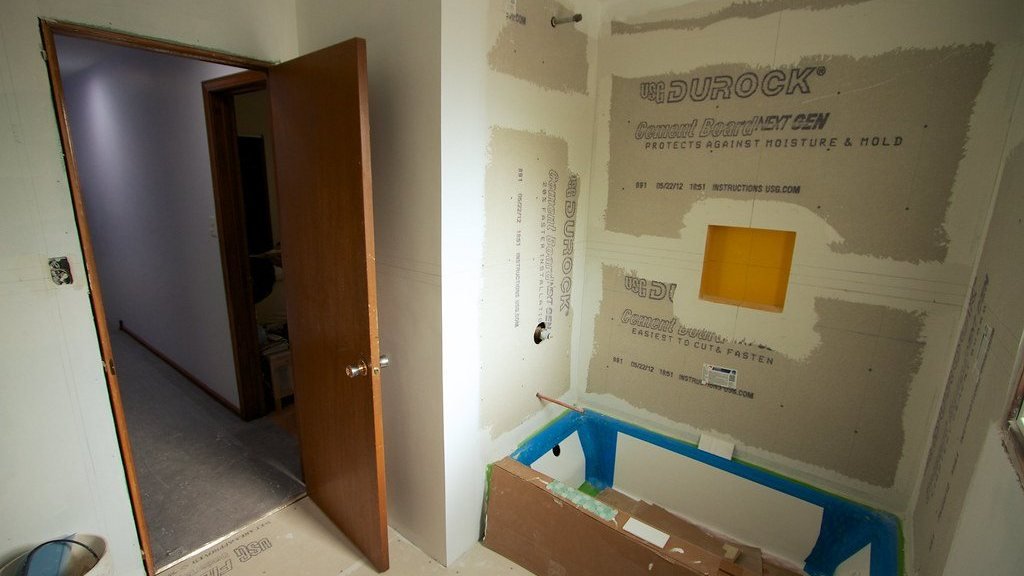
There is no single “right” waterproofing method, but there is a right way to execute whichever one you choose, and a very wrong way to blend two. The two systems below are what reputable installers actually use. The mistake amateurs make is using cement board and assuming the board is waterproof, or using a foam system and skipping the seam sealing that makes it work. Commit to one system and follow that manufacturer’s full detail.
Cement Board With a Surface-Applied Membrane
Traditional and Forgiving
This is the workhorse method. You hang cementitious backer board (such as a fiber-cement or cement-based panel), tape and mud the seams with thinset and alkali-resistant mesh tape, then coat the entire wet zone with a liquid waterproofing membrane rolled or troweled to the manufacturer’s wet-film thickness. Cement board gives you a rock-solid, dimensionally stable substrate; the membrane on top of it is what actually stops water. The board alone is not waterproof, which is the single most common misunderstanding on a DIY jobsite.
Bonded Foam Systems Like Schluter-Kerdi
Faster and Lighter, Detail-Sensitive
Foam board and sheet-membrane systems bond a waterproof layer directly to a lightweight board or apply a fabric membrane over standard backer. Systems from manufacturers like Schluter are engineered as a matched kit: boards, banding for seams and corners, and pre-formed niches and curbs. They tile up fast and weigh far less, but they live or die on the seams. Every joint, corner, and penetration must be sealed with the system’s banding and thinset exactly as specified, because an unsealed seam is a direct path to the framing.
Whichever system you choose, the plumbing wall deserves special attention, because it is the one wall where the membrane is deliberately cut.
Where to Start Tiling a Shower Wall
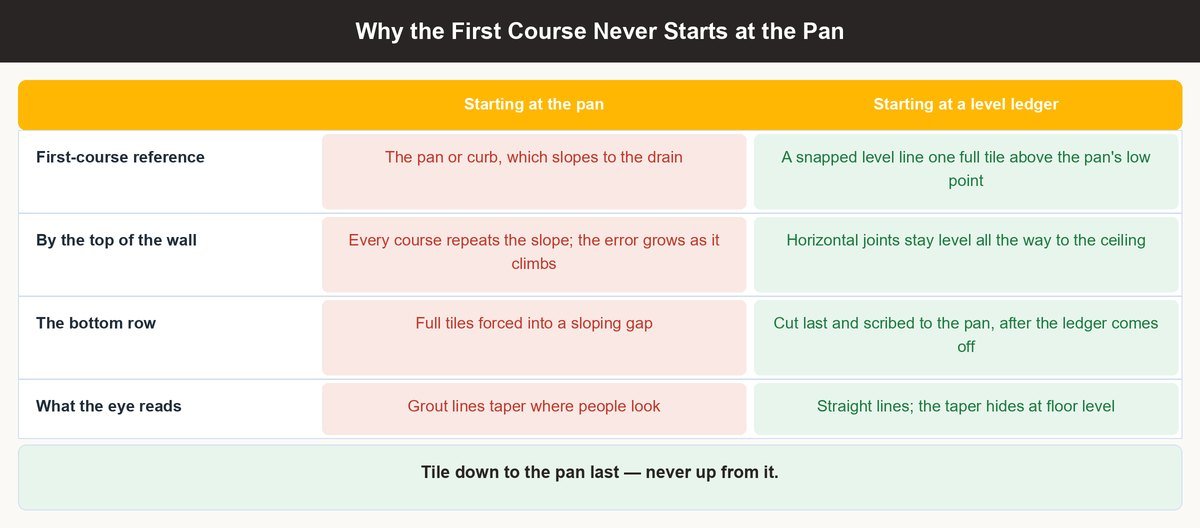
Once the box is waterproof, tiling becomes a geometry problem, and the amateur instinct, start at the floor and work up, is usually wrong. Shower floors and pans slope to the drain, so the bottom of the wall is rarely dead level. If you start your first course tight to a sloped or uneven pan, the whole wall marches out of level as it climbs and every tile above amplifies the error. Professionals start from a controlled reference line instead.
Set a Ledger Board as Your Baseline
A Level Line You Build To
Find the lowest point of the shower floor or curb, measure up one full tile (minus your grout joint), and snap a level line around the walls. Screw a straight, temporary ledger board (a length of straight lumber) to the wall along that line. You tile the wall above the ledger first, resting the bottom course on a guaranteed-level board, then remove the ledger and fit the cut bottom row against the pan last. This keeps every horizontal joint level regardless of how the floor slopes.
Plan Full Tiles Where Eyes Land
Balance the Cuts, Hide the Slivers
Dry-lay your tile and plan the vertical layout so full tiles land at the most visible spots, roughly eye level and at outside corners, and any partial tiles fall low, high, or into a corner where they read as intentional. A wall that ends in a paper-thin sliver at the ceiling or beside the niche looks like a mistake even when the waterproofing is perfect. Snap a plumb centerline and work outward so both ends of the wall are symmetrical rather than letting the cuts pile up on one side.
With your reference lines snapped and your layout dry-fit, the setting itself comes down to managing the thinset so it grabs without skinning over.
Building the Shower Niche the Right Way
A recessed niche is where a shower most often leaks, because it is a hole cut into your waterproof box. Every cut edge is a new seam that must be sealed. Build the niche between studs with solid blocking so it has something to anchor to, then waterproof the entire niche, back, sides, and especially the shelf, as carefully as the walls, banding or membrane-lapping every internal corner.
Slope the Niche Shelf to Drain
A Shelf That Sheds Water
The horizontal shelf inside a niche should not be dead level. Build a slight forward pitch, roughly a quarter inch, so water runs back out into the shower instead of pooling against the back corner and sitting on the grout. This is a five-minute detail during construction that prevents a decade of a persistently wet, moldy niche corner. Slope it toward the shower, tile it, and the water leaves on its own.
Waterproof Every Niche Seam First
Seal the Box Before You Tile It
Because a niche multiplies the number of inside corners and seams, it multiplies the number of places water can escape the membrane. Treat the niche as its own little waterproof box within the wall: membrane or band the back-to-side and side-to-shelf corners, seal around any blocking, and confirm continuity with the surrounding wall membrane before a single tile goes in. Tile hides everything, so any missed seam is invisible until it stains the wall below.
Thinset Coverage and Movement Joints
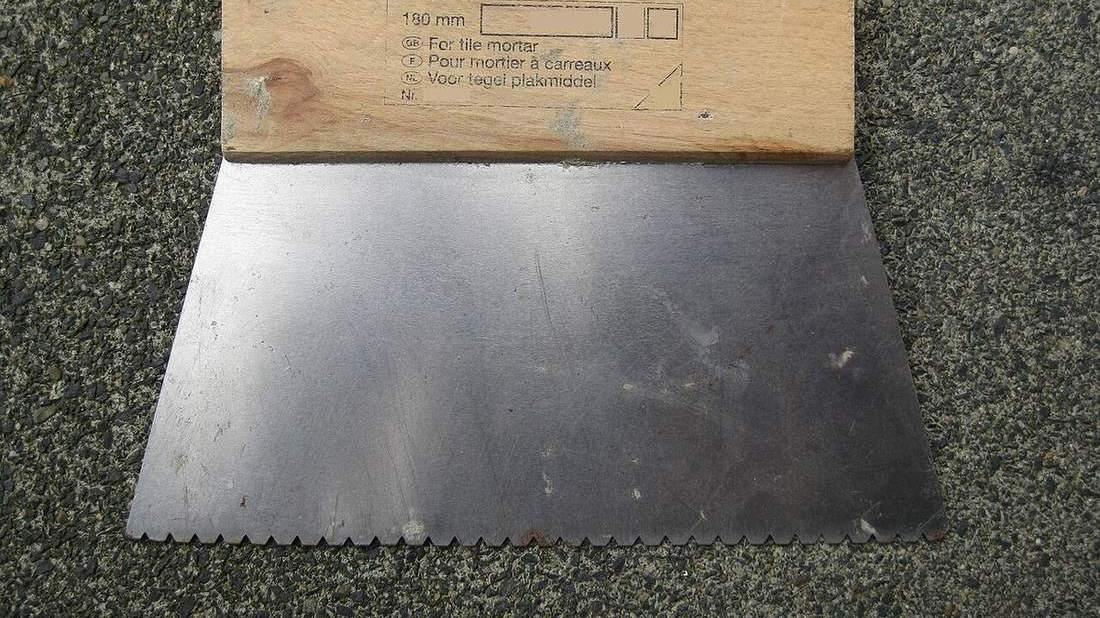
Two finishing details separate a shower that lasts from one that looks fine and fails: how completely the thinset bonds each tile, and where you deliberately leave grout out.
Achieve Near-Full Thinset Coverage
No Hollow Spots Behind Wet Tile
The ANSI A108.5 installation standard, published by the Tile Council of North America, sets a minimum of 95% mortar contact behind tile in shower and exterior installations, versus 80% everywhere else. Use the notched trowel size the tile calls for, comb in straight lines, and back-butter large or lightly-ribbed tiles by skimming thinset onto the tile back. Every few tiles, pull one off and look: the back should be almost fully coated. Voids behind a tile trap water, telegraph as hollow-sounding spots, and become the crack that starts at the first thermal cycle.
Leave Movement Joints, Then Caulk Them
Grout Cracks, Caulk Flexes
A house moves, wood shrinks and swells with the seasons, and rigid grout in an inside corner will crack because it has no room to absorb that movement. Every inside corner, every change of plane, and the joint where wall tile meets the pan should be filled with a color-matched flexible sealant, not grout. This is not a shortcut; it is the correct detail. Grout the flat field of the wall, and reserve the corners and transitions for caulk that can move.
Grouting is the final step, and it comes with its own maintenance caveat that homeowners often misunderstand.
Where the Shower Floor and Pan Fit In
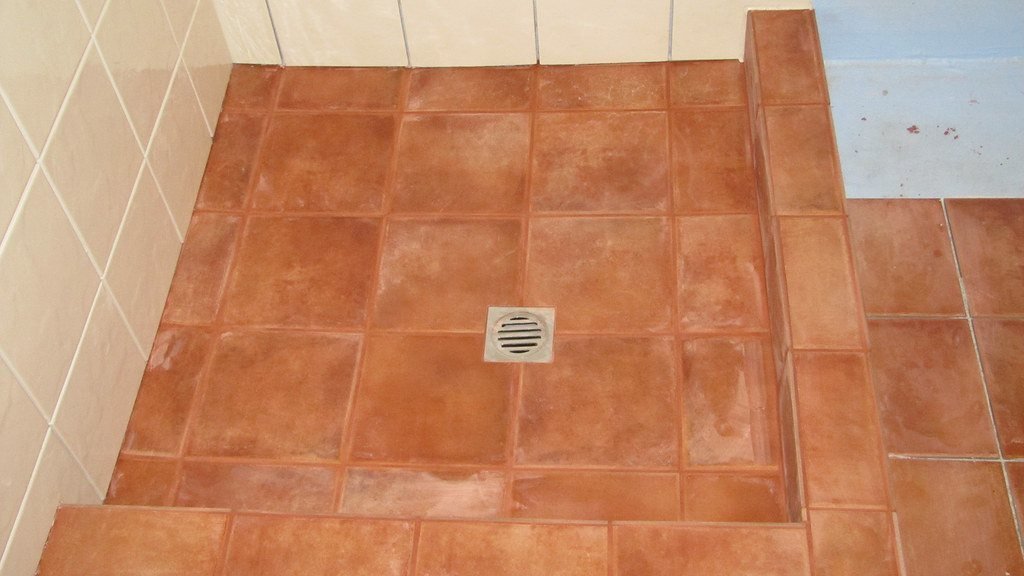
This guide covers the walls. The pan is a genuinely different build with its own rules — pre-slope, drain assembly, and its own waterproofing sequence — and half-teaching it here would do you no favors, so our full guide to how to tile a shower floor takes that end of the job. What the wall installer has to get right at the boundary is direction: the wall membrane laps over the pan membrane, never behind it, so gravity always sends water inward and down instead of into the seam. Reverse that lap and both systems can be flawless on their own while the shower still leaks.
If you want to see how the same waterproofing logic drives an entire wet space, our breakdown of wet-room waterproofing and how to protect the structure from mold covers the membrane-continuity thinking on a larger scale. And because tile choice interacts with all of this, porcelain versus natural stone for high-moisture showers is worth reading before you buy, since stone needs sealing and different handling that changes your coverage and grout plan.
What This Costs and When to Call a Pro
A DIY shower re-tile in the Bay Area typically runs a few hundred dollars in materials for a standard alcove, backer board, membrane, thinset, tile, grout, and sealant, before tile selection swings it. Labor is where professional installation earns its cost: a full shower tile job from a licensed contractor in markets like Oakland, San Jose, and Fremont commonly lands in the low-to-mid thousands depending on tile size, layout complexity, niche and bench work, and whether the substrate needs rebuilding. The honest math is that the waterproofing and layout, the parts that decide longevity, are also the parts that are hardest to do right the first time.
Call a professional when the walls are out of plumb, when you are cutting into the structure for a niche or bench, when the valve and plumbing need to be reset, or when a permit is involved, and in most Bay Area jurisdictions, moving plumbing or doing structural work does require one. Whoever you call, check the licence first: Top Tier Building Services Inc. holds California CSLB licence #1146790, and the Contractors State License Board lets you verify any contractor’s number in about a minute. A tiling mistake is not just cosmetic here; a hidden leak can rot framing and grow mold that becomes a health and structural problem. If you are unsure whether your substrate and waterproofing are up to standard, that is exactly the point to bring in someone who does this every week.
Build a Shower That Lasts, Not Just One That Looks Good
Tiling a shower well is less about the tile and more about the discipline of the layers underneath it. Get the waterproofing system right, respect the layout, seal every seam and niche corner, hit full thinset coverage, and put movement joints where they belong, and you get a shower that stays dry and beautiful for decades. If you would rather have that done by a licensed team that treats the membrane as seriously as the tile, reach out to Top Tier Building Services or explore our bathroom remodeling services. We build showers that hold up to Bay Area homes, permits, and daily use, from Castro Valley to San Jose.
FAQs
Do you really have to waterproof before tiling a shower?
Yes, always. Tile and grout are not waterproof; grout is porous and water passes through it during every shower. Without a continuous waterproof membrane behind the tile, that water reaches the substrate and framing and eventually causes rot and mold. Waterproofing is the actual shower; the tile is the finish bonded to it.
Where should you start tiling a shower wall?
Start from a level reference line, not from the floor. Because shower pans slope to the drain, the bottom of the wall is not level. Snap a level line one tile up, screw a temporary ledger board to it, tile the wall above the ledger first, then remove it and fit the cut bottom row against the pan last so every joint stays level.
What size tile is best for a shower?
There is no single right size, but larger tiles mean fewer grout lines to maintain, while smaller mosaic tiles grip sloped surfaces like shower floors better and are easier to keep planar on curves. Large-format wall tile needs a flat substrate and near-full thinset coverage to avoid hollow spots. Match the tile size to the surface and to how much grout maintenance you want to live with.
Where should a shower niche go on the wall?
Put it between two existing studs so you are not cutting framing, on a wall the showerhead does not spray straight into, and roughly chest height — generally somewhere around 48 to 60 inches above the pan — so it clears the splash zone and still falls within easy reach. Because the studs decide the horizontal position for you, settle the niche before you set any tile, so its opening lands on grout joints instead of slicing through the middle of a tile.
How much thinset coverage does shower tile need?
Wet areas call for roughly 95% thinset coverage behind each tile, compared with about 80% for dry walls. Use the correct notched trowel for your tile size, comb the thinset in straight lines, and back-butter larger tiles. Periodically pull a set tile to confirm the back is almost fully coated; voids trap water and become cracks.
Can you tile over an existing shower wall?
Rarely a good idea. If the existing wall is drywall, green board, or unsealed backer, tiling over it just rebuilds a shower that was already designed to leak. The only sound approach is to remove the old surface down to sound framing, install a proper wet-area backer and a continuous waterproof membrane, and tile that. Tiling over an unknown, unwaterproofed wall resets the failure clock.