
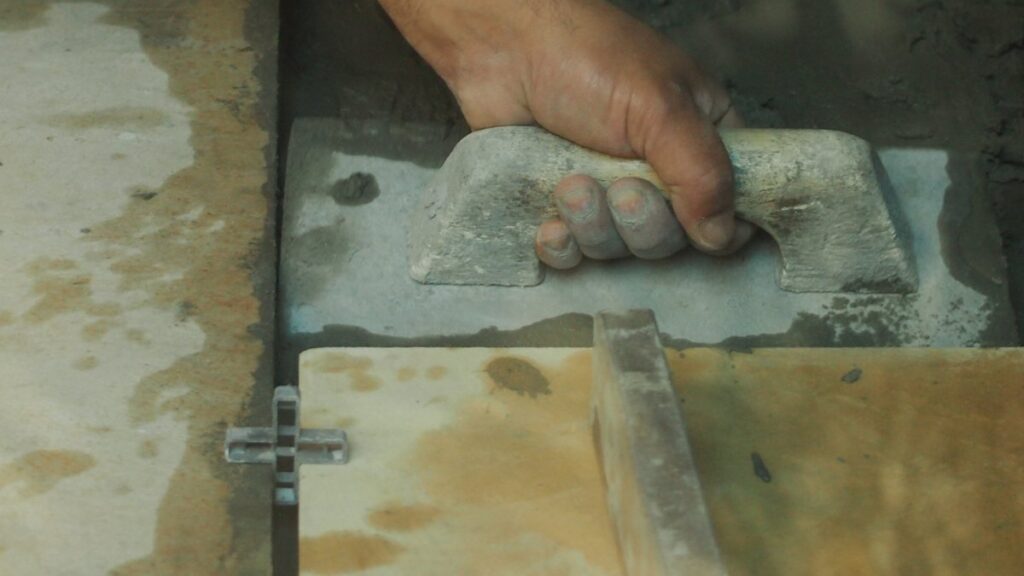
Almost every cracked tile floor we’re called out to fix in the Bay Area failed for the same reason, and it has nothing to do with the tile. The homeowner bought good porcelain, spread the thinset, snapped the grout lines clean, and a year later a hairline crack runs straight across three tiles in the kitchen walkway. The tile didn’t fail. The floor under it did. Learning how to tile a floor is really about learning how to build the thing the tile sits on, because a rigid, brittle surface bonded to a subfloor that flexes is a countdown, not an installation. This guide walks the whole job the way a pro sequences it, but it spends the most time exactly where DIY guides skip fastest: the prep and the layout that decide whether your floor is still tight in ten years. It is written for the homeowner who intends to do the work, and for anyone who wants to know what a good crew should be doing before they sign off on a bid.
Key Takeaways
- Tile cracks from movement below it, not from the tile itself, so subfloor flatness and stiffness (deflection) matter more than which tile you buy.
- A wood subfloor needs backer board or an uncoupling membrane before tile; you can never bond tile straight to plywood and expect it to hold.
- Over concrete, the enemies are cracks that telegraph up and trapped moisture, both of which have specific fixes before any thinset goes down.
- You start layout from the center of the room with snapped reference lines, not from a wall, because walls are rarely square or straight.
- Thinset coverage is a real number (about 80 to 95 percent), large tiles get back-buttered, and spacers plus leveling clips control the two different problems of joint width and lippage.
What This Guide Covers
- Why a Tile Floor Cracks and What Actually Holds It Together
- Reading Your Subfloor Before You Buy a Single Tile
- How to Tile a Floor on Concrete Without Fighting the Slab
- Preparing a Wood Subfloor So the Tile Never Moves
- Where to Start When Tiling a Floor and Why It's Never the Wall
- Setting the Tile So It Bonds and Sits Flat
- How to Cut Floor Tile Cleanly at Walls and Around Obstacles
- What This Job Looks Like When You Hand It to a Pro
- Ready to Get Your Floor Done Right
- FAQs
Why a Tile Floor Cracks and What Actually Holds It Together
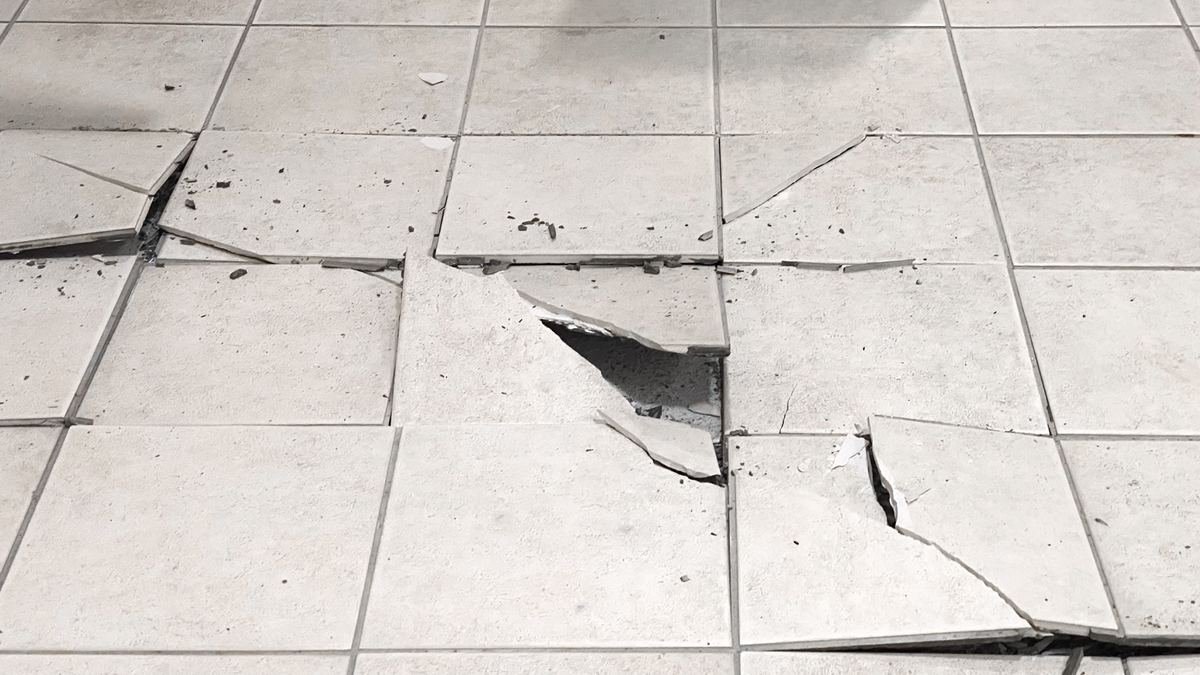
The single most useful thing to understand before you tile anything is that a tile assembly is a stack, and every layer in the stack has a job. From the bottom: the structural subfloor carries the load, an underlayment or membrane manages movement and moisture, the thinset mortar bonds tile to that layer, the tile is the wear surface, and grout fills the joints. When people ask how to tile a floor, they picture the top two layers. The failures live in the bottom two.
That stack is also newer than most people assume. For most of the last century tile was floated on a thick mortar bed, an inch or more of packed sand-and-cement that absorbed movement by sheer mass. Thin-bed thinset replaced it because it is faster, lighter, and far cheaper to install, and uncoupling membranes exist largely to give back the movement tolerance the old mortar bed provided for free.
Tile and cement grout are strong in compression but almost brittle in flex. They do not bend; they crack. So the real question is never “is my tile strong enough,” it’s “will anything under this tile move.” Movement comes from two sources. The first is deflection, the amount a floor deflects under load. The second is dimensional movement, expansion and contraction from moisture and temperature. Control both and the floor lasts for decades. Ignore either and you get the hairline crack across the walkway, or grout that crumbles out of the joints, or tiles that pop loose at the edges.
This is also why the tile-choosing decision and the tile-installing decision are separate problems. If you’re still deciding between porcelain, stone, and other options, that’s a materials question we cover in our guide to choosing flooring materials that last. This guide assumes you’ve picked your tile and now need it to stay down.
Reading Your Subfloor Before You Buy a Single Tile
You have one of two subfloors, and they fail in completely different ways. Diagnosing which you have, and what it needs, is the step that separates a floor that lasts from one that doesn’t. The table below is the decision most homeowners never make consciously, which is exactly why so many DIY tile jobs crack.
Flatness is its own gate on top of all of this. The tile-industry tolerance is roughly 1/4 inch of variation over 10 feet for most tile, and tighter (about 1/8 inch over 10 feet) for large-format tile 15 inches or longer on any side. Large tiles are less forgiving because they bridge low spots instead of following them, so a dip that a small tile would ride over leaves a big tile rocking and hollow. Check with a long straightedge, mark the lows and highs, and fix them with self-leveler or a grinder before anything else.
How to Tile a Floor on Concrete Without Fighting the Slab
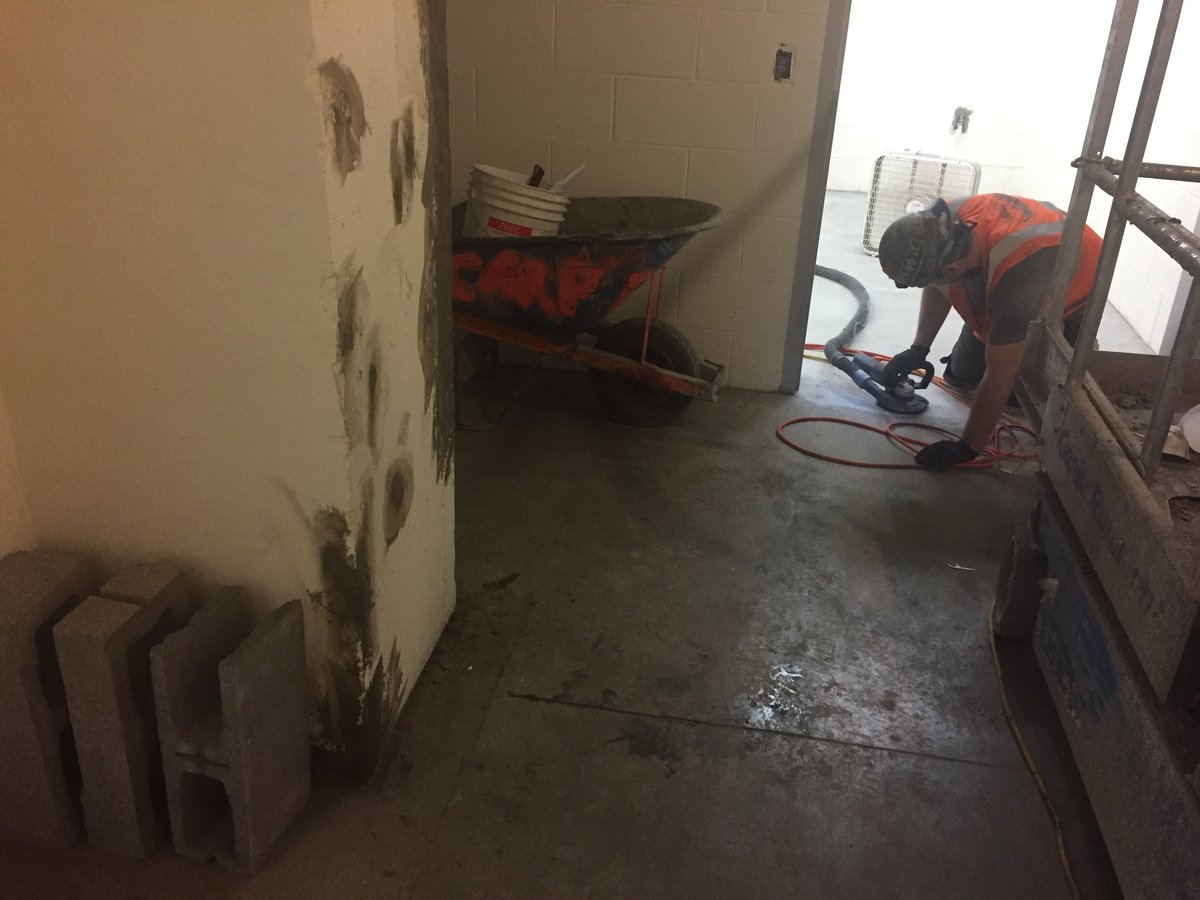
Concrete looks like the easy substrate because it’s already hard and flat-ish, but it hides two traps that ruin tile jobs, and both are Bay Area–relevant. Slab-on-grade construction is common across the region, and our older housing stock in Oakland, Berkeley, and parts of San Jose sits on slabs that have moved and cracked over decades.
Isolate Existing Cracks in the Slab
Why a Live Crack Telegraphs Up
A crack-isolation membrane is a thin sheet or trowel-applied layer that decouples the tile from the slab so a moving crack below can’t telegraph up through your new tile. Concrete cracks are almost never truly static; seasonal soil movement and seismic settling across the Bay Area keep them alive, and a rigid tile bonded over a live crack will split in the same line within a season or two.
How You Bridge the Cracks
Map every crack in the slab, bridge each one with the membrane at the manufacturer’s specified width, then set your tile over the membrane instead of the raw concrete. This one step saves more concrete-floor tile jobs than any other, because it addresses the failure mode that most DIY installers never even know to look for.
Test the Slab for Trapped Moisture
What a Moisture Test Reveals
A moisture test, done with a calcium-chloride kit or a relative-humidity probe, tells you whether water vapor is pushing up through a slab that sits on grade. A slab without a working vapor barrier under it can drive moisture upward for years, and that moisture quietly breaks the thinset bond and leaves white efflorescence in the grout lines long after the job looks finished.
Fixing a Slab That Reads Damp
Run the test before you commit any materials, and if the numbers come back high, install a moisture-mitigating membrane rated for your specific reading. Hoping a damp slab will simply dry out under new tile is how installers end up tearing out a floor that debonded a year later.
Prep the Surface So Thinset Can Grip
Why Clean Concrete Bonds Better
Surface preparation means grinding off curing compounds, old paint, cutback adhesive, and the weak surface laitance so that thinset bonds to sound concrete instead of to a film. Modern polymer-modified thinset is genuinely strong, but it can only be as strong as whatever it grips, and a slick, sealed, or dusty slab gives it almost nothing to hold onto.
Getting the Right Surface Profile
Grind or shot-blast the slab to a clean, slightly rough profile, then vacuum every bit of dust before you mix mortar. Confirm your work with a simple water-drop test: if water beads on the surface instead of soaking in and darkening the concrete, the slab is still sealed and needs another pass before tile.
Two rules sit above all of the prep above. The first is about your lungs, and the second catches people on new construction.
Preparing a Wood Subfloor So the Tile Never Moves
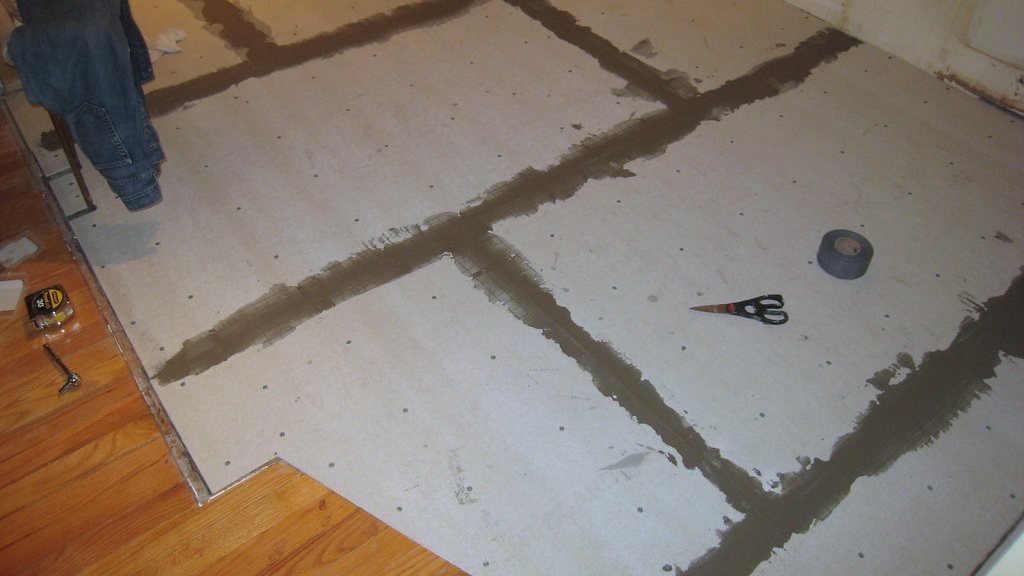
Wood is the harder substrate, because wood moves and tile doesn’t. You can’t glue tile straight to plywood; the two materials expand and contract at different rates, and the wood will always win. You need a stable intermediate layer, and you have two real choices.
Cement Backer Board for a Rigid Base
How Backer Board Stabilizes Wood
Cement backer board is a rigid cementitious panel, usually 1/4 or 1/2 inch thick, that you set in thinset and screw down to the subfloor to create a dimensionally stable surface for tile. It doesn’t shrink or swell with humidity the way wood does, so it gives the thinset a partner that behaves like tile instead of behaving like a tree that moves with every season.
Where Backer Board Fits Best
It suits most standard floors, especially when the subfloor is already stiff enough, and it’s forgiving, proven, and cheap. The tradeoffs are real, though: it adds noticeable height to the floor and it’s heavy to handle, cut, and haul up stairs on a remodel.
Uncoupling Membrane for Movement and Height
How the Membrane Absorbs Movement
An uncoupling membrane is a thin dimpled sheet you bond to the subfloor that lets the wood below move independently of the tile above while still carrying the load. Instead of resisting movement the way rigid backer board does, it absorbs it, and it adds far less height, which matters a great deal at doorways and transitions where a thick assembly creates a trip edge.
When to Choose the Membrane
Reach for it on floors where you can’t spare the height of backer board, or where you want extra movement tolerance over an older, slightly suspect subfloor. It costs more per square foot than backer board, but it installs fast, stays thin, and handles a difficult substrate more gracefully.
Both options share one hard prerequisite that neither can fix on its own.
Where to Start When Tiling a Floor and Why It’s Never the Wall
Here is the layout rule that separates clean floors from amateur ones: you start from the center of the room, not from a wall. It feels backward, and it’s the mistake nearly every first-timer makes.
Walls are rarely straight or square to each other, especially in older Bay Area homes that have settled. If you start tiling tight against a wall, every tiny deviation in that wall compounds across the room, and by the far side your grout lines are visibly crooked and your cuts are wildly uneven. Starting from the center means any errors get split evenly and pushed to the edges, where cut tiles and baseboards hide them.
Find the Center and Snap Your Reference Lines
Why the Center Lines Rule Everything
You measure to find the midpoint of each wall, snap two perpendicular chalk lines through the center of the room, and confirm they’re truly square using the 3-4-5 triangle method. Those two lines become the spine of the whole floor, because every tile references them, so when they’re square and centered the entire installation comes out square and centered no matter how crooked the walls happen to be.
Dry-Laying Before Any Mortar
Once the lines are snapped, dry-lay a full row of tiles along each one, spacers included, running all the way out to the walls. This lets you see exactly where the cuts will land in each direction before you have committed a single scoop of mortar and lost the ability to adjust.
Adjust the Layout So You Don’t Get a Sliver Cut
What a Sliver Cut Costs You
A dry-layout check is where you shift your starting grid slightly so the cut tiles at opposite walls come out a reasonable, balanced size instead of a thin, fragile sliver. A row of half tiles along a wall looks completely intentional, while a row of one-inch slivers reads as a mistake to anyone who walks in and is a genuine nightmare to cut without snapping the pieces.
Nudging the Grid to Balance Cuts
If your dry run lands a sliver against one wall, nudge the entire grid by half a tile so both opposing walls get a comfortable, matching cut. Then re-snap your reference lines and re-check square before you start troweling, because this is the last easy moment to fix the layout.
Setting the Tile So It Bonds and Sits Flat
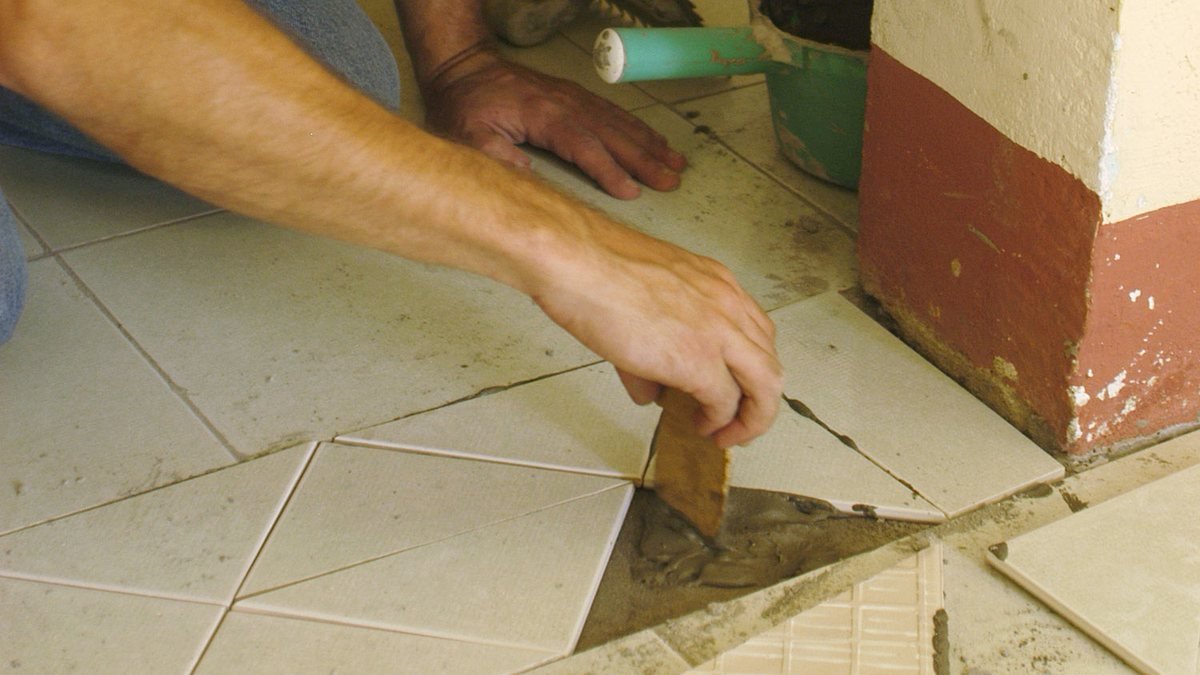
With prep and layout done, the actual setting is the fast part, but there are three numbers and techniques that decide whether it holds and whether it looks flat.
The first is coverage. When you pull a freshly set tile back up, you want to see thinset covering roughly 80 percent of the back for a dry interior floor and closer to 95 percent for wet or exterior areas. Trowel the thinset in one direction with the correct notch size for your tile, and don’t let it skin over before you set. The second is back-buttering. Any tile 12 inches or larger, and any tile with a textured or wavy back, should get a thin skim of thinset on the tile itself in addition to the floor, which fills voids and pushes coverage toward that 95 percent. The third is embedding: press and give the tile a slight twist to collapse the trowel ridges so you get solid contact instead of air pockets that later crack under a heel.
Then there’s the ongoing debate about spacers. Some experienced tilers lay tile by eye without them, and on a small floor with a rectified tile and a steady hand it can work. For everyone else, spacers are cheap insurance for consistent joints, and leveling clips do a different job entirely: they pull adjacent tile edges to the same plane to prevent lippage on large tiles. Learning how to lay floor tile without spacers is a real skill, but it’s a speed-and-experience move, not a shortcut worth taking on your first floor. The joints do more than look tidy; the grout in them is a stress-relief zone that lets the assembly breathe.
How to Cut Floor Tile Cleanly at Walls and Around Obstacles
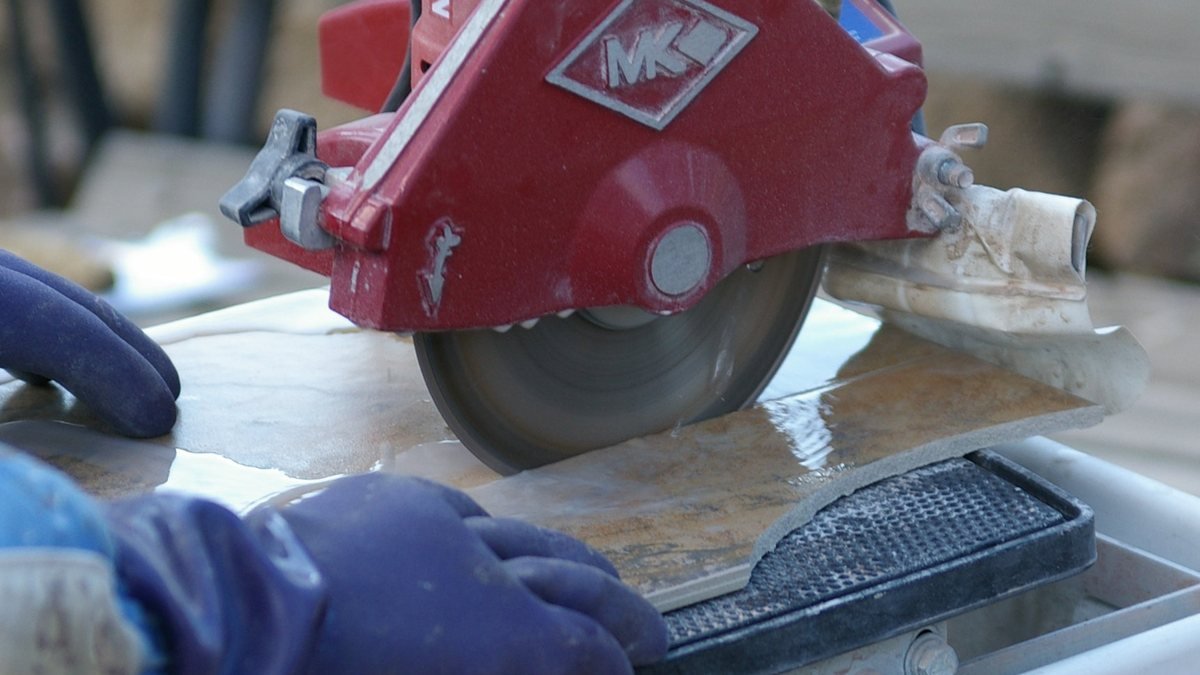
You will cut tile. Every floor has walls, and most have a toilet flange, a heat register, or a doorjamb to work around. Two tools cover almost everything.
A manual snap cutter scores the glaze and snaps the tile along a straight line, and for straight cuts on most ceramic and porcelain it’s fast, quiet, dust-free, and completely adequate. A wet saw, a table saw with a diamond blade and water cooling, handles the cuts a snap cutter can’t: notches, L-shapes, dense porcelain, natural stone, and clean edges around pipes. For curved cuts around a toilet flange or pipe, you drill the hole with a diamond hole saw and make relief cuts with the wet saw or nippers.
What This Job Looks Like When You Hand It to a Pro
Plenty of homeowners tile a small entry or a bathroom floor themselves and get a great result, and this guide is written to help them do it right. But it’s worth being honest about where the line is. A large kitchen, an open floor plan, large-format or natural-stone tile, a floor that fails a deflection check, or a slab with active cracks or moisture, these are jobs where the prep is the entire game and a mistake means tearing out a bonded floor and starting over. That’s expensive in a way that dwarfs the cost of doing it right the first time.
The Tile Council of North America publishes the installation standards professionals actually build to, and its TCNA Handbook for tile installation is the authority behind the deflection, coverage, and membrane numbers in this guide. When we tile a floor for a Bay Area homeowner, we’re building to those standards and pulling permits where the scope requires it, so the floor is right and it’s documented. If you’re weighing a DIY floor against bringing in a licensed crew, or you’ve hit a subfloor that’s fighting you, our flooring installation team can assess the substrate and give you a straight answer.
Worth noting: tiling a floor is a different discipline from tiling a shower floor, where slope-to-drain, waterproofing, and a mortar bed change the whole method. If a bathroom is your project, the wet areas follow their own rules.
Ready to Get Your Floor Done Right
If you’ve read this far and the subfloor part gave you pause, that instinct is correct, and it’s the reason most tile floors fail. Top Tier Building Services (CSLB License #1146790) installs and repairs tile flooring across the Bay Area, and we start every job with the substrate, because that’s what decides whether your floor lasts. Contact us for a flooring assessment and a clear estimate.
FAQs
Can I tile directly over plywood?
No. Tile bonded straight to plywood will crack because wood expands and contracts with humidity while tile does not. You need an intermediate layer, either cement backer board or an uncoupling membrane, thinset-bonded and fastened to the plywood, before you set tile. The subfloor also has to be stiff enough to pass a deflection check first.
Where do you start when tiling a floor?
You start from the center of the room, not from a wall. Find the midpoint of each wall, snap two perpendicular chalk lines through the center, check they’re square, and work outward. This splits any error evenly and pushes the cut tiles to the edges where baseboards hide them, instead of letting a crooked wall throw off the whole floor.
Do I really need spacers to tile a floor?
Spacers aren’t strictly required and experienced tilers sometimes lay tile without them, but for a first floor they’re cheap insurance for consistent grout joints. They also do a different job from leveling clips, which pull adjacent tile edges to the same plane to prevent lippage on large tile. Consistent joints matter because the grout in them relieves stress in the assembly.
How flat does a floor need to be before tiling?
For most tile, the surface should vary no more than about 1/4 inch over 10 feet. For large-format tile 15 inches or longer on any side, the tolerance tightens to roughly 1/8 inch over 10 feet, because big tiles bridge low spots and rock instead of following the floor. Fix highs and lows with self-leveling underlayment or grinding before you tile.
What’s the best tool for cutting floor tile?
A manual snap cutter handles straight cuts on most ceramic and porcelain quickly and without dust. A wet saw with a diamond blade handles everything else: notches, L-shapes, dense porcelain, natural stone, and clean edges. For holes around a pipe or toilet flange, use a diamond hole saw plus relief cuts. Most floors need both a snap cutter and access to a wet saw.
How long before I can walk on or grout a new tile floor?
Give the thinset time to cure before you walk on the tile or grout the joints, generally around 24 to 48 hours depending on the product, temperature, and humidity, so always follow the bag. Grouting or heavy foot traffic too early can shift tiles that haven’t fully bonded and undo your flat, tight layout. Cooler or damper conditions extend the wait.