
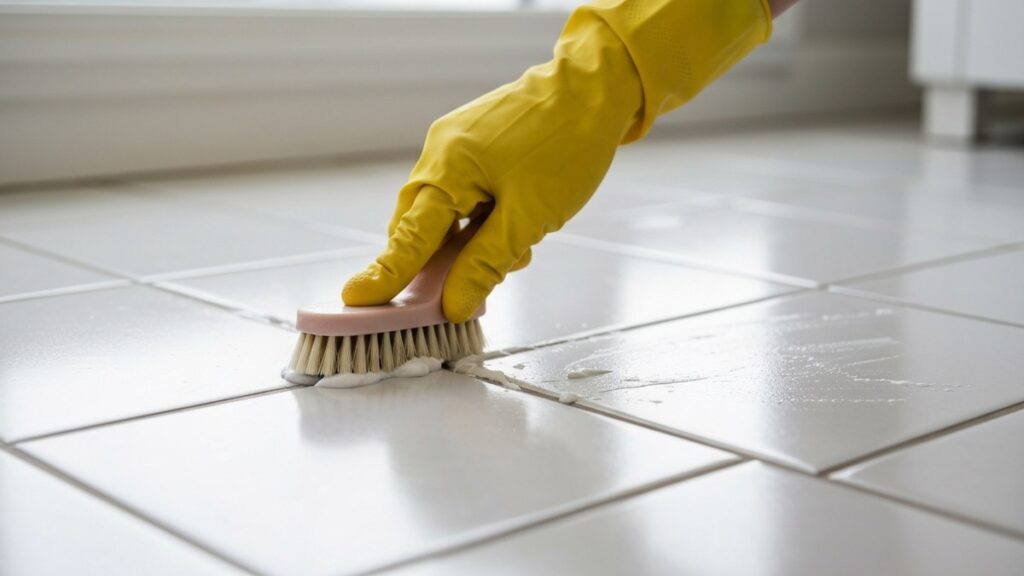
You mopped the floor an hour ago, but the tile still looks dingy. The problem usually is not the tile at all, it is the grout. Those thin lines between every tile are slightly porous, sit lower than the tile surface, and quietly collect soap scum, foot traffic grime, cooking grease, and moisture. Over months they darken from a crisp light gray to a muddy brown, and in a damp Bay Area bathroom they can turn black with mold. Learning how to clean grout the right way is the single highest-impact thing you can do to make a tiled floor or shower look freshly installed without spending a dollar on new tile.
The catch is that grout is also easy to ruin. The most popular “hacks” online lean on vinegar, lemon, and other acids, and grout manufacturers warn that frequent acidic cleaning discolors and weakens cement grout, so the lines stain faster the more often you clean them that way. In this guide we walk through how to clean grout safely, method by method: everyday floor dirt, set-in stains, black mold, and grout that needs whitening.
Key Takeaways
- Start pH-neutral. Warm water plus a pH-neutral cleaner and a stiff nylon brush handles most dull, gray-looking grout. Escalate only when that falls short.
- Skip the vinegar. MAPEI warns that frequent acidic cleaning discolors and weakens cement grout, and that vinegar etches marble, travertine and limestone.
- Baking soda is the safe step up. A baking soda and 3% hydrogen peroxide paste, left on for ten to fifteen minutes, lifts set-in foot-traffic grime without acid.
- Black grout is mold, not dirt. Use oxygen bleach, or diluted chlorine bleach for heavy mold — one or the other, never layered together, and never mixed with ammonia or acidic cleaners.
- Gear up before you open anything. Rubber gloves, splash-proof goggles, an open window and the exhaust fan running, per EPA guidance on using disinfectants indoors.
- Know when cleaning stops working. Mold that returns within days, or grout that is cracking, crumbling or missing, is a re-grouting or waterproofing repair rather than a cleaning problem.
Why Grout Gets Dirty and Why Cleaning It Wrong Makes It Worse
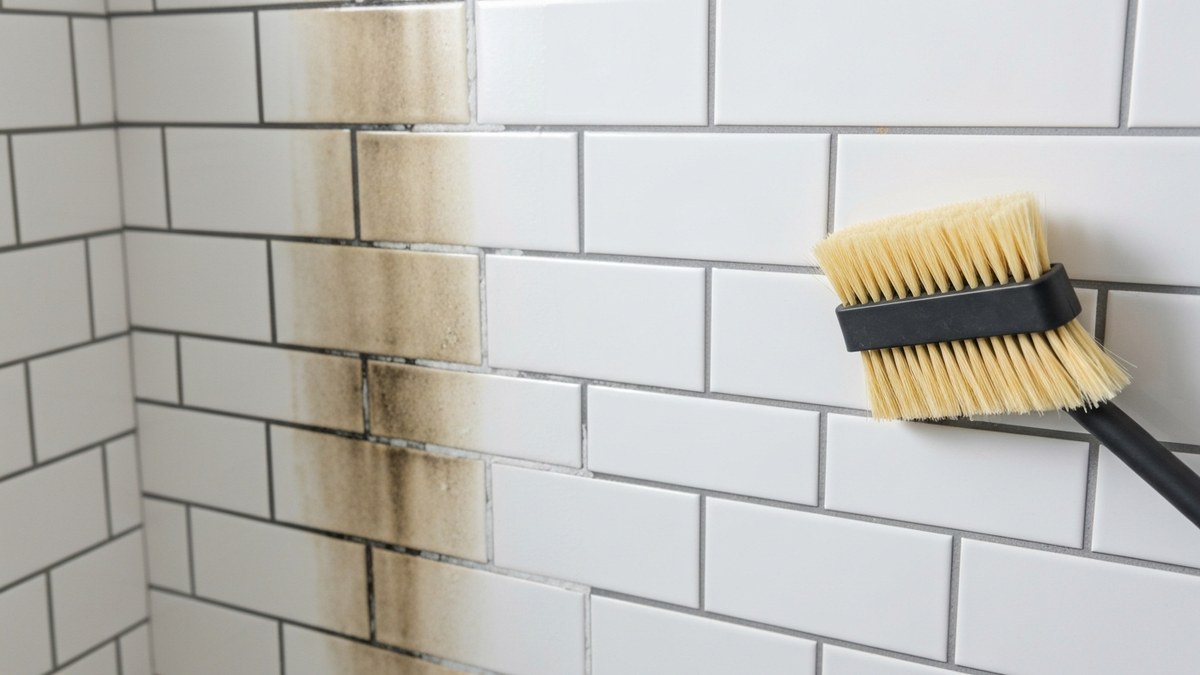
Cement-based grout is essentially a thin band of porous mortar. Even when it is sealed, the sealer wears thin in high-traffic zones and around fixtures, and the open pores act like a sponge for anything liquid: mop water, body oils, coffee splashes, and airborne kitchen grease that settles and gets walked in. That is why a floor can be “clean” and still read as dirty. The tile glaze wipes spotless while the recessed grout lines hold the color of every spill they have absorbed.
Two regional factors make Bay Area grout especially prone to discoloration. First, much of the East Bay and South Bay, including parts of Fremont, Hayward, and San Jose, runs on moderately hard water, and the dissolved minerals leave a chalky film and a faint orange or brown cast on grout over time. Second, the marine layer that blankets San Francisco, Daly City, and the coastal Peninsula keeps bathrooms humid for hours after a shower, and that lingering moisture is exactly what mold and mildew need to colonize shower grout.
Here is the mistake that quietly destroys grout: reaching for vinegar or lemon juice because a video promised a miracle. The Tile Council of North America explains the mechanism plainly: cement is alkaline based and is dissolved by acids, which is why it recommends an alkaline cleaner over an acid-based one. MAPEI, one of the largest tile and grout manufacturers, is precise about where the practical line falls: occasional vinegar on porcelain or ceramic tile with cement-based grout should not cause damage, but frequent or regular use can discolor and weaken the grout, and it is not a routine-maintenance cleaner. Household vinegar is strongly acidic, roughly pH 2 to 3, and MAPEI also warns that it etches certain natural stone, specifically marble, travertine and limestone. The grout looks brighter for a day, then absorbs dirt faster than before. The safest routine cleaner for tile and grout is a pH-neutral product, with the stronger remedies below reserved for stains that a neutral cleaner cannot lift. You can read the manufacturer position directly in MAPEI’s guidance on vinegar and grout.
Everyday Cleaning for Floor-Tile Grout
Start with the gentlest approach. The vast majority of dull, gray-looking floors do not need a harsh chemical at all, they need a brush and the right neutral solution. This is the baseline method for how to clean grout on tiles before you escalate to anything stronger, and it is the routine you should repeat every month or two to keep lines from darkening in the first place.
Routine Cleaning With Warm Water and a pH-Neutral Cleaner
What You Need for Routine Cleaning
warm water, a pH-neutral tile or floor cleaner (or a few drops of mild dish soap), a stiff nylon grout brush or a worn-out toothbrush, microfiber cloths, and a bucket.
- Sweep or vacuum the floor first so you are not grinding loose grit into the grout while you scrub.
- Mix warm water with a capful of pH-neutral cleaner in your bucket. Skip anything labeled acidic, “with vinegar,” or “lemon.”
- Work in small sections, roughly three feet square. Pour or spray the solution along the grout lines and let it dwell for three to five minutes so it can loosen the grime.
- Scrub each grout line along its length with the brush, using short back-and-forth strokes. Let the bristles do the work rather than pressing hard.
- Wipe the loosened dirt away with a clean, damp microfiber cloth, rinsing it often so you are not smearing the same dirty water back into the lines.
- Do a final rinse with clean water and dry the area with a fresh cloth so no residue is left to attract dirt.
Baking Soda for Set-In Stains
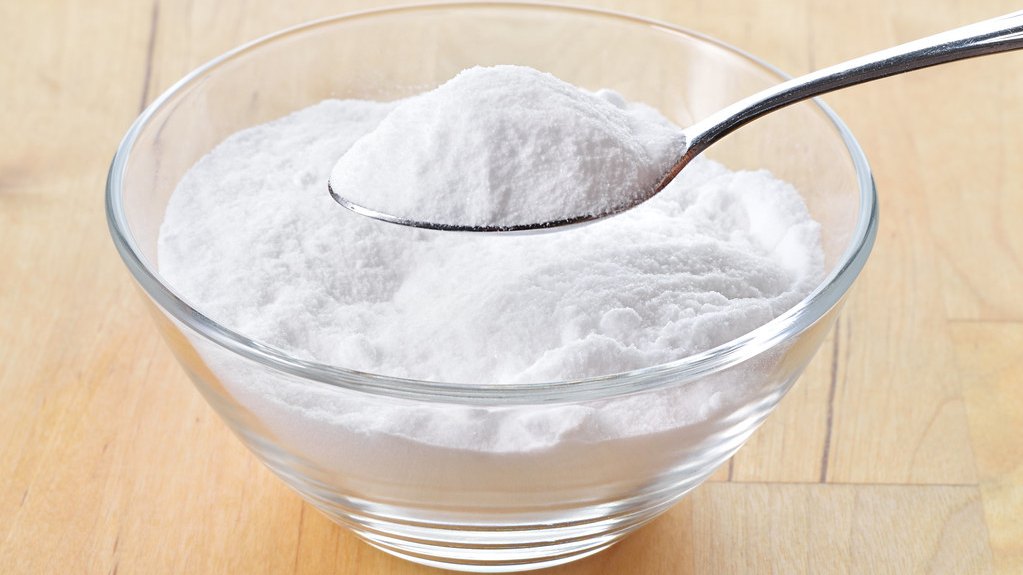
When neutral cleaner alone leaves the lines looking gray, step up to a baking soda paste. Baking soda is a mild alkaline abrasive, which means it physically scrubs out embedded grime and is the safe workhorse for how to clean grout with baking soda without the acid risk of vinegar. This is the best way to clean grout that is generally dirty rather than mold-stained, and it works equally well on a kitchen floor in Oakland or a tiled entryway in Palo Alto.
On the tile and stone floors we handle through our grout cleaning, repair and color sealing work around the East Bay, this is the method that quietly does most of the work. When homeowners call us out for grout that looks permanently dirty, we usually find it is not stained at all, just packed with years of foot-traffic grime that a neutral cleaner skates over. A baking soda paste with a few minutes of dwell time tends to bring those lines back several shades, and we often leave the homeowner a small batch to keep up with rather than reaching for anything harsher.
Baking Soda and Hydrogen Peroxide Paste
What You Need for the Paste
about 3/4 cup baking soda, 1/4 cup 3% hydrogen peroxide, one teaspoon of mild dish soap, a small bowl, a grout brush, and microfiber cloths. For lighter jobs you can skip the peroxide and simply mix baking soda with a little water into a paste.
- Stir the baking soda, hydrogen peroxide, and dish soap into a spreadable paste, a little thicker than toothpaste.
- Spoon or spread the paste directly onto the grout lines so it covers them fully. A toothbrush helps push it into the recessed channel.
- Let it sit for ten to fifteen minutes. The peroxide gently lifts discoloration while the baking soda softens the bonded grime.
- Scrub firmly along each line with the grout brush. Work the paste rather than just removing it, so the abrasive does its job.
- Wipe away the spent paste with a damp cloth, rinsing frequently, then do a clean-water rinse so no chalky residue dries in the lines.
- Dry the surface. If a line is still shy of clean, a second application is safer than switching to a harsher chemical.
How to Clean Shower Grout and Grout That Has Turned Black
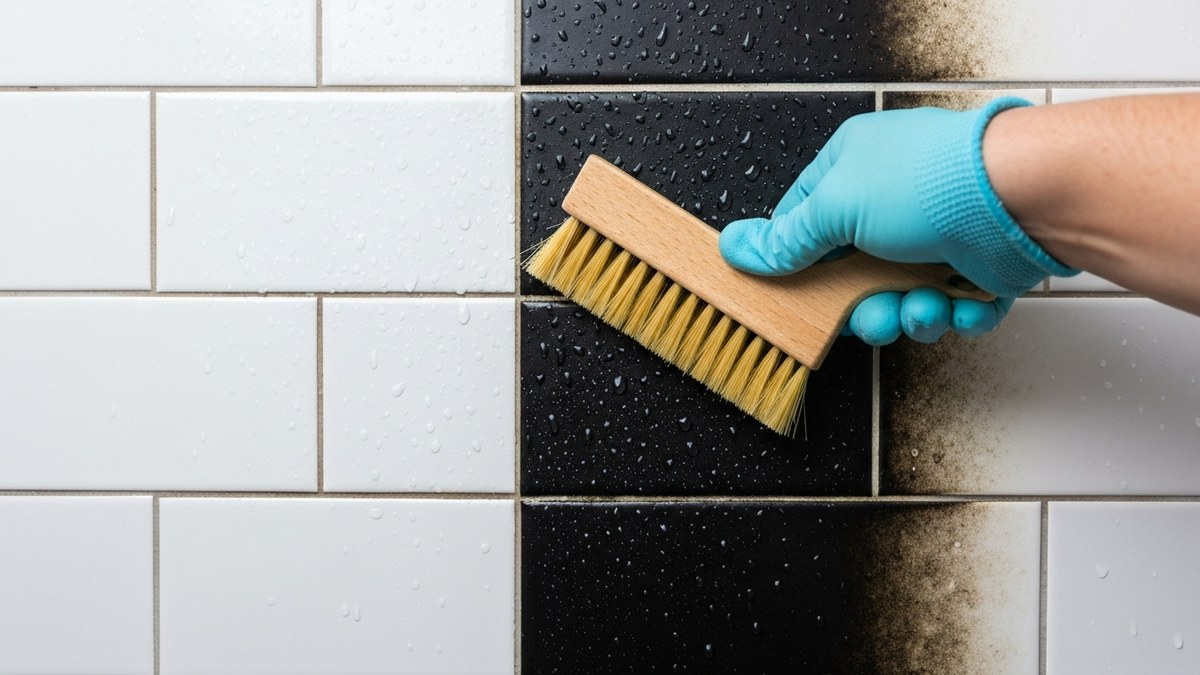
Showers are the hardest case because they combine constant moisture, body oils, and soap scum, which is the perfect breeding ground for mold and mildew. If you are wondering how to clean grout that has turned black, the black is almost always mold or mildew rather than dirt, and it needs a disinfecting approach, not just scrubbing. This is also the core of how to clean shower grout in a foggy coastal home in Pacifica or the Sunset District, where bathrooms rarely fully dry out between uses.
Oxygen Bleach or Diluted Chlorine Bleach for Black Mold
Supplies and Safety Gear for Mold
oxygen bleach powder (sodium percarbonate) or, for stubborn cases, household chlorine bleach diluted at roughly one part bleach to three or four parts water; a spray bottle or bowl; a stiff grout brush; rubber gloves; and good ventilation (open the window and run the fan).
- Ventilate the room first. Open a window, run the exhaust fan, and put on rubber gloves and splash-proof safety goggles before you mix or pour anything. The EPA guide to mold, moisture and your home is explicit on both points: always ventilate the area when you use a disinfectant, and never mix a chlorine bleach solution with other cleaning solutions or detergents that contain ammonia, because toxic fumes can be produced.
- Choose one product for the job and use only that one. For the gentler option, mix oxygen bleach with warm water into a paste or solution and apply it generously to the black grout lines.
- For heavier mold, use the diluted chlorine bleach instead of the oxygen bleach, never layered on top of it. Apply it directly to the lines with a brush or spray, keeping it off nearby metal and natural stone. If you have already used oxygen bleach here, or the hydrogen peroxide paste from the section above, rinse the surface thoroughly with clean water and let it dry before you switch products.
- Let it dwell for ten to fifteen minutes so the disinfectant can kill the mold at the root rather than just bleaching the surface color.
- Scrub each line firmly along its length. You should see the black lift as you work.
- Rinse thoroughly with clean water, repeating until no cleaner remains, then dry the walls with a towel or squeegee.
How to Whiten Grout and Restore a Like-New Color

Sometimes the grout is genuinely clean but still looks dull and gray, because years of light staining have permanently shaded the cement. In that case the question shifts from cleaning to how to whiten grout, and you have two honest options: deep oxygen-bleach treatment to recover the original color, or a grout colorant to refresh it entirely. Pick based on how far gone the lines are.
Oxygen Bleach Soak and Grout Colorant Refresh
What You Need to Whiten Grout
oxygen bleach powder, warm water, a stiff nylon grout brush, microfiber cloths, and rubber gloves. For the colorant route, add a grout pen or an epoxy grout colorant kit plus painter’s tape to mask adjacent trim and fixtures. Buy the colorant last, once the grout is clean and fully dry, because the shade you match should be the color the lines actually end up as, not the darker color they read while they are still damp.
- First try recovery: mix oxygen bleach into a thick paste, apply it along the dull lines, and let it sit for fifteen to thirty minutes so it can draw out deep staining.
- Scrub firmly, rinse well, and let the grout dry completely. Dry grout reads several shades lighter than wet grout, so judge the color only once it is fully dry.
- If the lines are still permanently shaded after a thorough treatment, switch to a colorant. Make sure the grout is clean and dry, then apply a grout pen or epoxy colorant directly into each line, wiping any excess off the tile face before it sets.
- A colorant also re-seals the surface as it goes on, which makes future cleaning easier and slows re-staining.
A Quick Method Comparison
Matching the method to the grout’s condition is the whole game. The table below summarizes how to clean grout without damaging it, so you can find your situation, use the right solution, and heed the caution that keeps you from making things worse. When in doubt, always start with the gentlest method and escalate only if it falls short.
How to Clean Grout at Home Versus Calling a Professional
Most discoloration is well within reach of a determined homeowner. If you are figuring out how to clean grout at home, the four methods above will handle the great majority of dingy floors and showers for the cost of a brush and a few common supplies. Plan on the better part of an afternoon for a full bathroom or a mid-size kitchen floor, and remember that consistent light maintenance beats occasional deep scrubbing. A quick neutral-cleaner pass every month and a squeegee after showers will keep you out of the heavy-bleach territory entirely.
There is a point where cleaning is no longer the answer. If mold returns within days no matter how thoroughly you disinfect, if grout is cracking, crumbling, or missing in sections, or if water seems to be getting behind the tile, the issue is the grout’s integrity or the waterproofing underneath, not its color. Re-grouting, re-caulking, or addressing a failed shower pan is a repair, not a cleaning task, and doing it wrong invites water damage into the wall. Damp, poorly ventilated bathrooms are common in the Bay Area’s older housing stock, from Berkeley bungalows to San Francisco flats, and they are exactly where a small grout problem can hide a larger moisture issue. If you are planning a fuller update, it is worth understanding how tile and waterproofing come together in a tiled shower floor, and how a complete bathroom remodel can solve chronic moisture for good. For tile floors elsewhere in the home, the same maintenance mindset that protects grout also keeps your hardwood floors looking their best.
If your grout problem has crossed from cosmetic into structural, or you simply want tile and grout work done right the first time, our team can help. Top Tier Building Services is a licensed California general contractor, CSLB #1146790, working throughout the Bay Area. Contact Top Tier Building Services for a consultation, and we will assess whether your tile needs a deep clean, a re-grout, or a fuller bathroom update across the Bay Area.
FAQs
What is the best way to clean grout without damaging it?
Start with the gentlest method and escalate only if needed. Use warm water and a pH-neutral cleaner with a stiff nylon brush for routine dirt, a baking soda and hydrogen peroxide paste for set-in stains, and oxygen bleach for mold. Avoid routine cleaning with acids like vinegar or lemon, which grout manufacturers warn can discolor and weaken cement grout over time. With any bleach, wear gloves and eye protection, ventilate the room, and never mix it with ammonia or acidic cleaners.
Can I use vinegar to clean grout?
Not as a routine cleaner. MAPEI, a major tile and grout manufacturer, says occasional vinegar on porcelain or ceramic tile with cement-based grout should not cause damage, but that frequent or regular use can discolor and weaken the grout. Vinegar is also acidic enough to etch marble, travertine and limestone. A pH-neutral cleaner is the safe routine choice, with baking soda or oxygen bleach for tougher jobs.
How do I clean grout that has turned black?
Black grout is almost always mold or mildew rather than dirt. Ventilate the room and put on gloves and eye protection, then apply either oxygen bleach or, for heavy mold, a diluted chlorine bleach solution — one or the other, never layered together, and never mixed with ammonia or acidic cleaners. Let it dwell ten to fifteen minutes, scrub each line, and rinse thoroughly. If the black keeps returning, the mold has likely penetrated the grout or caulk and the lines may need to be cut out and re-grouted.
How can I whiten grout that still looks dull after cleaning?
If grout is clean but permanently shaded, soak it with an oxygen bleach paste for fifteen to thirty minutes to recover the original color, judging the result only once the grout is fully dry. If it stays dull, apply a grout pen or epoxy colorant to clean, dry lines. Bleach cannot make grout lighter than its original installed color.
How often should I deep clean my grout?
A light pass with a pH-neutral cleaner every month or two, plus squeegeeing shower walls after use, keeps grout from darkening and avoids the need for heavy scrubbing. A full deep clean once or twice a year is usually enough for most homes, more often in humid, poorly ventilated bathrooms common along the foggy Bay Area coast.
When should I call a professional instead of cleaning grout myself?
Call a pro when mold returns within days despite disinfecting, when grout is cracking, crumbling, or missing, or when water appears to be getting behind the tile. Those are signs of failed grout or waterproofing rather than a cleaning issue, and re-grouting or repairing a shower pan done wrong can lead to hidden water damage in the wall.